
V70 XC AWD L5-2.4L Turbo VIN 56 B5254T (1998)
8. Separate connecting rods and pistons:
-
Check that each piston and connecting rod is marked before separating.
NOTE:
-
Piston markings: Scrape wrist pin clean.
-
Mark with felt-tip pen cylinder no. and an arrow towards the front end of the engine if marking is unclear.
-
Connecting Rods markings: as per step 4 of Crank, Pistons and Rods Dismantling.
-
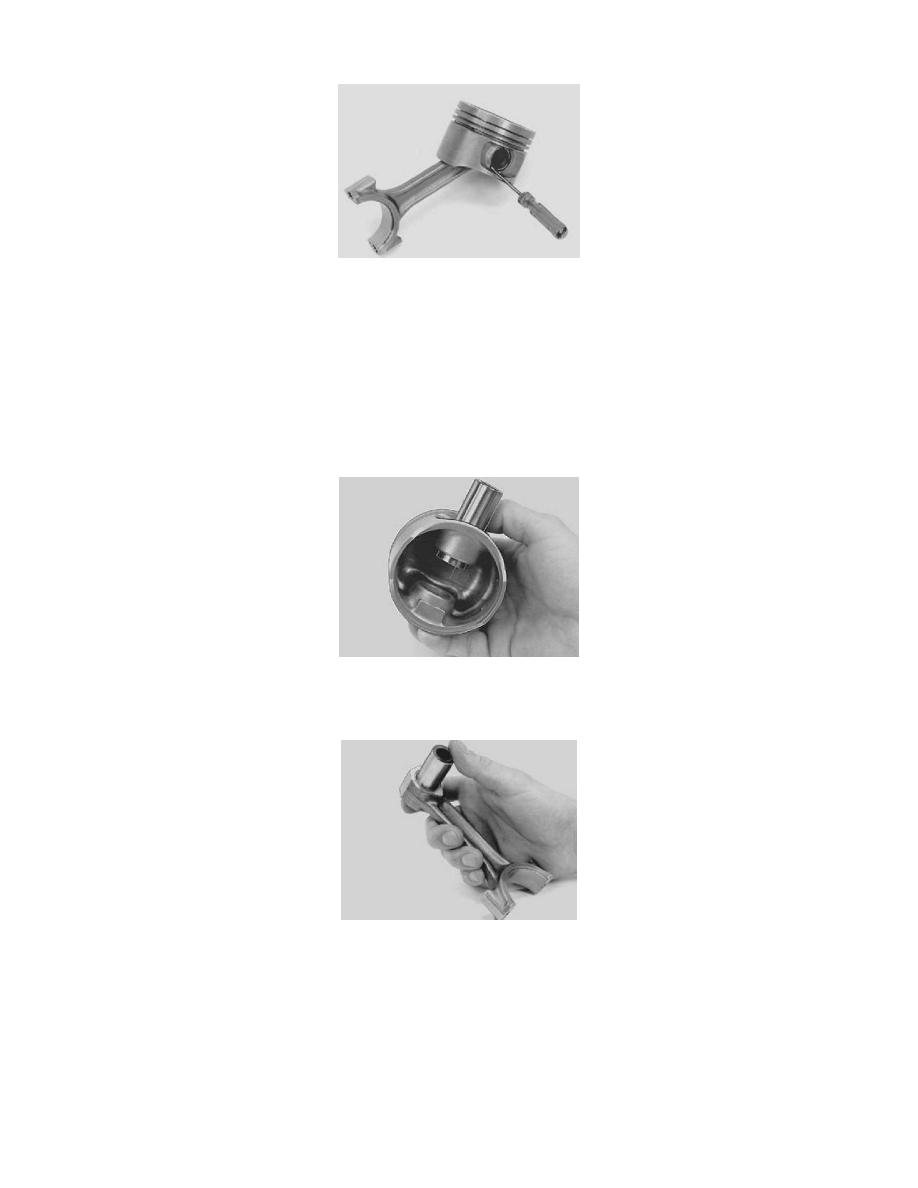
Pry circlip out carefully with a screwdriver. Push wrist pin out by hand. Clean and inspect connecting rods, bearing caps and bolts for damage,
wear and cracking. Check length of connecting rod bearing cap bolts using sliding calipers.
-
Max. length: 55 mm
9. Check Wrist pin fit in pistons:
-
Wrist pins must not have any play, but should slide through hole without play when pressed by hand.
-
Replace piston if there is any play.
10. Check wrist pin fit in connecting rods:
-
Wrist pin should slide through hole easily under thumb pressure. If excessive play, check wrist pin dimensions and change little end bushing if
necessary.
-
Use micrometer tool No. 999 9701, or equivalent.
Wrist pin diameter:
B 5202-5254: 23.0 mm +0 or -0.004