V70 XC AWD L5-2.4L Turbo VIN 56 B5254T (1998)

2. Mount sump in position using all bolts. Do not tighten bolts allow sump to remain loose.
3. Press sump against gearbox and tighten bolts (1), (2), (3) and (4) to 2 - 3 Nm (1.5 - 2.2 ft. lbs.).
4. Tighten bolts (5) between sump and gearbox initially to 25 Nm (18 ft. lbs. and finally to 50 Nm (37 ft. lbs.)
Do not loosen bolts 1-2, 3, and 4 From rear to front torque all bolts (including 1, 2, 3, and 4) to 17 Nm (12 ft. lbs.).
If there is an oil thermostat, reinstall using new gasket.
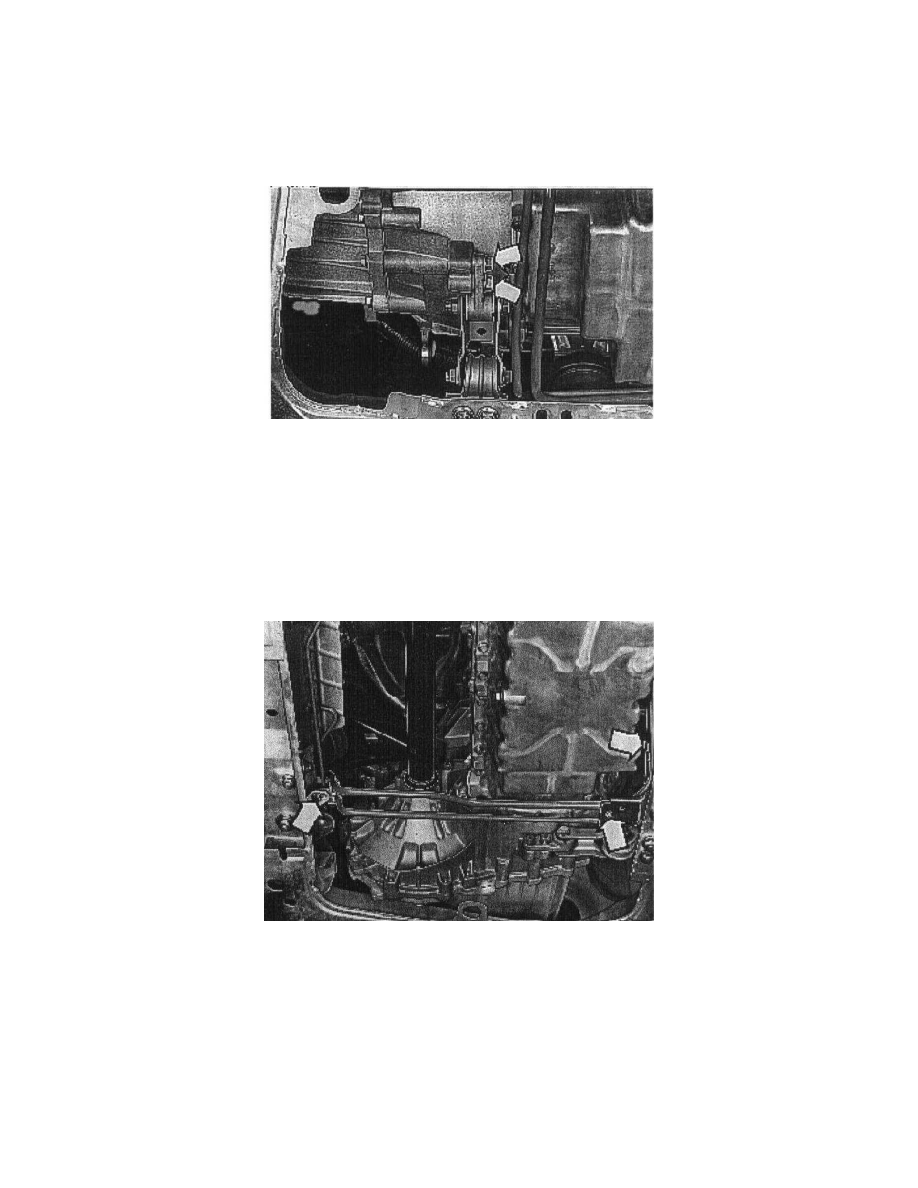
Reinstall the torque rod
Reinstall the torque rod using new screws and tighten to 35 Nm (26 ft. lbs. + 60°, use protractor 9512050.
Note! Early type M8 screw torque to 18 Nm (13 ft. lbs. + 90°.
Install nuts and tighten to 65 Nm (48 ft. lbs. + 60°.
Note! Remarks: The screws can only be reused once, then they must be knocked out of the bracket and replaced with a standard screw with a head.
The same tightening torque applies.
Attach the oil line to the steering servo
Remove the tie straps holding the oil lines.
First reinstall the front clamp without tightening fully.
Reinstall both the others with their brackets and tighten the pipe clamp screws only when the lines are correctly located in position.
Tighten the screw for the first clamp.
Install new oil filter (Older cars: Reinstall engine splashguard, if fitted) and lower car.
Top up engine oil level and reinstall the dipstick.
Check for leaks
