V70 XC AWD L5-2.4L Turbo VIN 56 B5254T (1998)

5. Preparations
-
Place control system on clean workbench.
-
Remove gear selector slide so that it does not fall out and become damaged.
6. Replacing accumulator pistons and seals B2/C2
-
Remove:
Cover plate and gasket.
Check that gasket is intact.
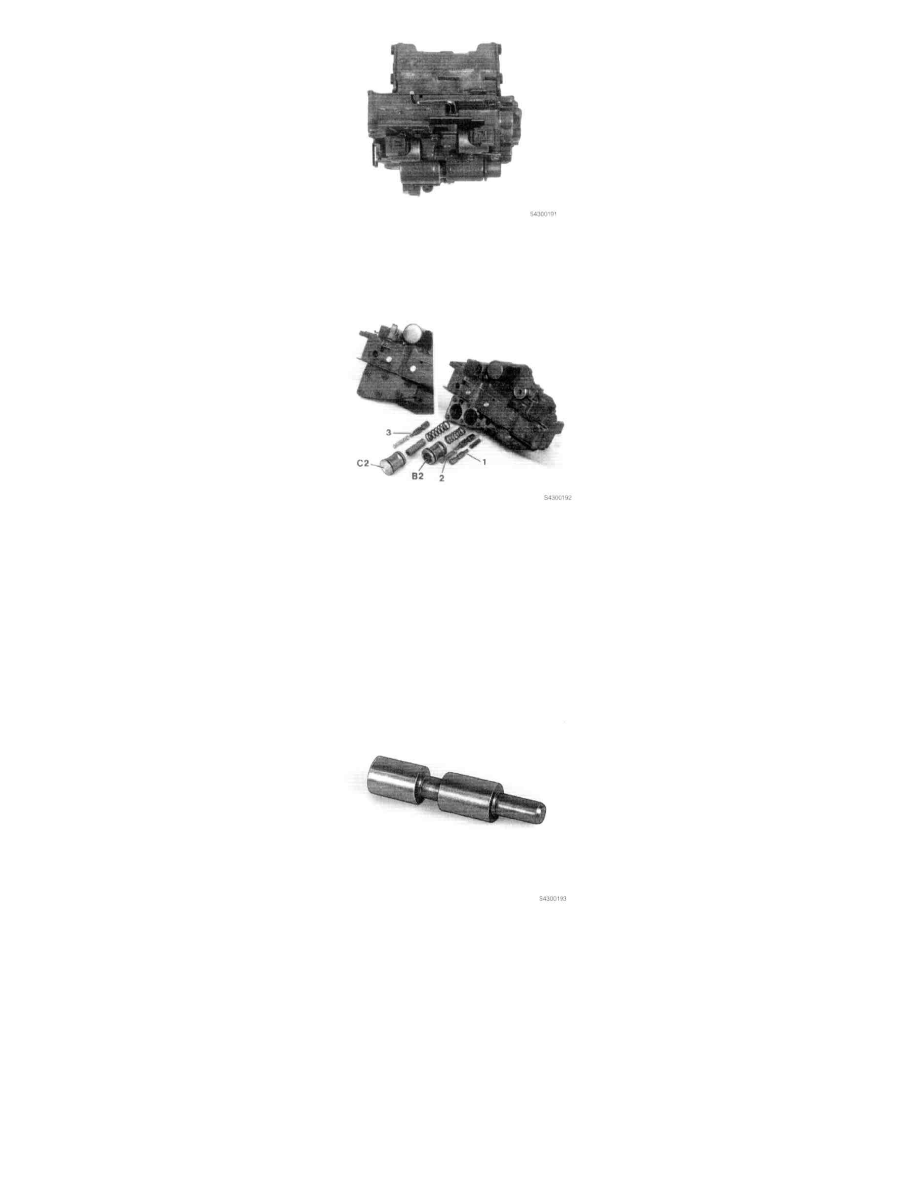
Control valve, accumulators and spring (1)
Spring and modulator valve B2 (2)
Spring and modulator valve C2 (3)
Accumulator piston C2, with two springs (C2)
Accumulator piston B2, with two springs (B2).
Outer spring is attached to piston.
7. Clean and inspect valves and pistons.
-
Clean all metallic components thoroughly in a suitable cleaning fluid.
Dry with compressed air or lint-free rag.
-
Check that valve spools are not abraded or worn.
-
Check that there are no abrasion or wear marks on the valves and that they move easily in their bores.
If necessary the valves can be carefully dressed with extremely fine emery cloth.
