
V70R AWD L5-2.3L Turbo VIN 52 B5234T6 (1998)
Warning!
Take care not to get fingers caught when piston is pushed out.
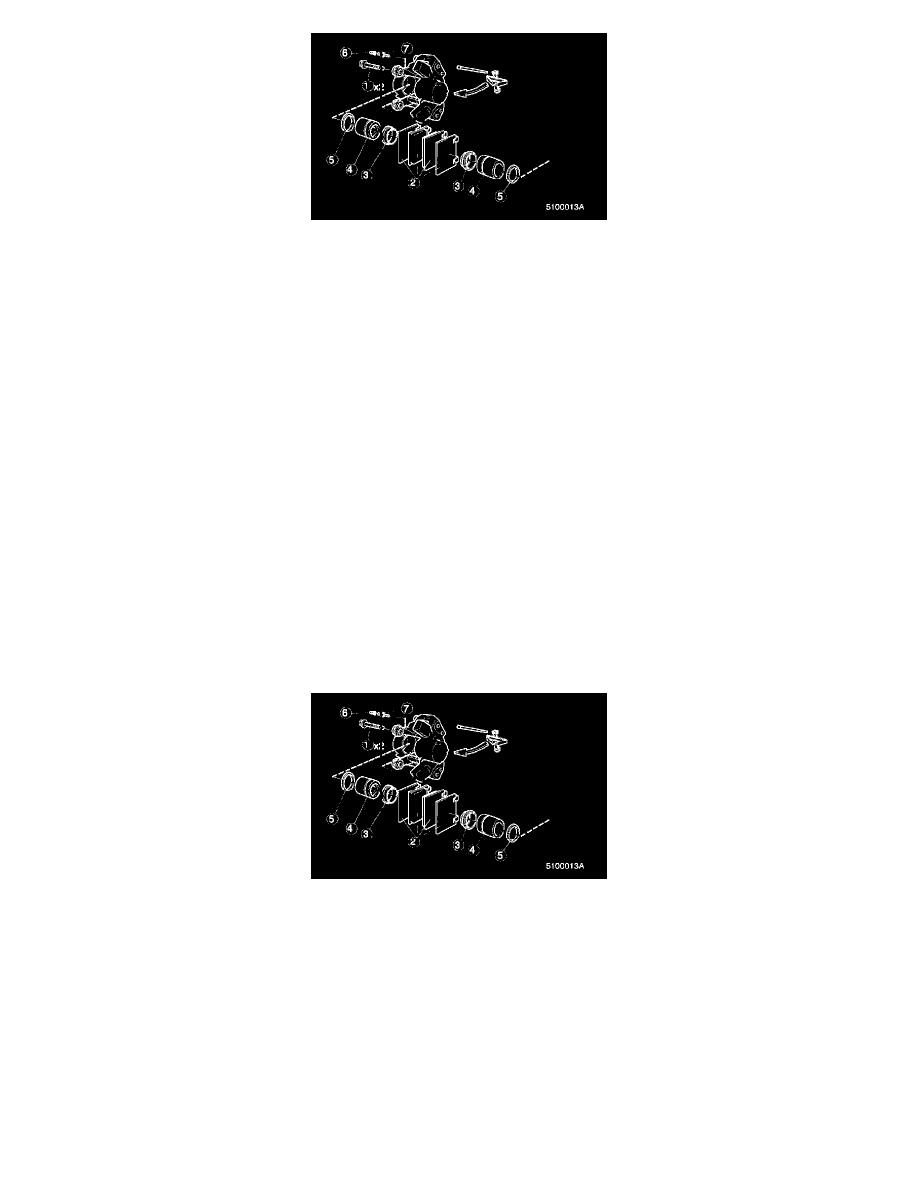
- Remove dirt guard (3).
- Put a block of wood in front of pistons (4) and press out carefully with compressed air.
- Remove pistons. If one piston comes out but the other will not, use clamp 999 2809 and rubber insert as a counterhold in place of the removed
piston.
[PPPA7]
- Use weatherstrip tool 981 4071 or similar to remove O-rings (5).
- Remove bleed nipple (7).
Note!
Do not separate the two halves. This requires special pressure testing equipment and special assembly fluid.
[PPPA8]
Cleaning and inspection
- Clean components with turpentine. Check for wear, damage, cracks and rust. Replace components it necessary.
- Always replace 0-rings and dirt guard during overhaul. Take particular care to clean ducts and grooves for O-rings and dirt guard.
- If cylinders are badly marked, scratched etc, replace caliper complete.
- Remove minor rust deposits with fine sandpaper.
[PPPA9]
Assembling brake caliper
- Coat pistons, cylinder lining and 0-rings with brake fluid.
- Install 0-rings (5) in cylinder grooves.
- Install pistons (4) in brake caliper, one first and then the other.
- Install new dirt guard (3).
- Check that it fits in its groove in pistons and brake caliper.
- Install bleed nipple (7), tighten to 5 Nm (4 ft lb).
[PPPA1O]
Installing brake caliper