V70R AWD L5-2.3L Turbo VIN 52 B5234T6 (1998)

-
B. Scraper ring: Bevel downwards
-
C. Oil scraper ring: Text upwards
NOTE: Piston rings, dimensions, refer to Crank, Pistons and Rods, Measurement.
-
Clean/dry bearing seats in connecting rods and bearing caps.
-
Install bearing shells in connecting rods and bearing caps.
-
Install guide pins tool No. 999 5502, or equivalent.
CAUTION: If re-using original bearing shells, components must be located in original positions.
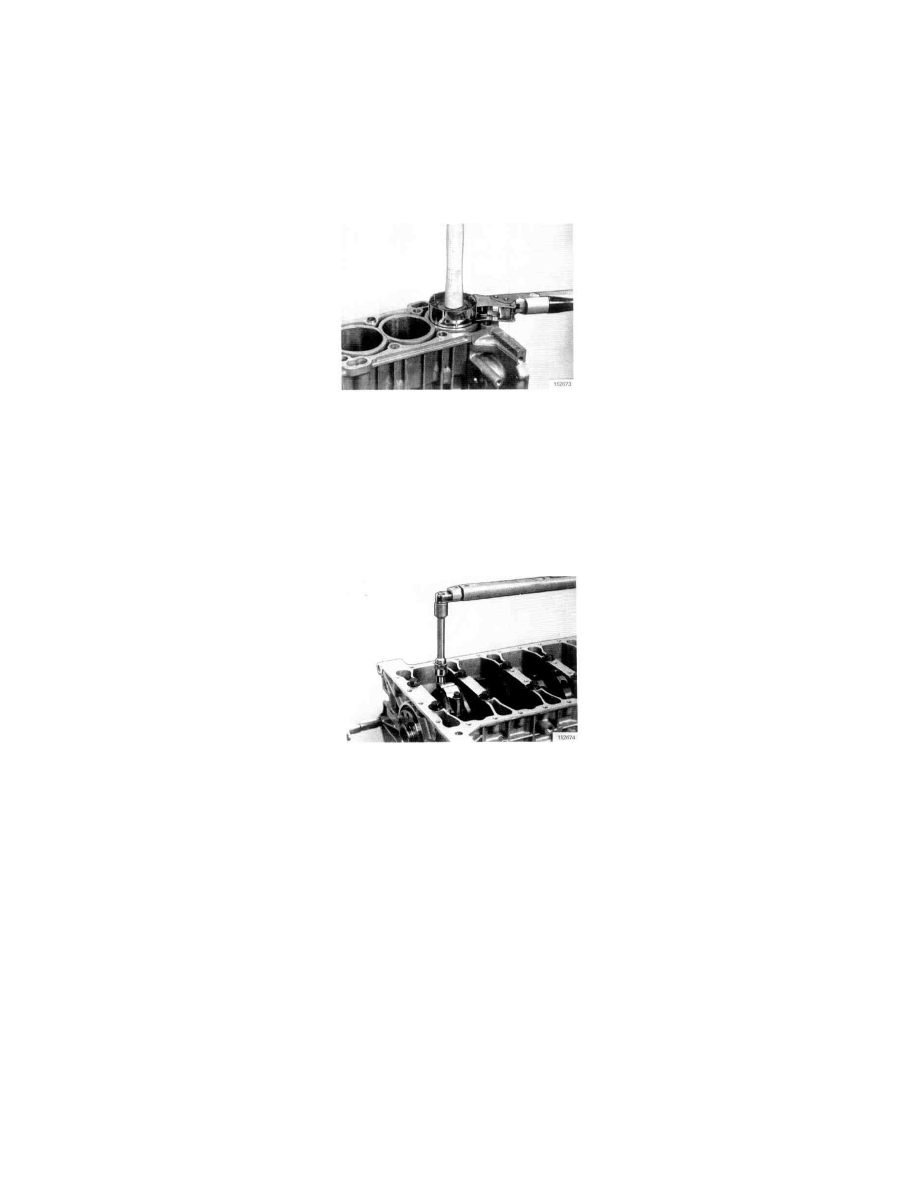
9. Fit pistons in bores:
-
Use piston ring compressor tool No. 115 8281, or equivalent.
-
Oil cylinder bores, pistons and bearing shells.
-
When fitting each piston, turn crankshaft so crank pin for that piston is in its lowest position.
-
Check that piston classification is correct.
-
Press piston into bore (using a hammer shaft).
NOTE: Arrow on piston crown must point towards front, i.e. timing belt, end of engine.
10. Install bearing end caps:
-
Remove guide pins tool No. 999 5502, or equivalent and install caps.
NOTE:
-
Crankshaft must not rotate until all connecting rods/bearing caps have been tightened.
-
Bearing shells may change position.
-
Check that markings on crankshaft and bearing caps line up.
-
Use new oiled bolts.
-
Tighten them in two stages:
1st Stage: 20 Nm (15 ft lb)
2nd Stage: Turn through 90°
-
Check that connecting rods are free to move laterally.
