
V70R AWD L5-2.3L Turbo VIN 52 B5234T6 (1998)
Housing Assembly HVAC: Service and Repair
Climate control unit complete, removal and installation
Special tools:
115 8957, 999 5385,999 5472, 999 5838
Before starting work on climate control unit
CAUTION! Follow the safety precautions for work on air conditioning (A/C) systems according to Safety instructions when handling refrigerant
See: Service Precautions/Technician Safety Information
NOTE!
Read the sections covering slow and quick leaks first, according to General Repair Information See: Service and Repair
NOTE!
Always plug pipes and couplings when working on the climate control system.
Removing climate control unit complete
Operations in engine compartment
-
First read section Before starting work on the climate control system
-
Disconnect battery lead.
-
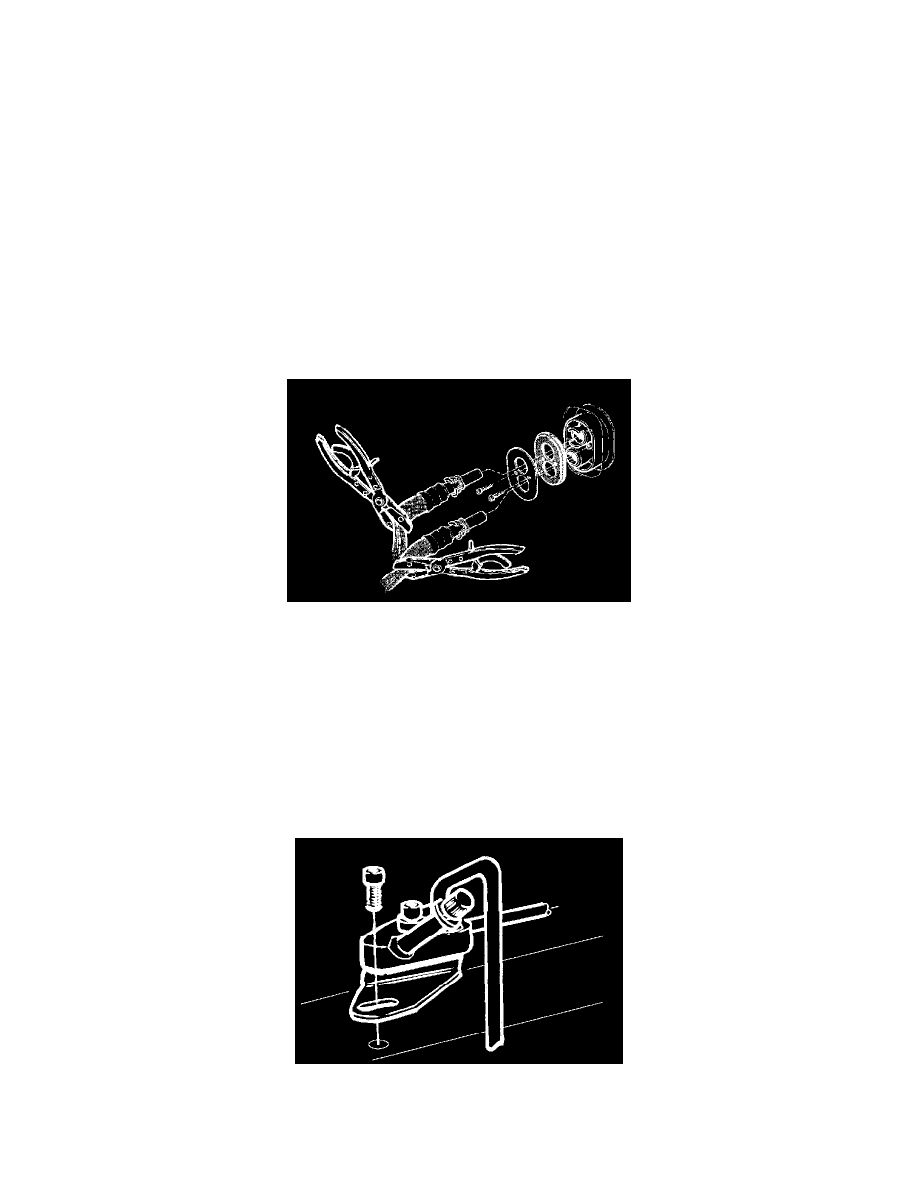
Clamp the hoses. Use lock grip pliers 115 8957.
-
Disconnect the heater hoses from heat exchanger by pressing in the hose connection, pressing in the catch and pulling out the hose
-
Plug the pipe for the heater exchanger.
-
Remove cover plate and rubber seal for lead-in.
-
Remove windshield wiper, refer to Wiper and Washer Systems - Wiper Arm - Service and Repair - Procedures See: Wiper and Washer
Systems/Wiper Arm/Service and Repair
-
Remove gutter, refer to Wiper and Washer Systems - Wiper Motor - Service and Repair - Procedures See: Wiper and Washer
Systems/Wiper Motor/Service and Repair
-
Remove pollen filter if installed.
-
Remove holder.
Additional operations in engine compartment for cars with air conditioning (A/C):
-
remove the screw holding the pipe connector and the receiver/drier bracket (to facilitate disconnecting pipes from the evaporator)