V70R AWD L5-2.3L Turbo VIN 60 B5244T2 (2000)

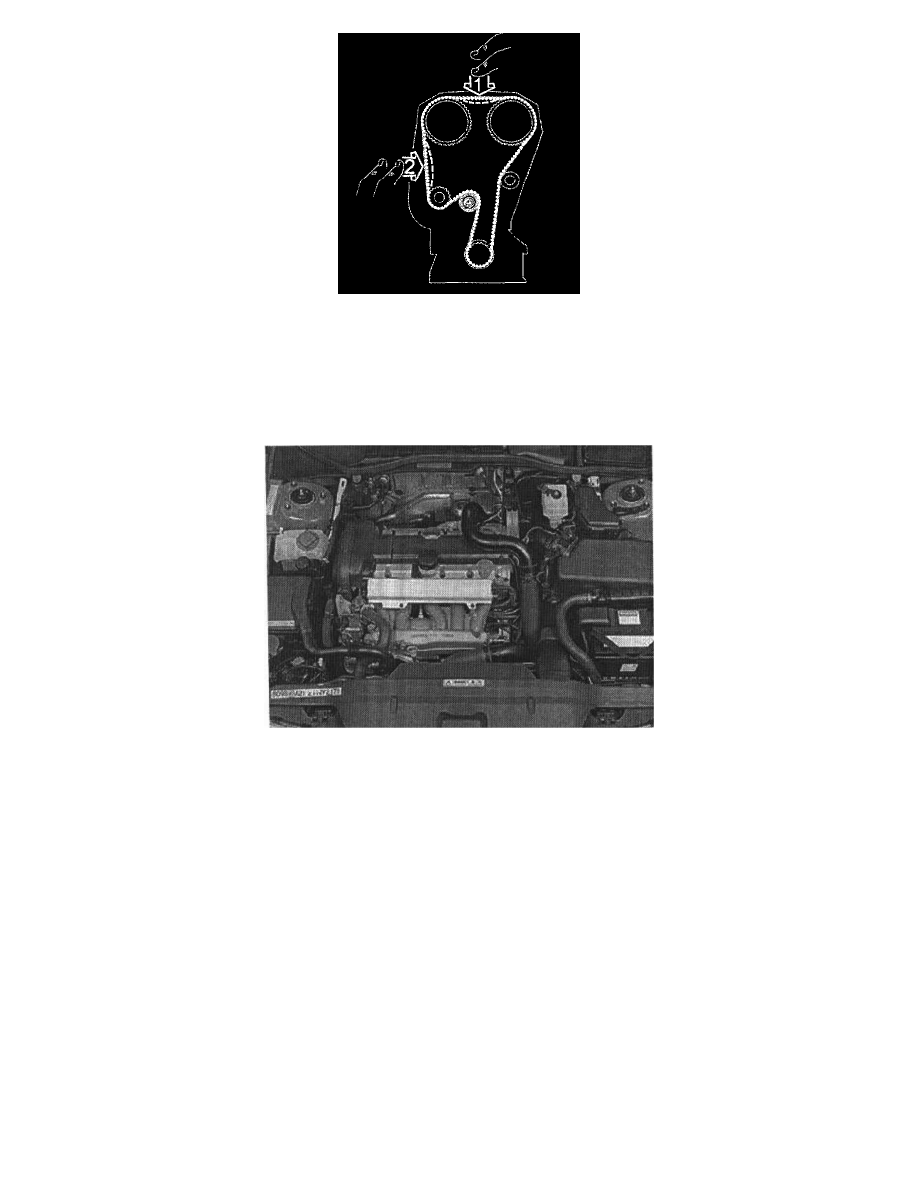
Checking the markings and belt tension
Check:
Press the belt to check that the indicator on the tensioner moves easily.
Install the upper timing belt cover.
Turn the crankshaft two turns and check that the markings on the crankshaft and camshaft pulley correspond.
Check that the indicator on the belt tensioner is within the marked area.
Reinstall
Install:
the front camshaft belt cover. Tighten to 12 Nm (8.8 ft.lb).
the upper camshaft belt cover. Tighten to 8 Nm (6 lb.ft).
the auxiliaries belt.
the cable duct. 3 nuts.
the expansion tank.
the servo reservoir.
Wipe clean. Check the level and top up as necessary.
Note! Check that the hoses are correctly positioned.
the starter motor.
Tighten the screws at the transmission to 40 Nm (29 lb.ft).
Tighten the support bracket screw to 25 Nm (18 Ib.ft)
the engine cooling fan (FC).
the hose between the charge air cooler and the intake.
Remove the seals.
Tighten the clamp on the charge air pipe at the throttle body (TB).
screw the relay bracket and the fan shroud into place.
the canister purge (CP) valve, relays and connectors.
the air ducts.
the brake vacuum hose.
the trigger wheel.
