
V70R AWD L5-2.3L Turbo VIN 60 B5244T2 (2000)
Tighten to 50 Nm (37 lb-ft).
14
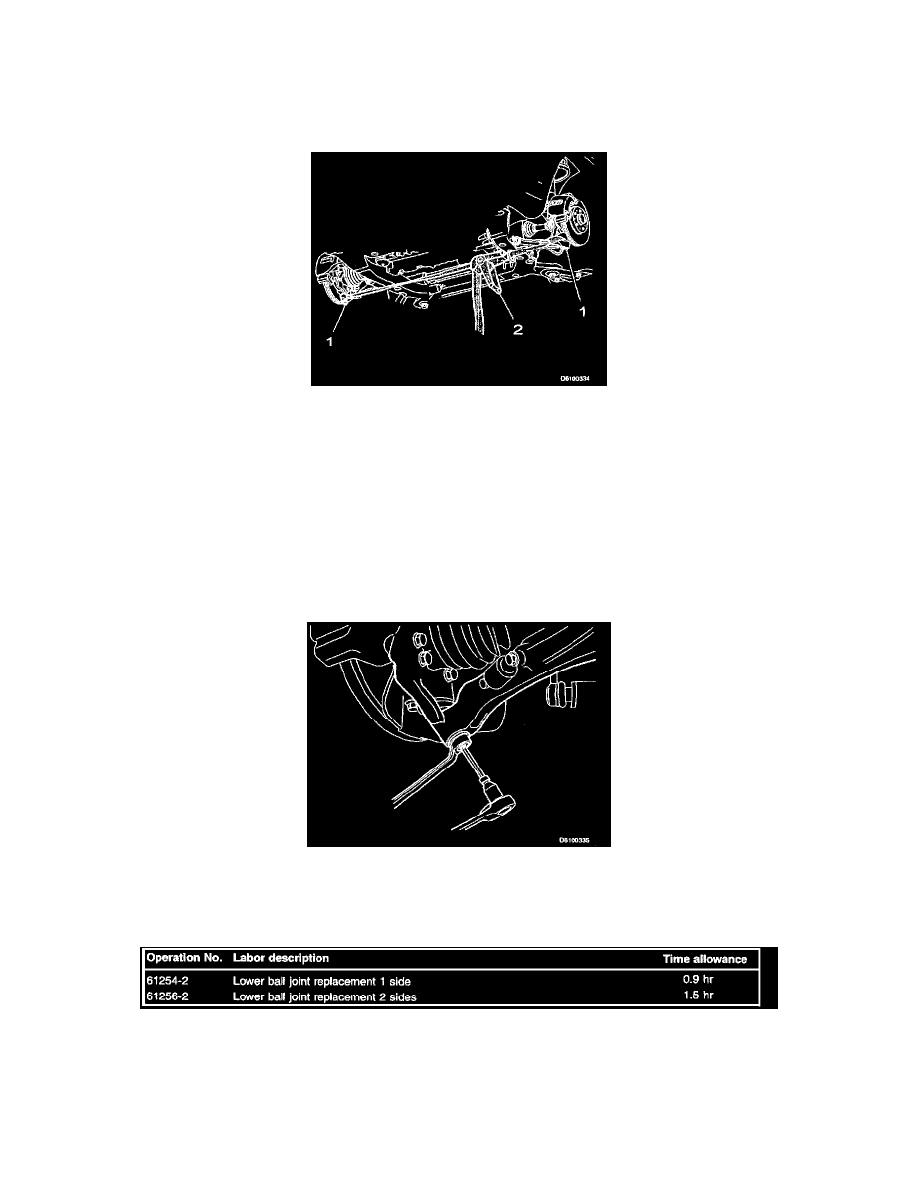
Installing the control arm and ball joint
Align the ball joints (1) in the control arm.
Warning!
Be careful when releasing transporter's tiedown strap.
Slowly release the control arms (1) by releasing the tension on the strap.
15
Installing the nut
Install a new nut.
Caution!
Use a Torx-40 wrench as a counterhold so that the rubber boot is not damaged. Tighten to 80 Nm (59 lb-ft).
Install the wheels. Tighten to 140 Nm (103 lbf-ft).
WARRANTY STATEMENT: Claims may be submitted under the New Car Warranty when there is a documented customer complaint, using claim type
01.