
V90 L6-2.9L VIN 96 B6304S (1998)
-
Install solenoid leads and wiring harness bracket.
-
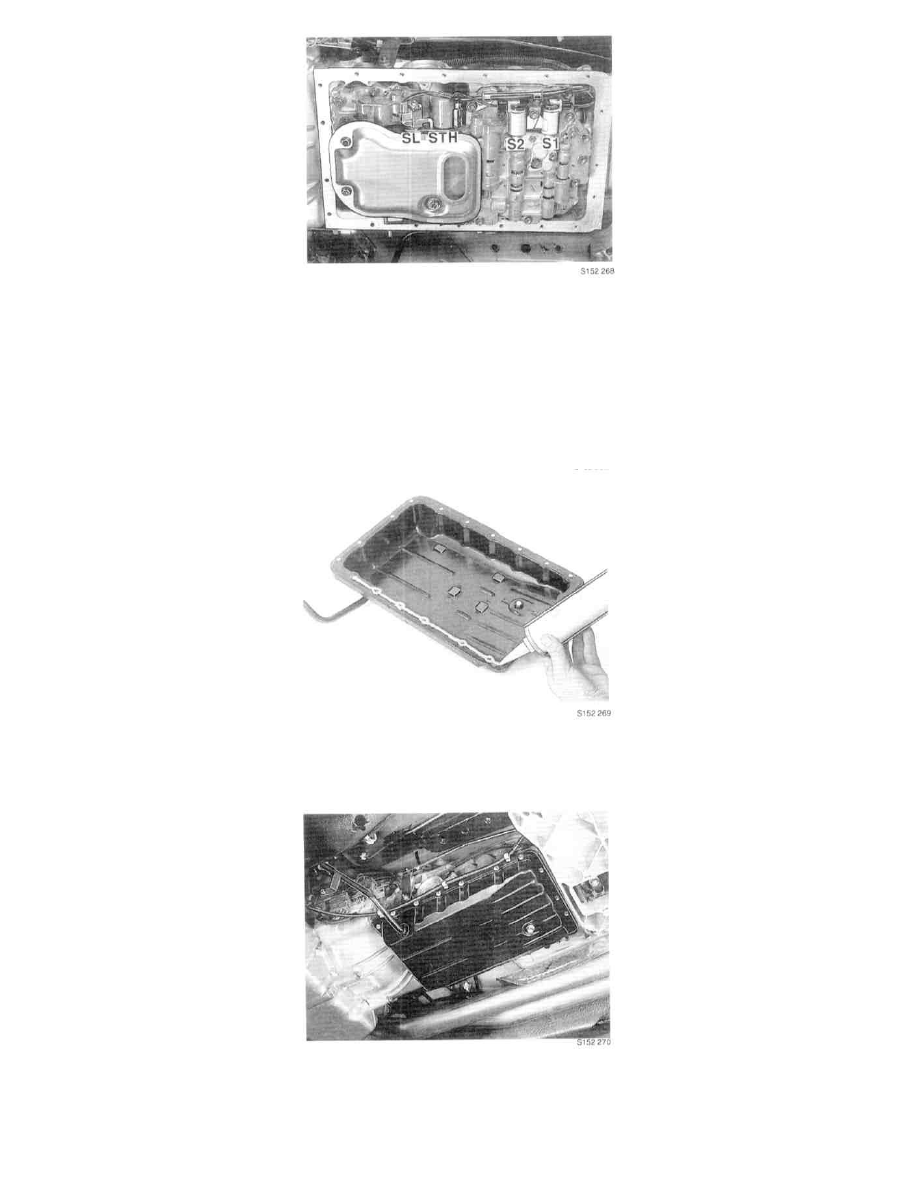
Install solenoid connectors (four). Connect gray wiring connector to gray solenoid connector (solenoid SL.)
-
Of remaining connectors, one has two pins and fits solenoid STH only. Location of last two connectors is clear from length of wiring (solenoids
S1 and S2.)
-
Install bracket with two screws. Tighten to 10 Nm (7.5 ft lb).
Installing Fluid Pan
-
Clean remains of gasket from fluid pan and transmission sealing faces. Use bakelite scraper.
-
Clean sealing faces with methylated spirits.
-
Install particle magnets (four) in fluid pan recesses as shown.
-
Apply liquid sealing compound (liquid gasket), P/N 1161409-6, to parts as illustrated. Apply bead approx. 3 mm thick to faces and around screw
holes.
-
Install and tighten fluid pan and dipstick screws diagonally to 7 Nm (5 ft lb).
-
Install drain plug with new seal.
-
Tighten to 20 Nm (15 ft lb).
-
Clip HO2S lead to fluid pan.