
V90 L6-2.9L VIN 96 B6304S (1998)
Fluid - A/T: Service and Repair
Fluid Replacement
Special tool: 9995510
NOTE: The fluid should be replaced only under the following conditions:
A - When the OBD system has recorded high fluid temperature (DTC 2-3-5).
B - When the fluid is discolored or gives off a burnt odor but no DTC is recorded (for example, following hard, concentrated driving).
CAUTION: Fluid may be extremely hot if car has recently been driven.
Draining Fluid
-
Remove plug and drain fluid from pan.
-
Reinstall plug with new seal and tighten to 20 Nm (15 ft lb).
-
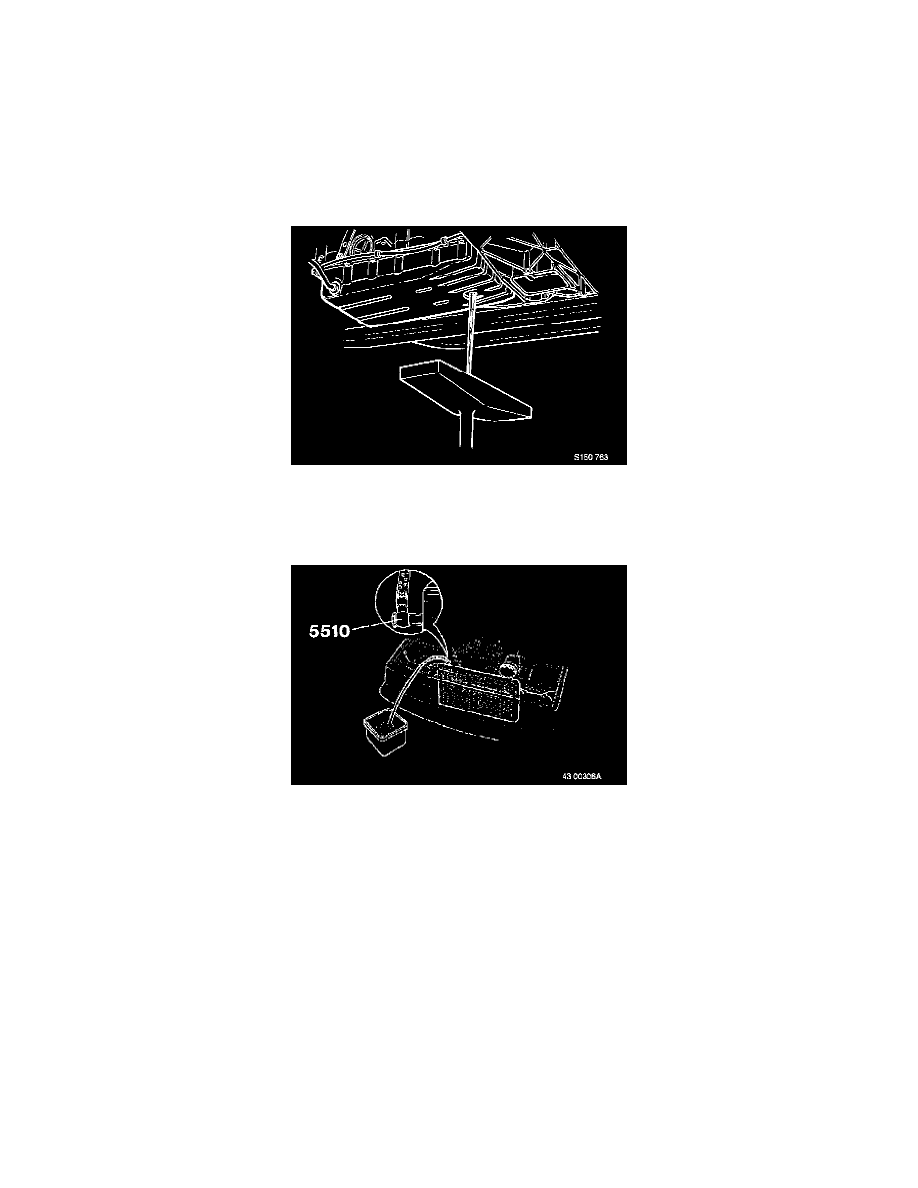
Disconnect upper pipe from oil cooler. Always use wrench to counterhold hexagonal nut when loosening or tightening union.
-
Attach tool 999 5510
-
Place container under tube to collect fluid.
Replacing Fluid
-
Apply parking brake and move gear selector lever to position P.
-
Add approx. 2 liters (2 US qts) of fluid. Grade of fluid: ATF fluid that complies with the specifications for Dexron II E and Ford Mercon or
Dexron III and Ford Mercon.
-
Start engine and allow to idle.
-
Stop engine when bubbles begin to appear in tube.
-
Add another 2 liters (approx.) of fluid.
-
Start engine again and allow to idle.
-
Stop engine when bubbles begin to appear in tube.
-
Remove tool 9995510 and reconnect pipe to cooler.
-
Add another 2 liters (approx.) of fluid.
-
Apply parking brake.
Start engine and allow to idle. Select each gear position in turn, remaining in each for 4-5 seconds.
-
Move gear selector lever to position P with engine idling.
-
Wait 2 minutes and recheck fluid level.
-
Top up as required.
-
Stop engine.