
XC70 L5-2.5L Turbo VIN 59 B5254T2 (2003)
Thoroughly clean and dry the O-ring mating surfaces.
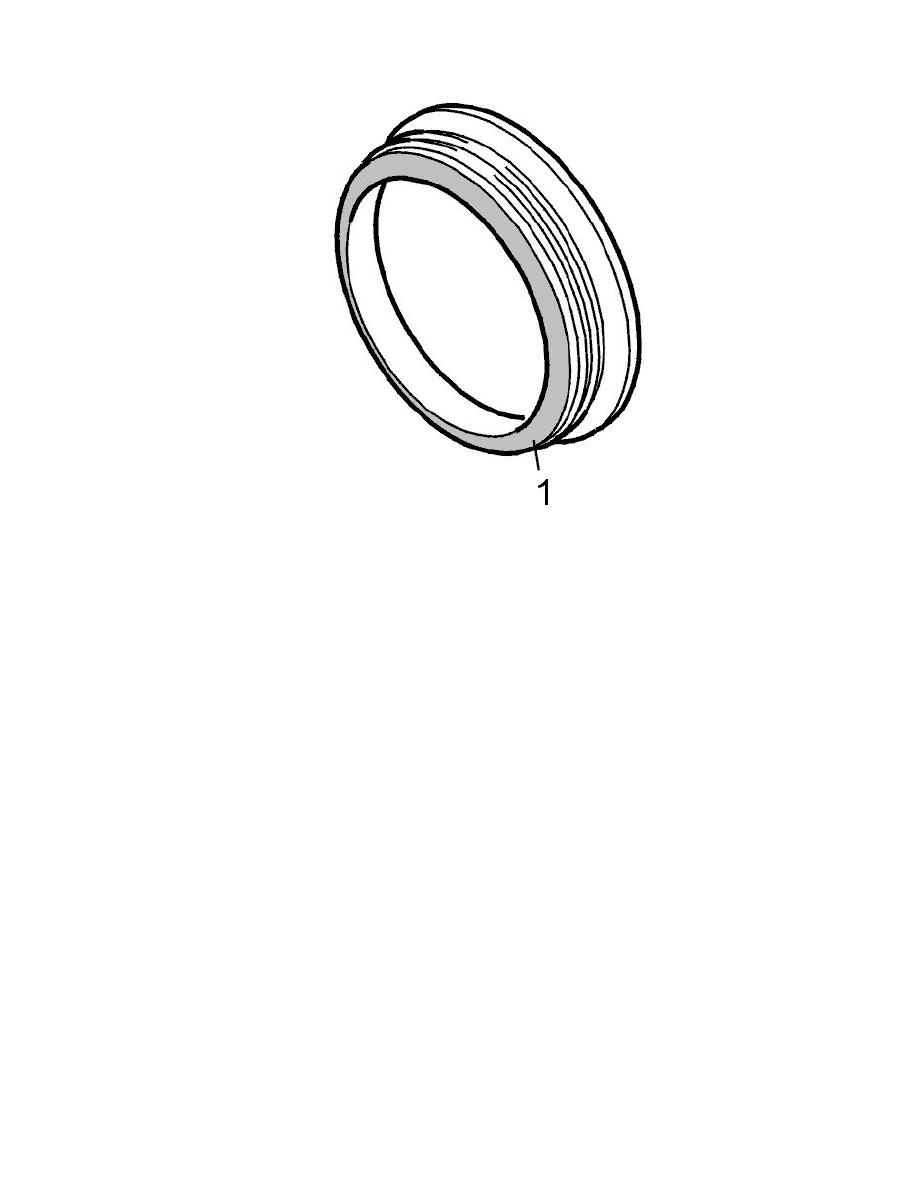
Install a new O-ring.
Use petroleum jelly to lubricate the screw mating surface with the fuel tank unit. This is so that the screw does not turn the fuel tank unit when it is
tightened.
Press down the right fuel sensor and pump so that the fuel line is pointing forward and to the right. Ensure that the arrow on the cover is between the
markings on the tank.
Check that the O-ring does not deform.
Tighten the screw. Tighten to 60 Nm.
Note! Check that the arrow on the cover is between the markings on the tank. If the arrow is outside the markings the fuel gauge sensor will
give an incorrect value and the float may catch against the inner wall of the tank. If not: Slacken off the screw and adjust the position of the
fuel tank unit. Tighten as above.