
XC90 2.5T AWD L5-2.5L Turbo VIN 59 B5254T2 (2003)
Variable Valve Timing Actuator: Adjustments
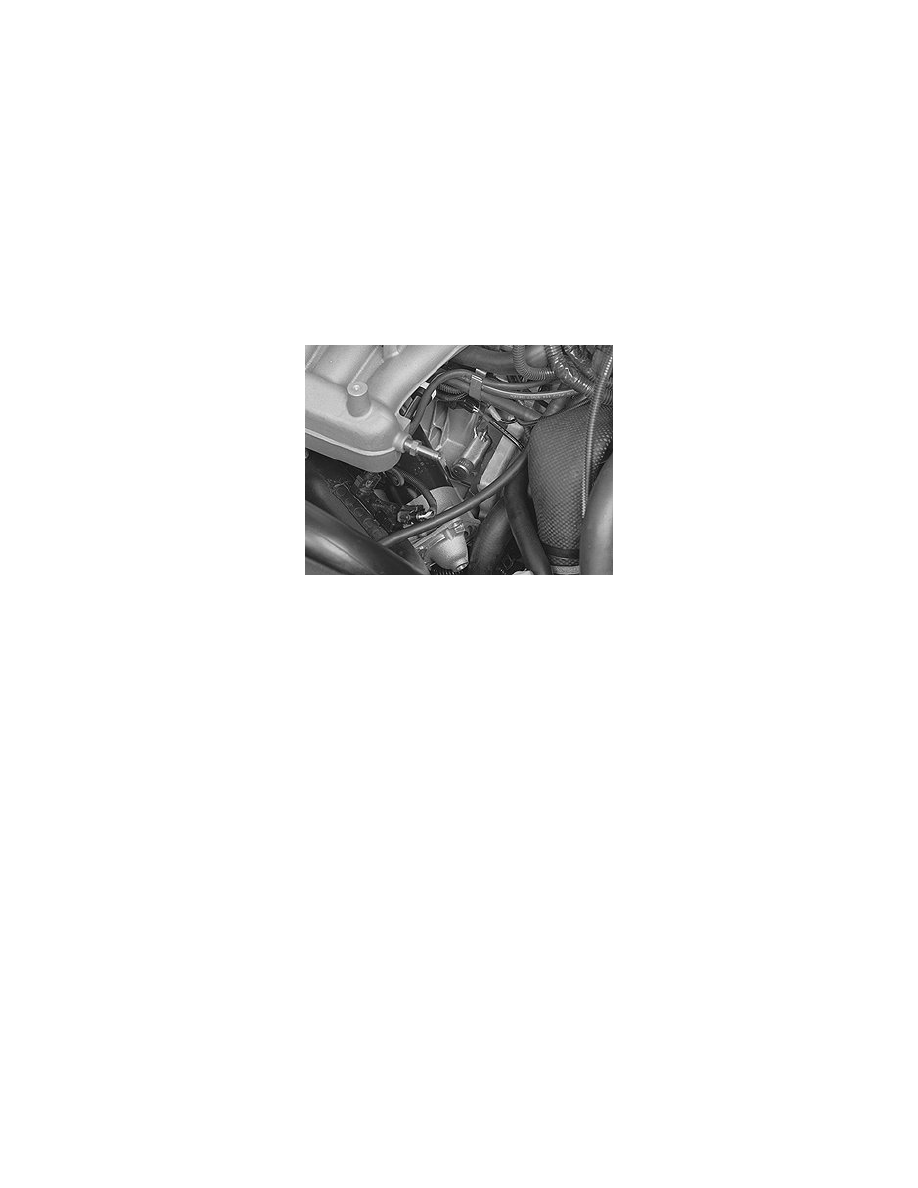
Variable valve timing unit, checking and adjusting
Special tools:
999 5451 Adjustment Tool See: Tools and Equipment/999 5451 Adjustment Tool
999 5452 Camshaft Adjustment Tool See: Tools and Equipment/999 5452 Camshaft Adjustment Tool
Note! The illustrations in this service information are used for different model years and/or models. Some variation may occur. However, the
essential information in the illustrations is always correct.
Installing and adjusting the variable valve timing unit/timing gear pulley on the camshaft
Note! This procedure must be carried out with precision as any deviation could generate a fault symptom.
Installing the crankshaft adjustment tool
Remove the mounting screws for the starter motor.
Pull out the starter motor and place it to one side.
Remove the blind cover plug from the hole for the adjustment tool.
Turn the crankshaft clockwise slightly.
Install: 999 5451 Adjustment Tool See: Tools and Equipment/999 5451 Adjustment Tool. Ensure that the tool bottoms out against the cylinder block.
Aligning the crankshaft
Turn the crankshaft counter-clockwise until it stops against the adjustment tool.
Check that the marking on the crankshaft timing gear pulley corresponds to the marking on the oil pump.
Installing the variable valve timing unit on the camshaft