
XC90 AWD L5-2.5L Turbo VIN 59 B5254T2 (2005)
-
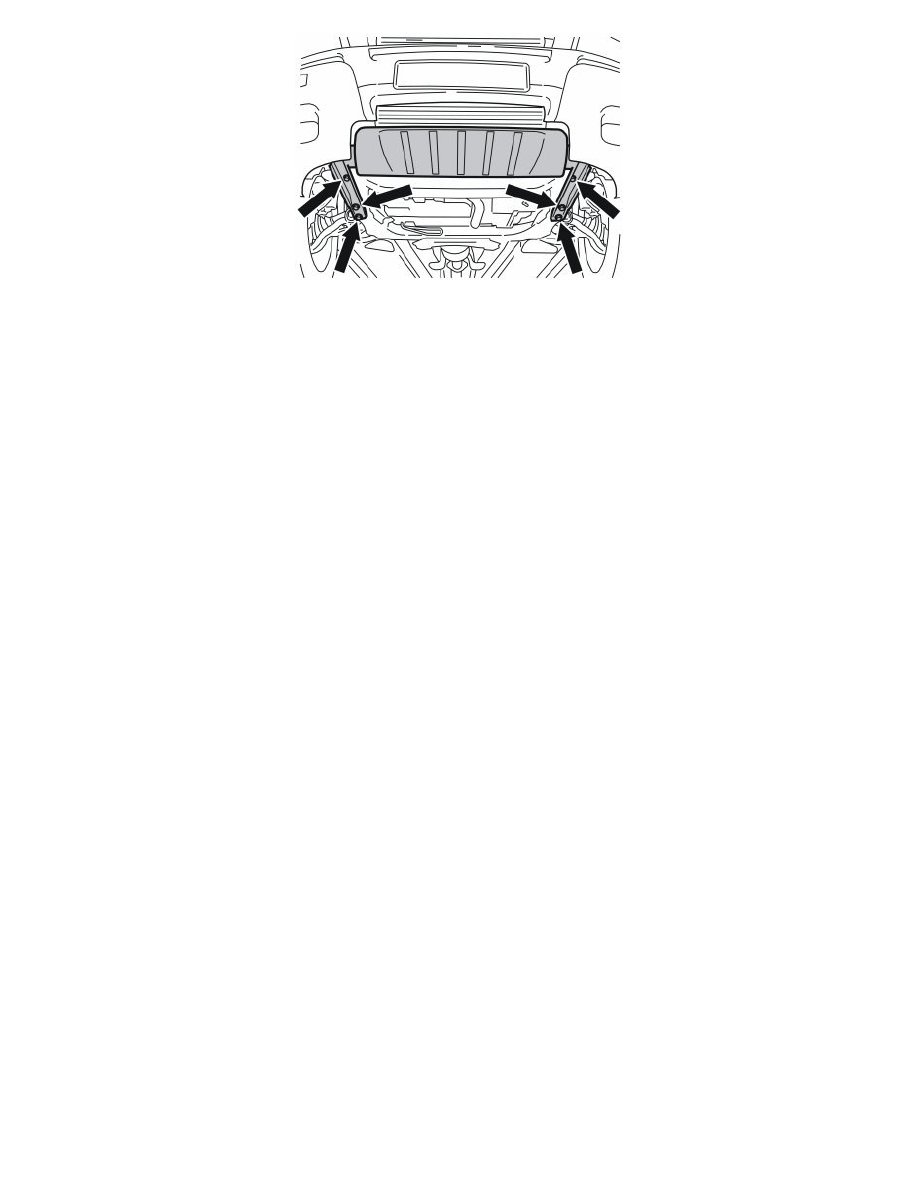
the splashguard under the car.
Removing the pipe/hose from the compressor - junction block on the side member
Remove:
-
the charge air hose on the right-hand side
-
the pipe / hose from the compressor to the junction block.
Installing the pipe/hose on the compressor - condenser
Note! For tightening torques, see See: Body and Frame/Specifications
Note! Always use new O-rings lubricated with compressor oil.
Position the pipe/hose in the mounting on the condenser and pipe coupling.
Install 1 M8 screw. Tighten.
Position the pipe and hose connection on the compressor.
Install:
-
1 M8 screw. Tighten
-
the charge air hose on the right-hand side.
Installing the pipe/hose on the compressor - junction block on the side member
Install the pipe/hose from the compressor to the junction block.
Note! Ensure that the pipe/hose is in front of the electrical ducts.
Install the charge air hose on the right-hand side.
Finishing
Vacuum pump the air conditioning (A/C) system. See Vacuum pumping See: Heating and Air Conditioning/Service and Repair/Vacuum Pumping.
Fill the air conditioning (A/C) system with refrigerant. See Refrigerant, filling See: Heating and Air Conditioning/Service and Repair/Refrigerant, Filling
.
Leak trace the air conditioning (A/C) system. See Leak tracing, fluorescent tracing agent / UV lamp See: Heating and Air Conditioning/Testing and
Inspection/Component Tests and General Diagnostics/Leak Tracing, Fluorescent Tracing Agent/UV Lamp or Leak tracing, electronic leak tracer See:
Heating and Air Conditioning/Testing and Inspection/Component Tests and General Diagnostics/Leak Tracing, Electronic Leak Tracer.