
XC90 AWD L5-2.5L Turbo VIN 59 B5254T2 (2005)
999 5747 Socket See: Tools and Equipment/999 5747 Socket
999 5451 Adjustment Tool See: Tools and Equipment/999 5451 Adjustment Tool
999 5452 Camshaft Adjustment Tool See: Tools and Equipment/999 5452 Camshaft Adjustment Tool
999 5433 Counterhold See: Tools and Equipment/999 5433 Counterhold
Note! As the illustrations in this service information are used for different model years and/or models, some variation may occur. However, the
essential information in the illustrations is always correct.
Tightening torque
For tightening torques not in the text, see Tightening torque See: Engine, Cooling and Exhaust/Engine/Specifications/Mechanical
Specifications/Tightening Torque.
Installing the water pump
Install the rear timing cover.
Screw into place at the three mounting points.
Install the water pump with a new gasket.
Apply thread sealant, P/N 11-61 056, to all the screws for the water pump. Tighten the screws crosswise.
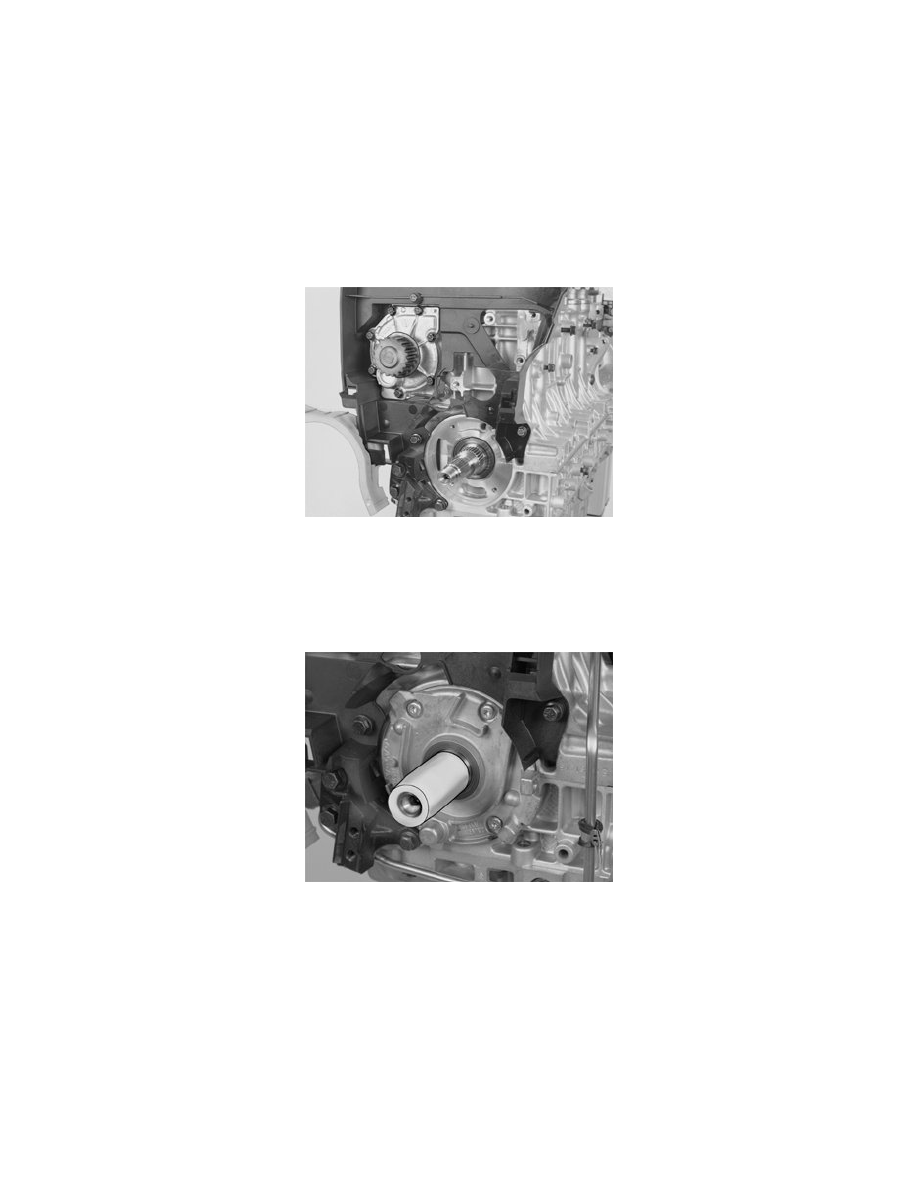
Installing the oil pump
Use a new gasket and a new O-ring around the oil pump housing and new screws. Alternatively, apply thread sealant 11 61 056 to the underside of the
old screw heads.
Screw sliding sleeve 999 5747 Socket See: Tools and Equipment/999 5747 Socket into place at the front of the crankshaft journal.
Press in the pump over the sliding sleeve.
Install the screws as a guide.
Carefully tap in the oil pump with a rubber mallet.
Tighten the oil pump crosswise. See Tightening torque See: Engine, Cooling and Exhaust/Engine/Specifications/Mechanical Specifications/Tightening
Torque.
Remove the sliding sleeve 999 5747 Socket See: Tools and Equipment/999 5747 Socket.
Installing front crankshaft seal
See See: Engine, Cooling and Exhaust/Engine/Seals and Gaskets/Front Crankshaft Seal/Service and Repair/Crankshaft Front Seal