XC90 AWD L5-2.5L Turbo VIN 59 B5254T2 (2005)

Note! Do not turn counter clockwise during this procedure.
Slacken off, but do not remove, the screws which secure the timing gear pulley to the variable valve timing unit.
Press the variable valve timing unit and timing gear pulley onto the camshaft.
Install the center screw which secures the variable valve timing unit to the camshaft. Tighten slightly. Turn the variable valve timing unit
counter-clockwise as far as it will go. Remove the center screw.
Position the upper timing cover.
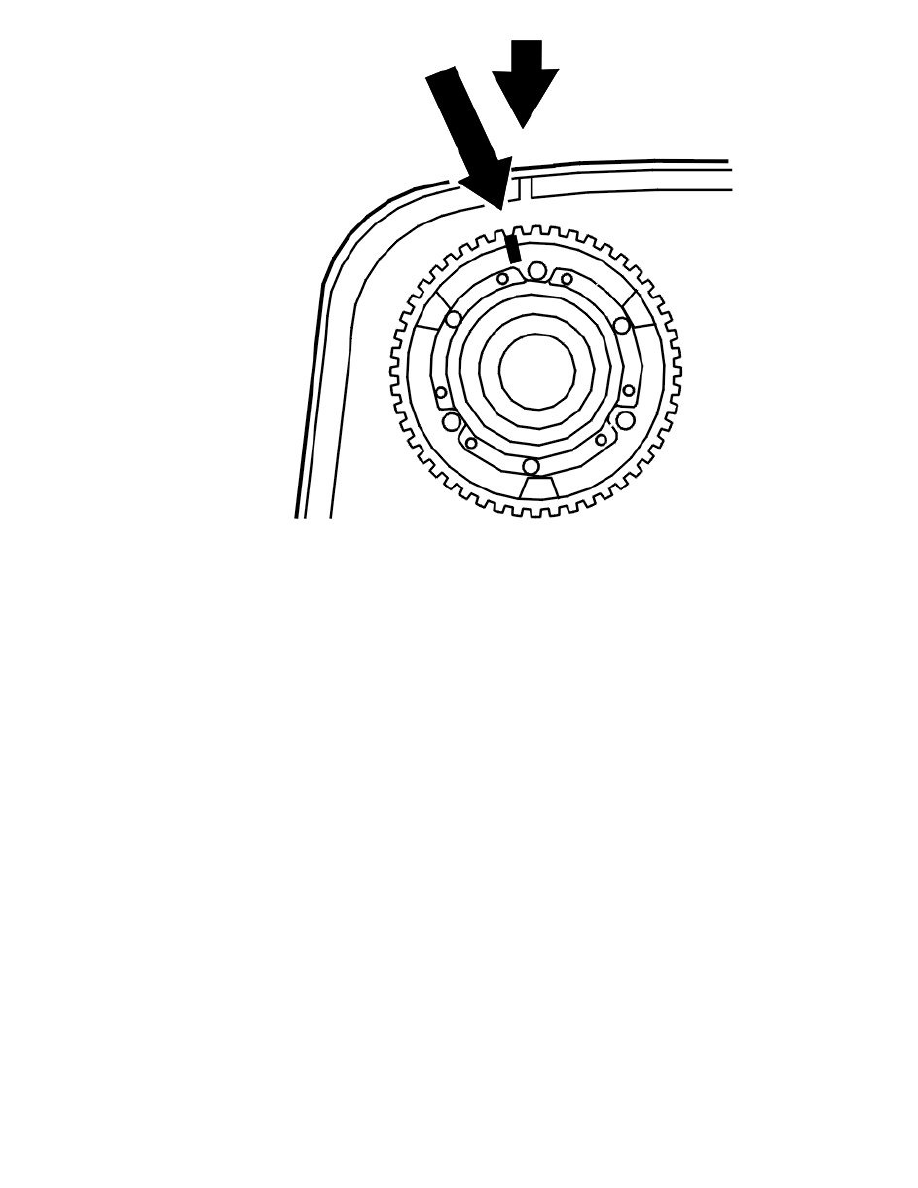
Turn the timing gear pulley clockwiseuntil the screws at the oval holes are in the limit position. Continue turning clockwise until the timing gear pulley
marking is 1 cogs before the marking on the upper timing cover.
Check that the timing gear pulley is still in the limit position in the oval holes. Tighten the center screw in the variable valve timing unit. Tighten. See
Tightening torque See: Engine, Cooling and Exhaust/Engine/Specifications/Mechanical Specifications/Tightening Torque.
Check that the variable valve timing unit does not rotate when tightening. Install and tighten the center plug. See Tightening torque See: Engine, Cooling
and Exhaust/Engine/Specifications/Mechanical Specifications/Tightening Torque.
Turn the variable valve timing unit clockwise to the limit position.
Turn the timing gear pulley so that the markings correspond.
Installing the variable valve timing (VVT) unit on the intake camshaft
