
XC90 AWD L5-2.5L Turbo VIN 59 B5254T2 (2005)
Control Unit: Service and Repair
Differential electronic module (DEM), replacing
Note! As the illustrations in this service information are used for different model years and/or models, some variation may occur. However, the
essential information is always correct.
Preparatory work
Ignition off.
Wait 3-4 minutes after the ignition is switched off to minimize oil leakage on removal.
Removal
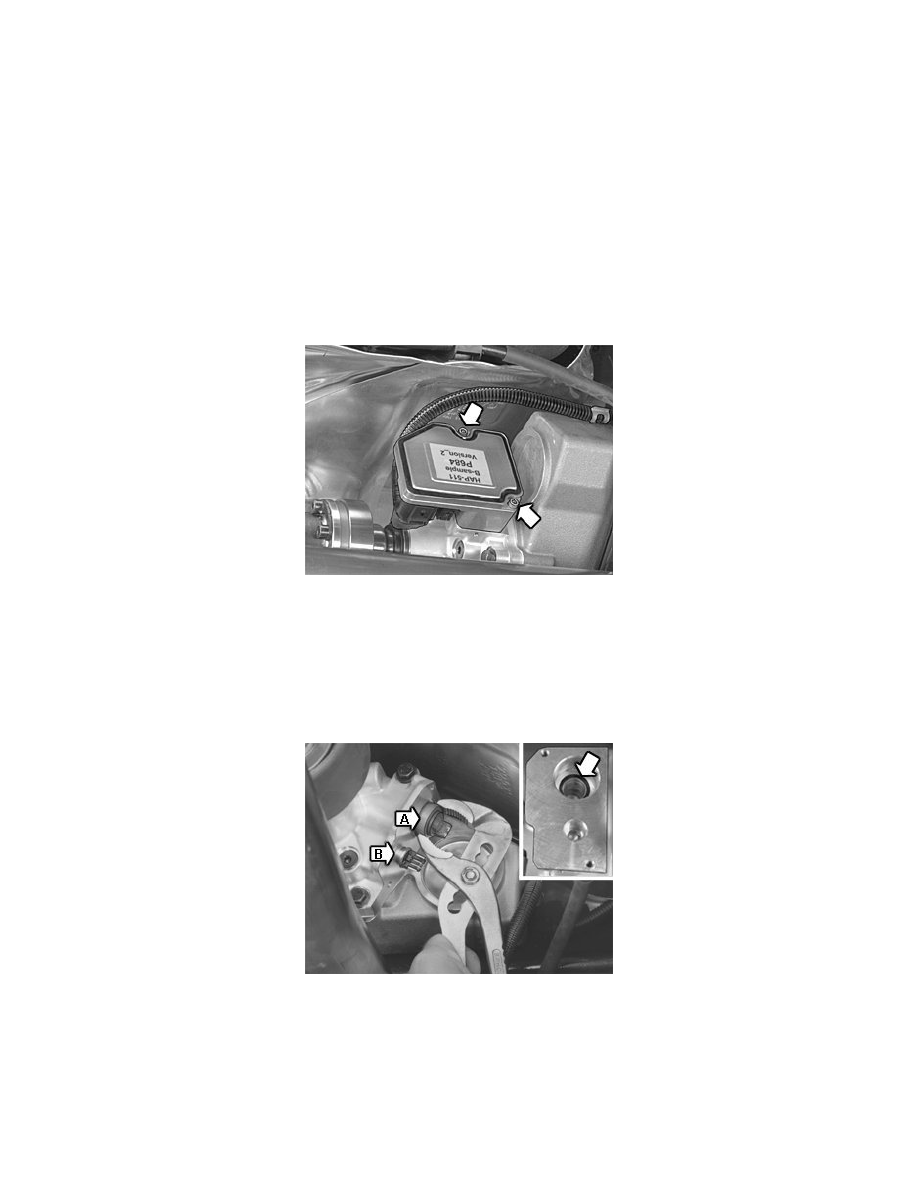
Removing the differential electronic module (DEM)
Note! Clean the area around the control module thoroughly before beginning removal.
Position a container underneath the Active on Demand Coupling.
Disconnect the connectors for the control module and the oil pump.
Remove:
-
the 2 screws for the control module
-
the control module with the sealing plate and the cupped washer.
Removing components from the Active on Demand coupling
Remove the choke valve and the temperature/pressure sensor from the coupling.
A = choke valve.
B = temperature/pressure sensor.
To remove, grasp the end of the choke valve. Use a large pliers. Hold the pliers steady. Pull the valve straight out.
Remove:
-
the temperature/pressure sensor as above
-
The O-ring from the choke valve seat in the Active on Demand Coupling housing.