
XC90 AWD L5-2.5L Turbo VIN 59 B5254T2 (2005)
When the first join is completed and checked, join the rest of the wire ends in the same way.
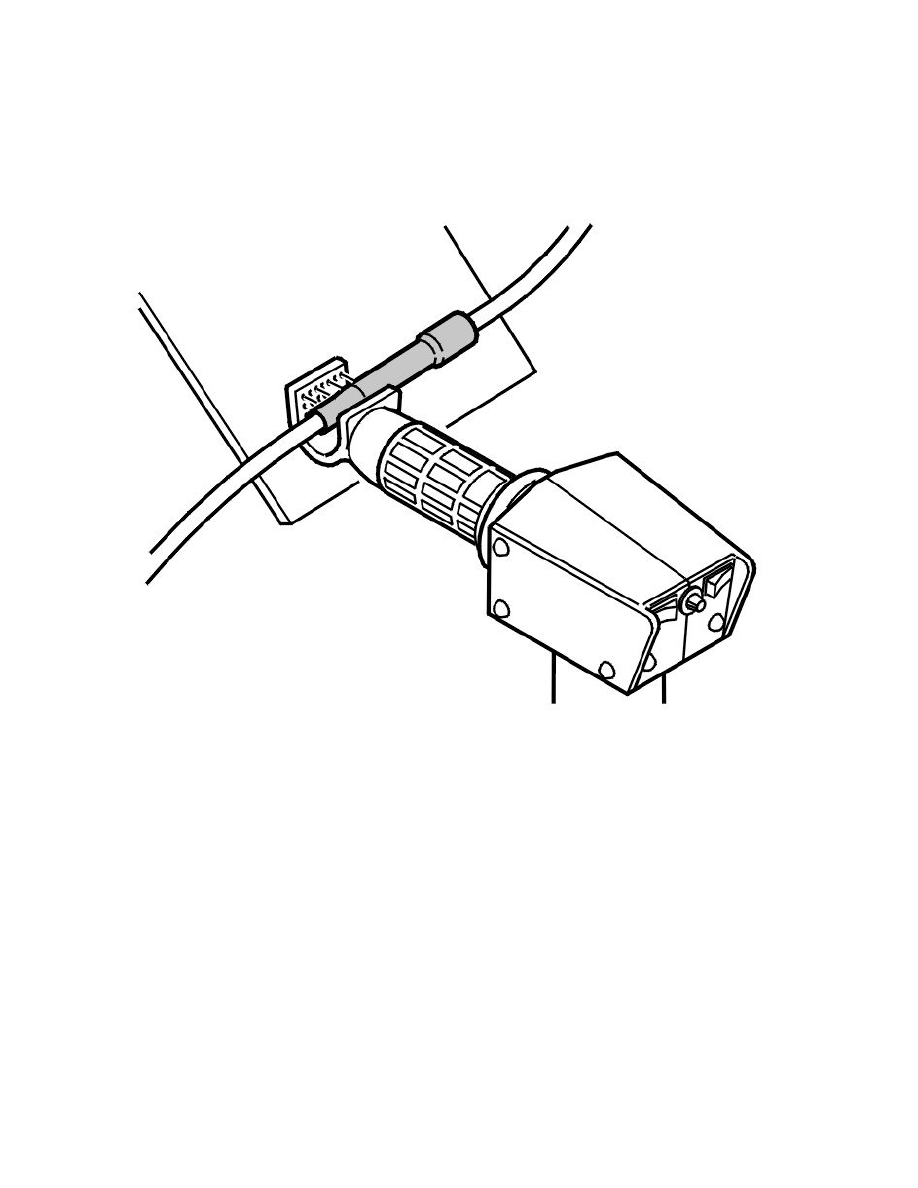
Heating the shrink tubing
The shrink tubing ensures the electric wire is satisfactory and provides a safe join.
Hold a pad or other item behind the shrink tubing to avoid heat escaping.
Hint: Suitable setting of heat gun 951 2777 Hot-air gun See: Tools and Equipment/951 2777 Hot Air Gun , air distribution switch in position 2 and
potentiometer for temperature setting in position between 2 and 3.
Heat the sleeve using the hot air gun 951 2777 Hot-air gun See: Tools and Equipment/951 2777 Hot Air Gun and suitable jet kit. Heat the shrink tubing
rapidly to avoid heat escaping. It is very important that the shrink tubing is correctly shrunk around the wire. It should be tight at both ends.
Note! Adjust the heat shield if necessary.
Connectors, Repair
Connectors, repair
Note! As the illustrations in this service information are used for different model years and/or models, some variation may occur. However, the
essential information in the illustrations is always correct.
Connector
The commonest types of connector and central electrical unit in the vehicle are listed here.
For more information about secondary locking, primary locking, terminal removal tools, etc., see the link by each type of connector.
Note! Before working in the connector, disconnect the battery negative terminal, Battery, disconnecting See: Starting and
Charging/Battery/Service and Repair/Procedures/Battery, Disconnecting.