
XC90 AWD L6-2.9L Turbo VIN 91 B6294T (2004)
Variable Valve Timing Actuator: Service and Repair
Camshaft seal/variable valve timing (VVT) unit, replacing
Removing the front camshaft seal
Note! The illustrations in this service information are used for different model years and/or models. Therefore there may be some variation.
However, the essential information in the illustrations is always correct.
Caution! There are a number of versions of the variable valve timing unit. Therefore it is extremely important to always read the information
referring to the engine variant/model year to be remedied.
Replacing the rear camshaft seal
See Removal and Installation.
Preparation
Interrupt the current: Disconnect the battery negative lead. First read Battery, disconnecting See: Starting and Charging/Battery/Service and
Repair/Procedures/Battery, Disconnecting.
Remove the timing belt from the timing gear pulley for the camshafts. See Timing belt, replacing See: Timing Components/Timing Belt/Service and
Repair/Removal and Replacement. Check the tensioner and idler pulleys. See Timing belt, replacing See: Timing Components/Timing Belt/Service and
Repair/Removal and Replacement.
Remove the camshaft position (CMP) sensor housings and the trigger wheels.
Removing the variable valve timing unit/timing gear pulley
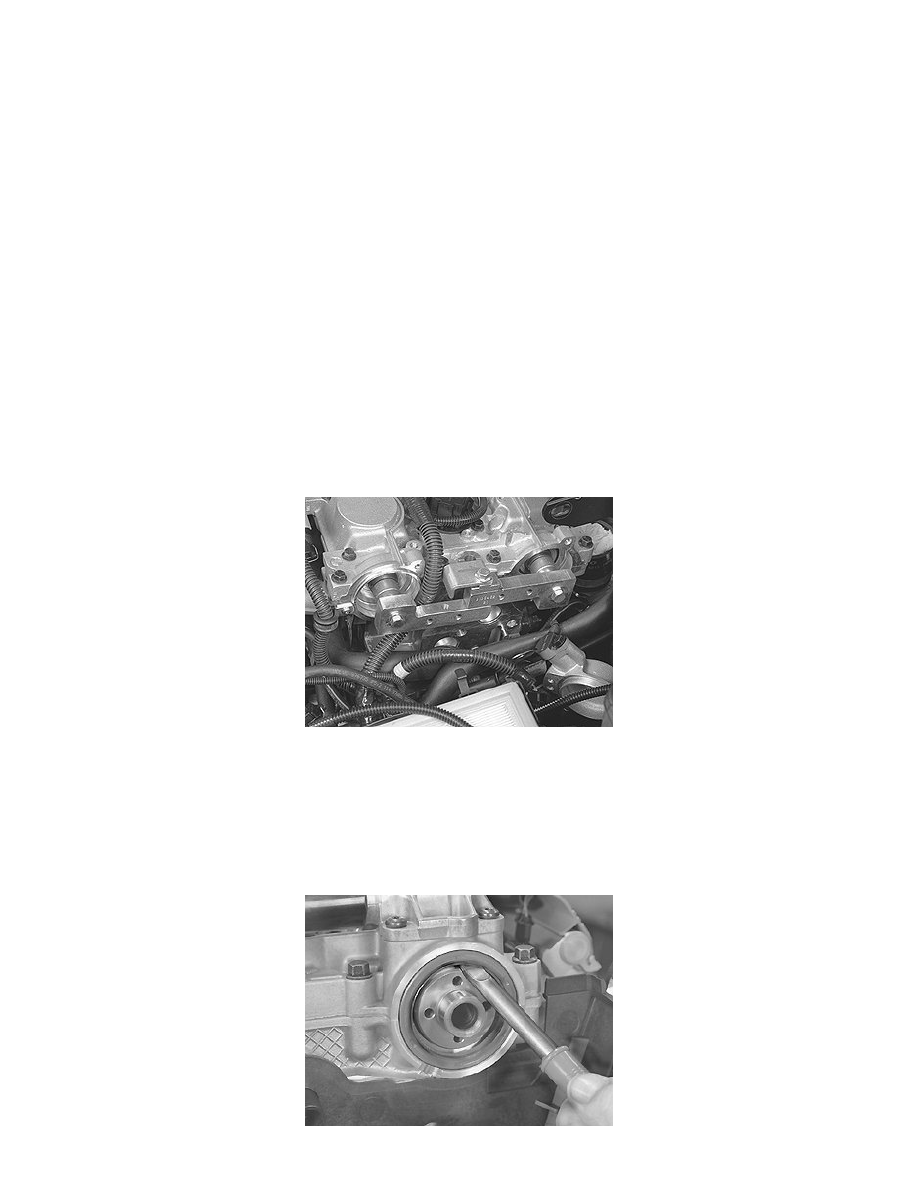
Install adjustment tool 999 5452 Camshaft Adjustment Tool See: Tools and Equipment/999 5452 Camshaft Adjustment Tool at the rear of the camshafts.
Screw the adjustment tool sections together into one.
Remove:
-
The center plugs for the variable valve timing units (Tx55)
-
The center screws for the variable valve timing units (Tx55). Pull or work off the variable valve timing units and timing gear pulleys.
Removing the front camshaft seal