
XC90 AWD L6-2.9L Turbo VIN 91 B6294T (2004)
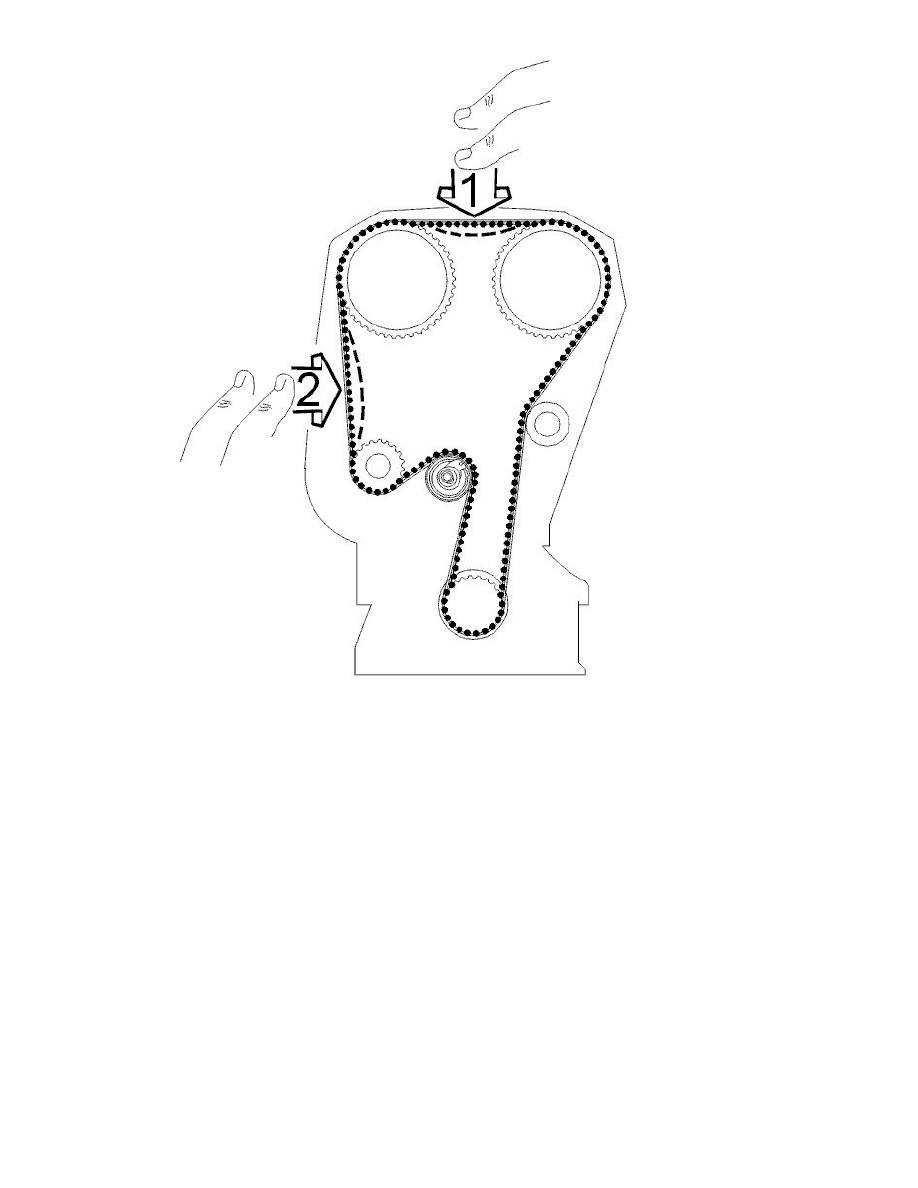
Press the timing belt to check that the indicator on the tensioner moves easily. Position the upper timing cover.
Turn the crankshaft 2 rotations and check that the markings on the crankshaft and timing gear pulleys correspond. Check that the indicator on the belt
tensioner is within the marked position. Remove the upper timing cover.
Install:
-
the starter motor. Tighten screws at gearbox. Tighten. See Tightening torque See: Specifications/Mechanical Specifications/Starting and
Charging/System Specifications
-
the trigger wheel. Tighten the screw
-
the camshaft position (CMP) sensor housing. Tighten the screws
-
the new cover in the rear edge of the camshaft
-
the intake pipe between the charge air cooler (CAC) and the electronic throttle module (ETM).
Finishing
Install the auxiliaries belt around the pulley on the crankshaft.
Install:
-
the plastic nuts for the hatch in the right wing liner
-
the right front wheel. See Installing wheels See: Maintenance/Wheels and Tires/Wheels/Service and Repair.