
XC90 AWD L6-2.9L Turbo VIN 91 B6294T (2004)
Shift Solenoid: Service and Repair
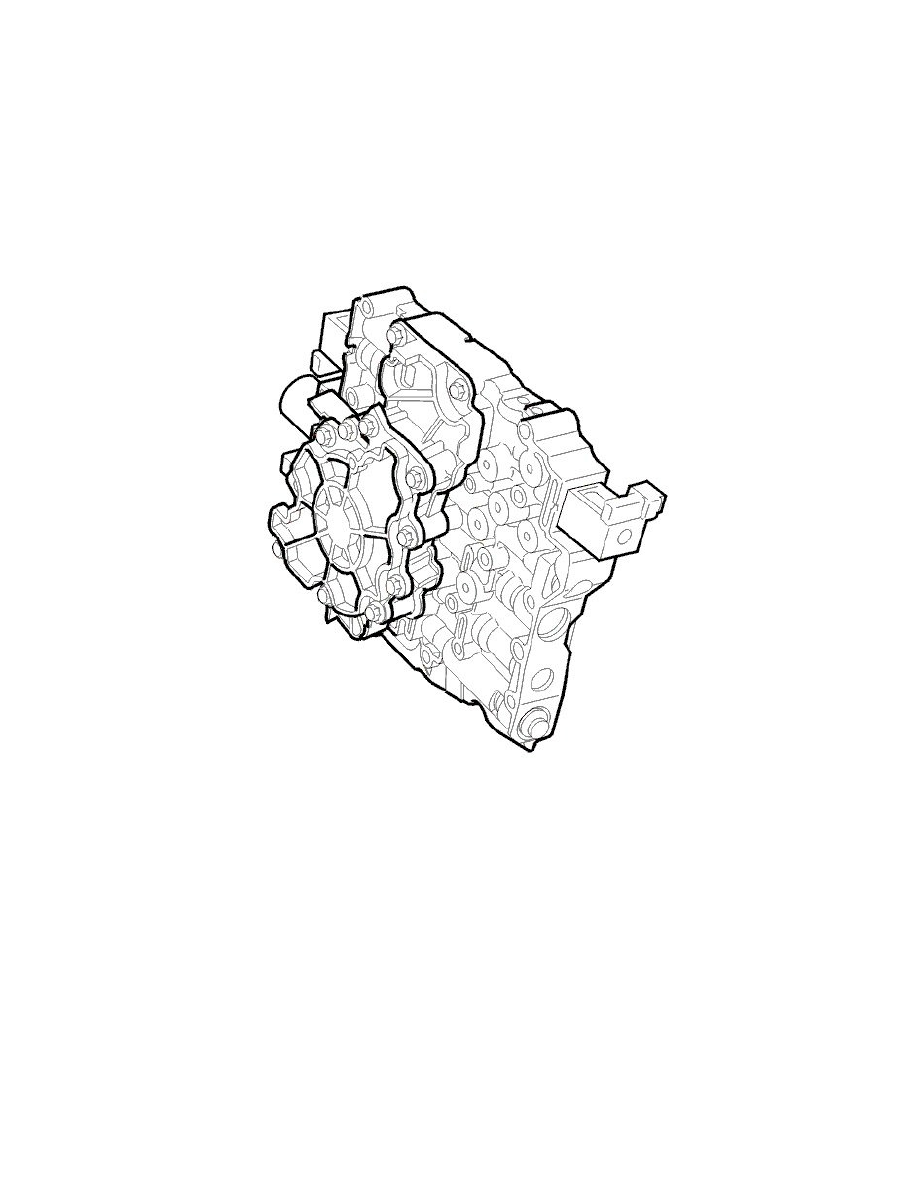
Control System/Valve Housing, Removing
Control system/valve housing, removing
Note! The illustrations in this service information are used for different model years and/or models. Some variation may occur. However, the
essential information in the illustrations is always correct.
Note! Read through the instructions before beginning to work.
Information before removal
When replacing the valve housing, the distribution plate and all 6 balls (if undamaged) should be transferred to the new valve housing. There are many
screws of different lengths. It is important that the different screws are not mixed up. Checks are carried out when replacing the valve housing.
The new valve housing does not have any solenoids installed. The solenoids are loose in the kit and must be installed separately.
Note! The three-digit numbers in the text refer to Hydra-Matic 4T65 E Technical Description.
Removing the side cover
Remove the side cover. See Side cover transmission, removing See: Service and Repair/Removal and Replacement/Automatic Transmission
Components/Side Cover Transmission, Removing.
Preparations for removing the valve housing
Remove the cable harness. See Temperature sensor fluid, transaxle, (TFT) See: Sensors and Switches - A/T/Transmission Temperature
Sensor/Switch/Service and Repair.
Remove the oil pump. See Oil pump, replacing See: Fluid Pump/Service and Repair.
Air vent housing