
XC90 AWD L6-2.9L Turbo VIN 91 B6294T (2004)
Windshield: Service and Repair
Bonded Window General, Information
Bonded window general, information
Note! The illustrations in this service information are used for different model years and/or models. Some variation may occur. However, the
essential information in the illustrations is always correct.
Installation
Installing bonded windshield
Warning! All fixed windows are PUR bonded. PUR adhesive can cause asthma like symptoms. Isocyanate vapor from uncured primer or
adhesive can cause allergies in the respiratory tract. Once you have acquired an allergy the quantities required to trigger a reaction are very
small The risk remains until the material is cured. Cured PUR adhesive can degrade if subjected to high temperatures and isocyanide
compounds can be released when grinding or welding. Ensure that ventilation is good. Use a fresh air mask Never touch the adhesive surface
with your fingers Use protective gloves
Note! Securely installed windows are part of the collision safety concept. Always use original PUR adhesive kits! These are selected and tested
by VOLVO. They are the only ones for which VOLVO Car Corporation takes responsibility.
Note! When bonding windshields, only Volvo's aftermarket adhesive is approved. This adhesive is continually tested to satisfy Volvo's demands
on the vehicle in the aftermarket environment.
Vehicles with a driver's airbag (SRS) and/or passenger airbag (SRS) must be bonded using 2-component adhesive.
If the windshield has been bonded with an adhesive that has not been approved by Volvo, this adhesive should be removed. This is because there are
adhesives to which no PUR adhesive will bond.
Place the windshield on a stand.
Apply the suction pads/winches.
Note! Always keep a side window open when bonding the windshield. Otherwise it can move out of position when closing a side door.
Ensure that the remaining adhesive is even and that it is properly secured. Carefully check the corners where the adhesive meets the bodywork.
Do not touch the adhesive with your hands. Grease can cause adhesion problems.
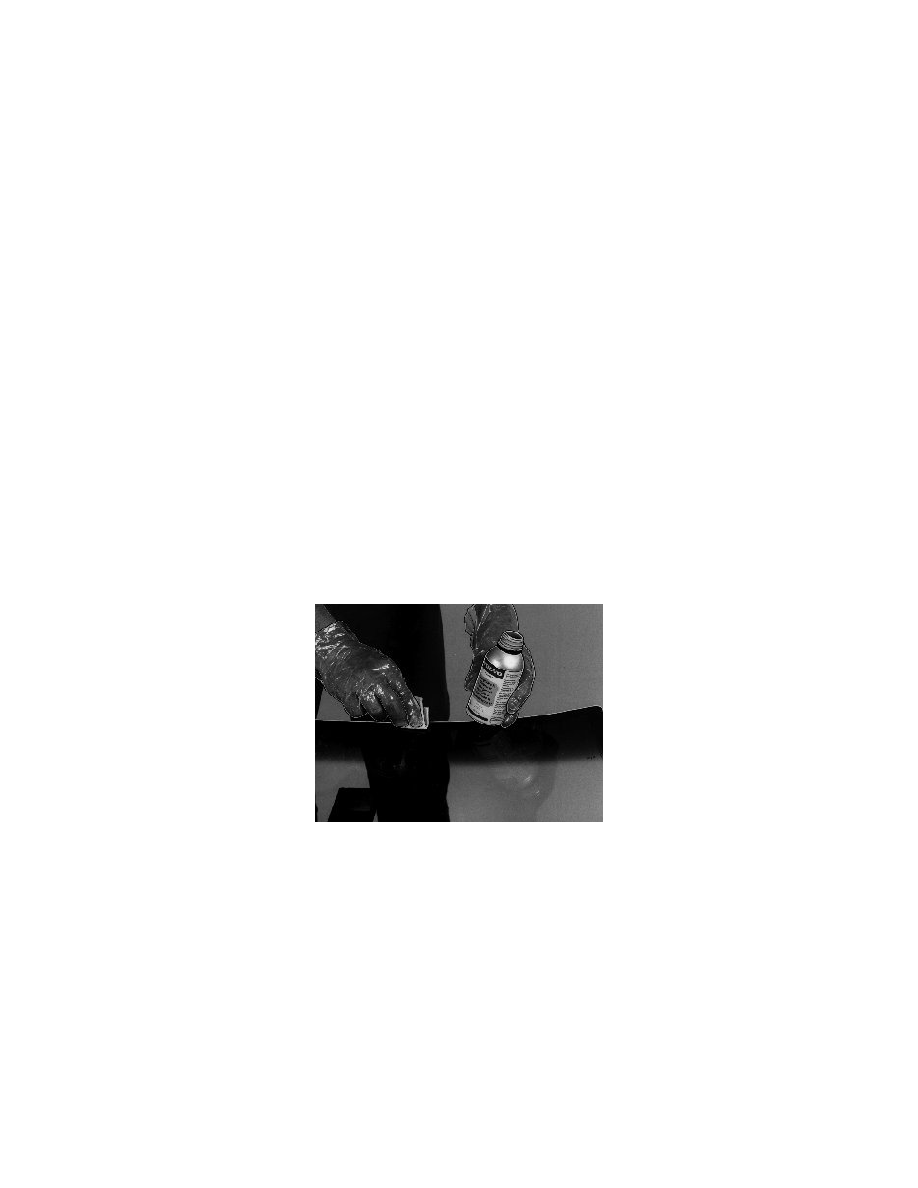
Clean the remaining adhesive on the body flange using Cleaner-H.
Caution! Only Cleaner-H should be used. Other cleaning agents can affect adhesion.
Wash the entire windshield using glass cleaner.