
3.2CL V6-3.2L SOHC (2003)
(D) over the mounting stud (E) by aligning its square hole (F) with the square fitting (G) at the bottom of the stud. Rotate the holder a quarter turn
to secure the shift cable. Do not install the shift cable by twisting the shift cable guide (H) and damper (1).
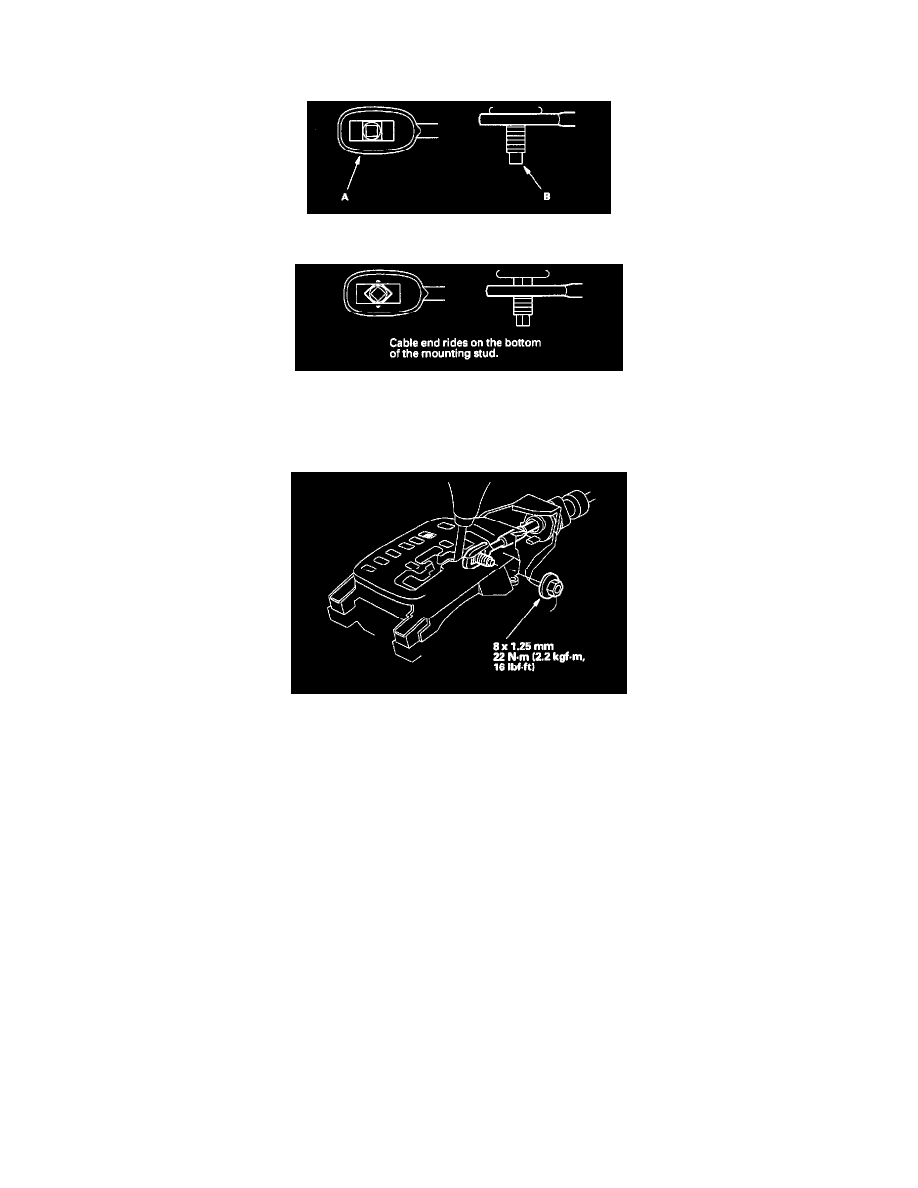
7. Verify that the shift cable end (A) is properly installed on the mounting stud (B).
Properly Installed
Improperly Installed
8. If improperly installed, remove the shift cable from the shift lever bracket base, and reinstall the shift cable. Do not install the shift cable end on
the mounting stud while the shift cable is on the shift cable bracket base.
9. Install and tighten the nut.
10. Remove the 6.0 mm (0.24 inch) pin that was installed to hold the shift lever.
11. Connect the shift lock solenoid connector and the transmission gear section switch connector.
12. Move the shift lever to each gear, and verify that the A/T gear position indicator follows the transmission range switch.
13. Push the shift lock release, and verify that the shift lever releases.