
3.2TL TYPE S V6-3.2L SOHC (2002)
Paint: Description and Operation
Refinishing Procedures
Refinishing Procedures
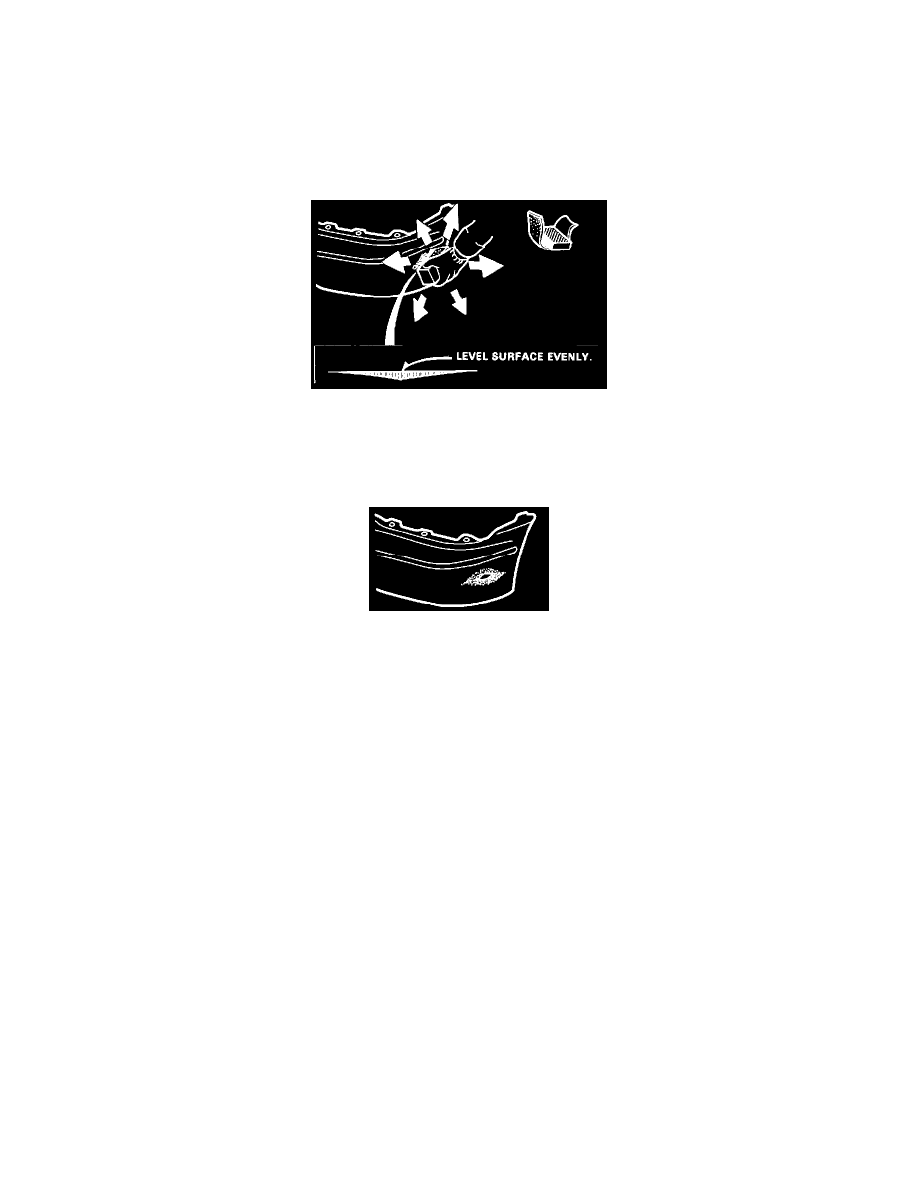
1. Sanding damaged areas
Shallow scratch:
-
Level and finish damaged areas with #240-#400 sandpaper.
-
Polish the leveled area with #400 sandpaper.
NOTE:
-
Use a flexible block to sand the surface evenly.
-
Do not remove too much material.
Deep groove/tear:
-
Level and finish burrs and other irregularities with #240 sandpaper. Keep the surface as even as possible.
2. Degreasing/Cleaning
WARNING:
-
Do not use high air pressure; use only an approved, 210 kPa (2.1 kgf/sq.cm,30 psi) air nozzle.
-
Wear goggles or safety glasses to prevent eye injury.
-
Clean with wax and grease remover and dry with compressed air.
-
Wipe off all lint and other foreign particles from the surface with a tack cloth.
NOTE: Be sure to use a tack cloth. Dust and dirt are electrostatically drawn to the surface.
3. Applying bumper primer (clear type).
-
Stir thoroughly before applying the primer. Use a spray gun or brush depending on working conditions.
WARNING:
-
Ventilate when spraying paint. Most paint contains substances that are harmful if inhaled or swallowed. Read the paint label before
opening the paint container.
-
Avoid contact with skin. Wear an approved respirator, gloves, eye protection, and appropriate clothing when painting.
-
Paint is flammable. Store it in a safe place, and keep it away from sparks, flames, or cigarettes.
-
Cover as wide an area as possible, except for shallow grooves (2-3 coats).