3.2TL TYPE S V6-3.2L SOHC (2002)

6. Tighten the new self-locking nut to specified torque.
Camber Inspection
Use commercially-available computerized four wheel alignment equipment to measure wheel alignment (caster, camber, toe, and/or turning angle).
Follow the equipment manufacturer's instructions.
1. Check the camber angle.
Camber angle:
Front: 0°00' ± 1°
Rear: -0°30' ± 30'
2. If out of specification, check for bent or damaged suspension components.
Front Toe Inspection/Adjustment
Use commercially-available computerized four wheel alignment equipment to measure wheel alignment (caster, camber, toe, and/or turning angle).
Follow the equipment manufacturer's instructions.
1. Check the tire pressure.
2. Center steering wheel spokes.
3. Check the toe with the wheels pointed straight ahead.
Front Toe-in: 0 ± 2 mm (0 ± 1/16 inch)
-
If adjustment is required, go on to step 4.
-
If no adjustment is required, remove alignment equipment.
4. Loosen the tie-rod locknuts (A), and turn both tie rods (B) in the same direction until the front wheels are in straight ahead position.
5. Turn both tie-rods equally until the toe reading on the turning radius gauge is correct.
6. After adjusting, tighten the tie-rod locknuts. Reposition the tie-rod boot if it is twisted or displaced.
Rear Toe Inspection/Adjustment
Use commercially-available computerized four wheel alignment equipment to measure wheel alignment (caster, camber, toe, and/or turning angle).
Follow the equipment manufacturer's instructions.
1. Release parking brake to avoid an incorrect measurement.
2. Check the toe.
Rear Toe-in: 2 ± 2 mm (1/16 ± 1/16 inch)
-
If adjustment is required, go to step 3.
-
If no adjustment is required, remove alignment equipment.
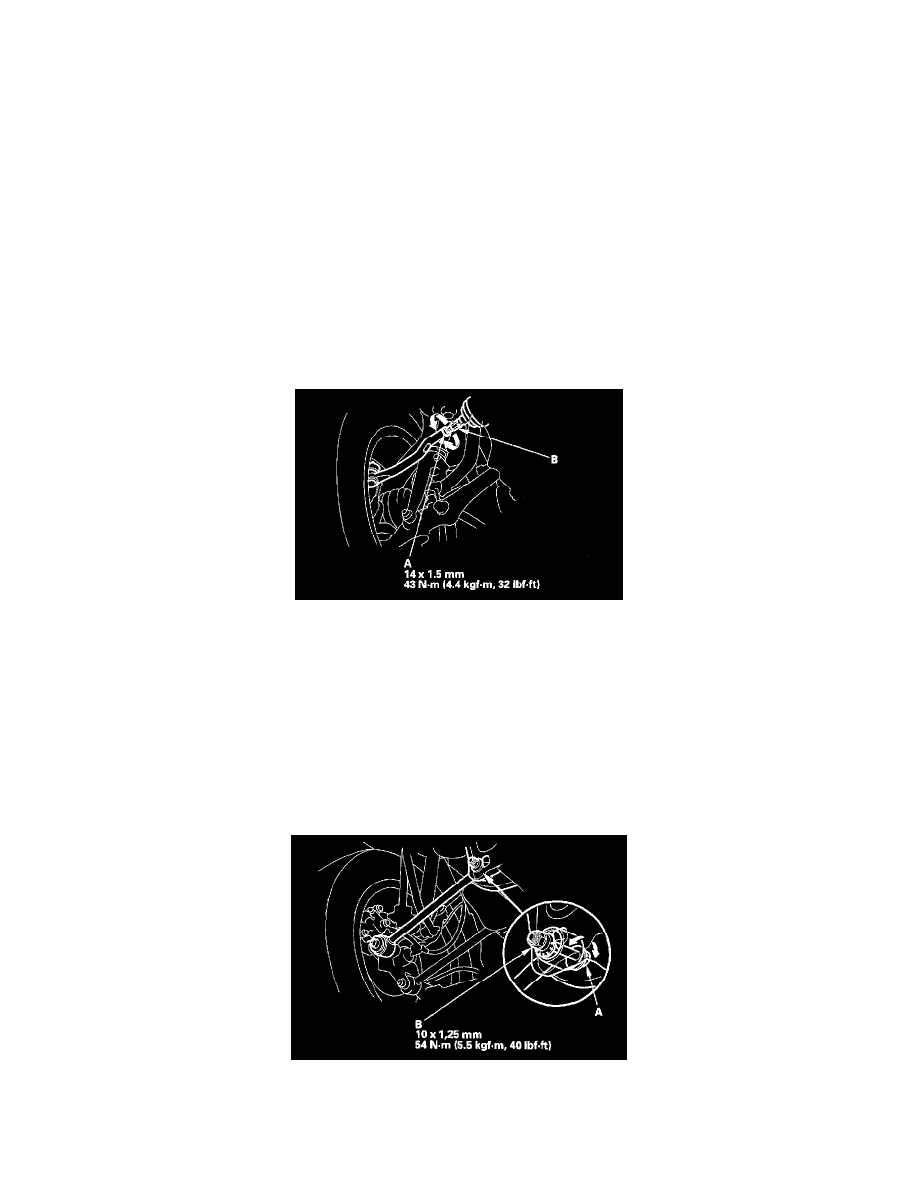
3. Hold the adjusting bolt (A) on the rear control arm, and loosen the self-locking nut (B).
4. Adjust the rear toe by turning the adjusting bolt until toe is correct.
5. Install the self-locking nut, and tighten it while holding the adjusting bolt.
