CL L4-2156cc 2.2L SOHC F22B1 MFI (1997)

Brake Caliper: Service and Repair
Disassembly and Assembly
WARNING:
-
Never use an air hose or dry brush to clean brake assemblies.
-
Use an OSHA-approved vacuum cleaner to avoid breathing brake dust.
-
Contaminated brake discs or pads reduce stopping ability.
-
When reusing the pads, always reinstall the brake pads in their original positions to prevent loss of braking efficiency.
CAUTION:
-
Do not spill brake fluid on the vehicle it may damage the paint; if brake fluid does contact the paint, wash it off immediately with water.
-
Clean all parts in brake fluid and air dry; blow out all passages with compressed air. Before reassembling, check that all parts are free of dust and
other foreign particles.
-
Replace parts with new ones whenever specified to do so. Make sure no dirt or other foreign matter is allowed to contaminate the brake fluid.
-
Always use Genuine Honda DOT 3 Brake Fluid. Using a non-Honda brake fluid can cause corrosion and decrease the life of the system.
NOTE: Coat piston, piston seal, and caliper bore with clean brake fluid. Replace all rubber parts with new ones whenever disassembled.
-
Clean the piston and caliper bore with brake fluid, and inspect for wear and damage.
Piston Boot & Seal Replacement
-
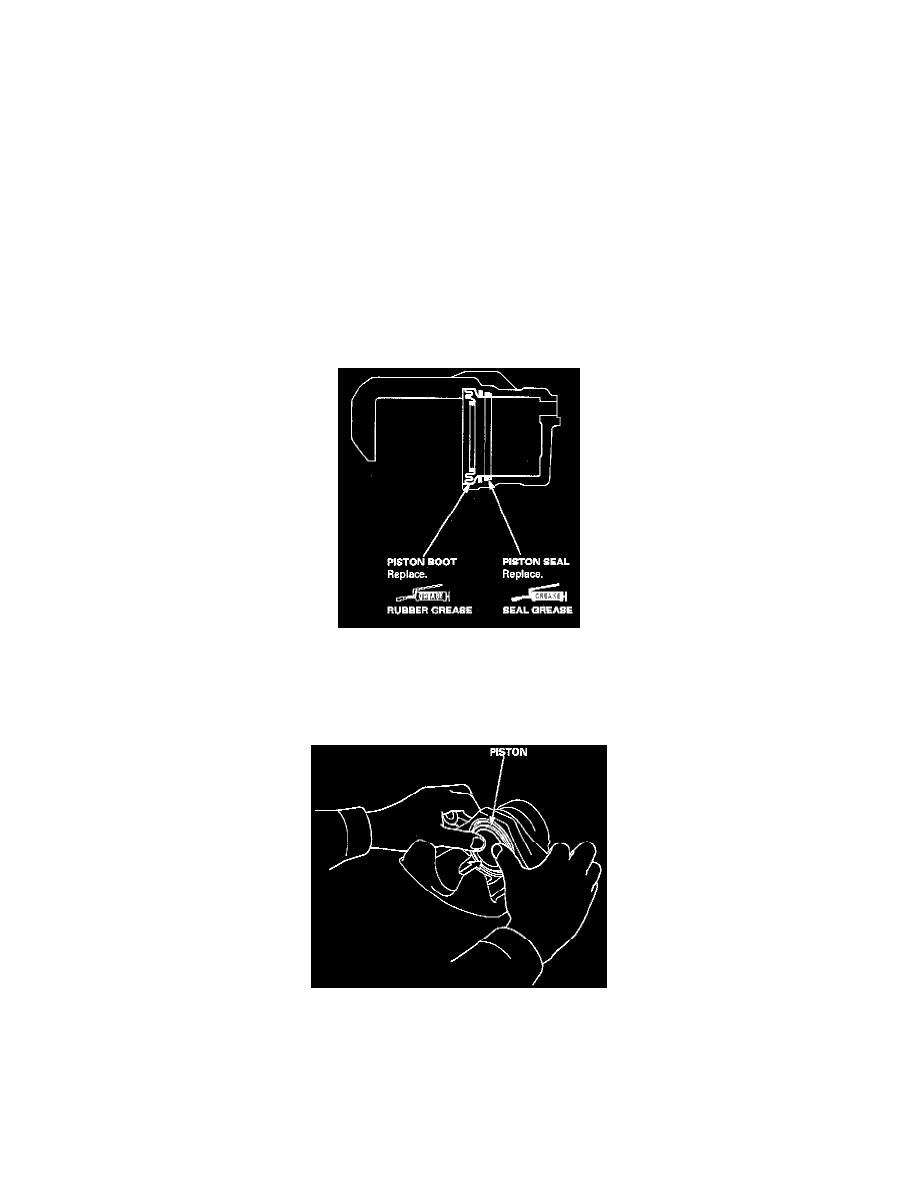
Coat a new piston seal with rubber grease and install the seal in the cylinder groove.
-
Apply seal grease to the sealing lips and inside of a new piston boot, and install it in the caliper.
Piston Replacement
CAUTION: Be careful not to damage the caliper cylinder wall.
-
Lubricate the caliper cylinder and piston with brake fluid, then install the piston in the cylinder with the dished end facing in.
-
Apply seal grease to the sliding surface of the pins and inside of the new pin boots.
