
CL L4-2156cc 2.2L SOHC F22B1 MFI (1997)
Vacuum Brake Booster: Service and Repair
CAUTION:
-
Be careful not to bend or damage the brake lines when removing the master cylinder.
-
Do not spill brake fluid on the vehicle; it may damage the paint; if brake fluid does contact the paint, wash it off immediately with water.
-
To prevent spills, cover the hose joints with rags or shop towels.
REMOVAL AND INSTALLATION
1. Remove the master cylinder.
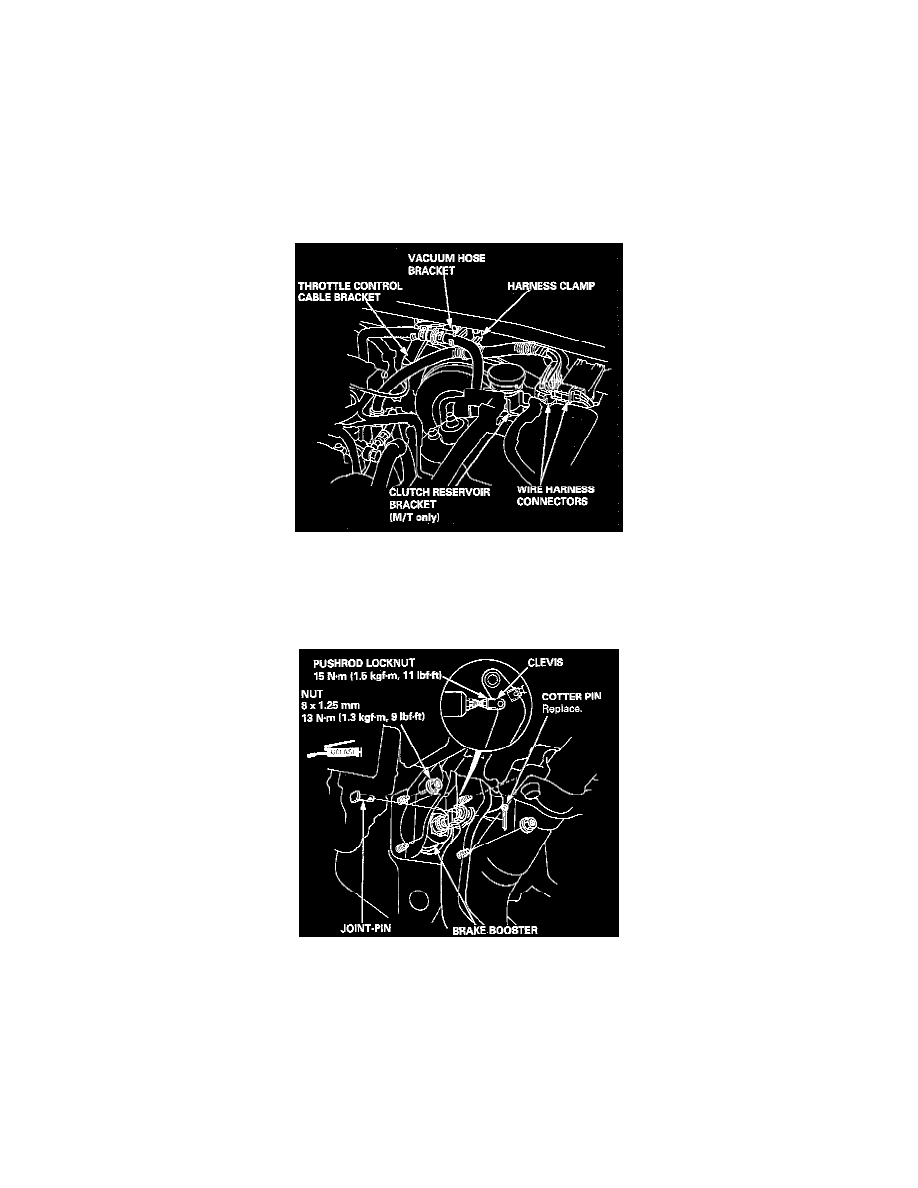
2. Disconnect the vacuum hose from the brake booster, then remove the vacuum hose bracket.
3. Remove the throttle control cable bracket.
4. Disconnect the engine wire harness connectors, then remove the harness clamp.
Booster Removal
5. M/T only: Remove the clutch reservoir and reservoir bracket. Do not disconnect the clutch hose from the reservoir.
6. Loosen the pushrod locknut, then remove the cotter pin and joint-pin.
7. Remove the clevis from the operating rod of the brake booster.
Cabin View
8. Remove the four booster mounting nuts 13 Nm (9 lb ft).
9. Pull the brake booster forward, then turn it to the right until the operating rod is clear of the bulkhead.