
CL L4-2156cc 2.2L SOHC F22B1 MFI (1997)
8. Check clearance with Plastigage, then tighten the bearing cap bolts in sequence in two steps.
First Step: About 29 Nm (3.0 kgf/m, 22 ft.lbs.)
Final Step: 74 Nm (7.5 kgf/m, 54 ft.lbs.).
NOTE: Coat the bolt threads with engine oil.
CAUTION: Whenever any crankshaft bearing or connecting rod bearing is replaced, it is necessary after reassembly to run the engine at idling
speed until ii reaches normal operating temperature, then continue to run it for approximately 15 minutes.
NOTE:
-
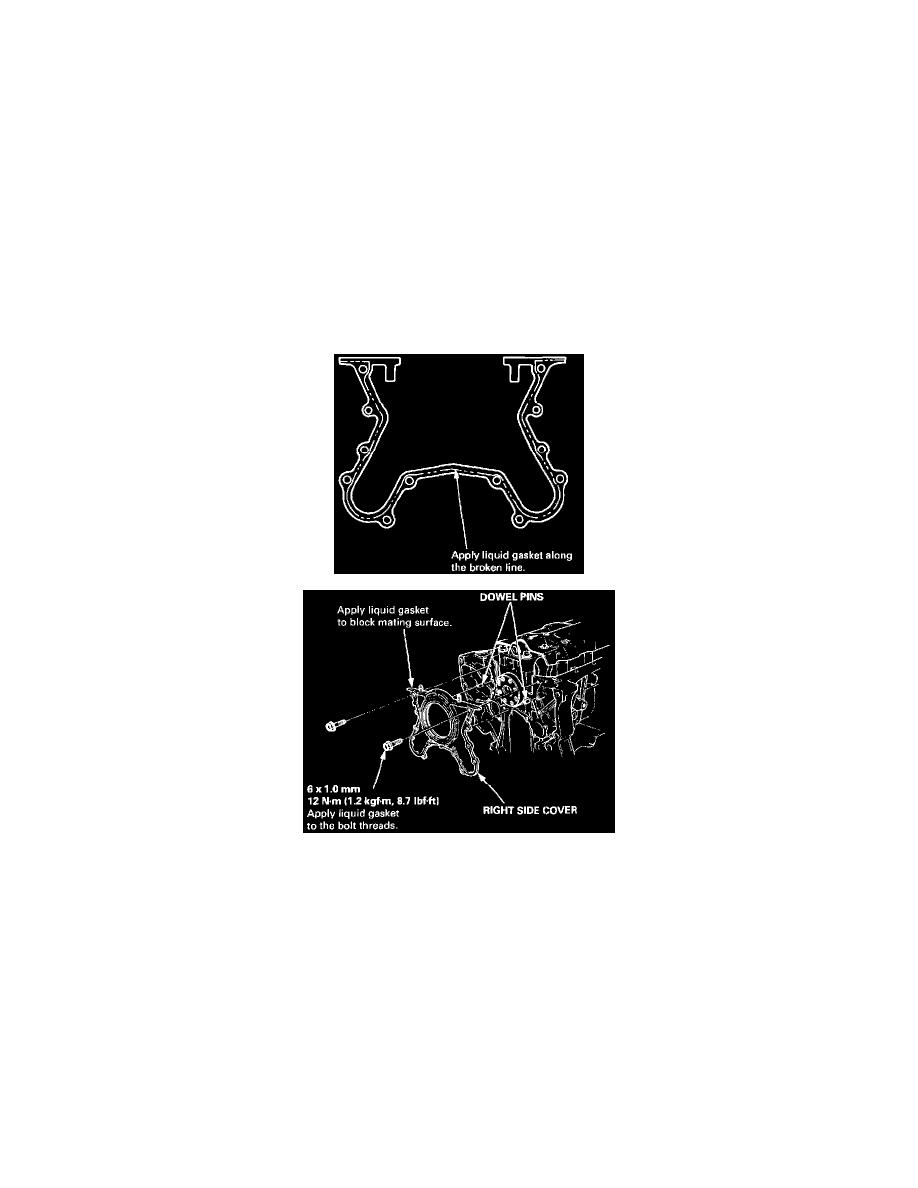
Use liquid gasket, part No. 08718-0001 or 08718-0003.
-
Check that the mating surfaces are clean and dry before applying liquid gasket.
-
Apply liquid gasket evenly, being careful to cover all the mating surface.
-
To prevent leakage of oil, apply liquid gasket to the inner threads of the bolt holes.
-
Do not install the parts if five minutes or more have elapsed since applying the liquid gasket. Instead, reapply liquid gasket after removing the
old residue.
-
After assembly, wait at least 20 minutes before filling the engine with oil.
9. Apply liquid gasket to the block mating surface of the right side cover, then install it on the cylinder block.