CL TYPE S V6-3.2L SOHC (2001)

Brake Bleeding: Service and Repair
Bleeding Procedures
Brake System Bleeding
Note:
Brake Fluid Replacement/Air Bleeding for ABS/VSA systems
Brake fluid replacement and air bleeding procedures are identical to the procedures used on vehicles not equipped with ABS/VSA. To ease bleeding,
start with the front wheels. Replace the VSA fluid in the modulator reservoir after replacing the brake fluid.
NOTE:
-
Do not reuse the drained fluid.
-
Always use Honda DOT 3 Brake Fluid. Using a non Honda brake fluid can cause corrosion and decrease the life of the system.
-
Make sure no dirt or other foreign matter is allowed to contaminate the brake fluid.
-
Do not spill brake fluid on the vehicle; it may damage the paint; if brake fluid does contact the paint, wash it off immediately with water.
-
The reservoir on the master cylinder must be at the MAX (upper) level mark at the start of the bleeding procedure and checked after bleeding each
brake caliper. Add fluid as required.
Conventional Method
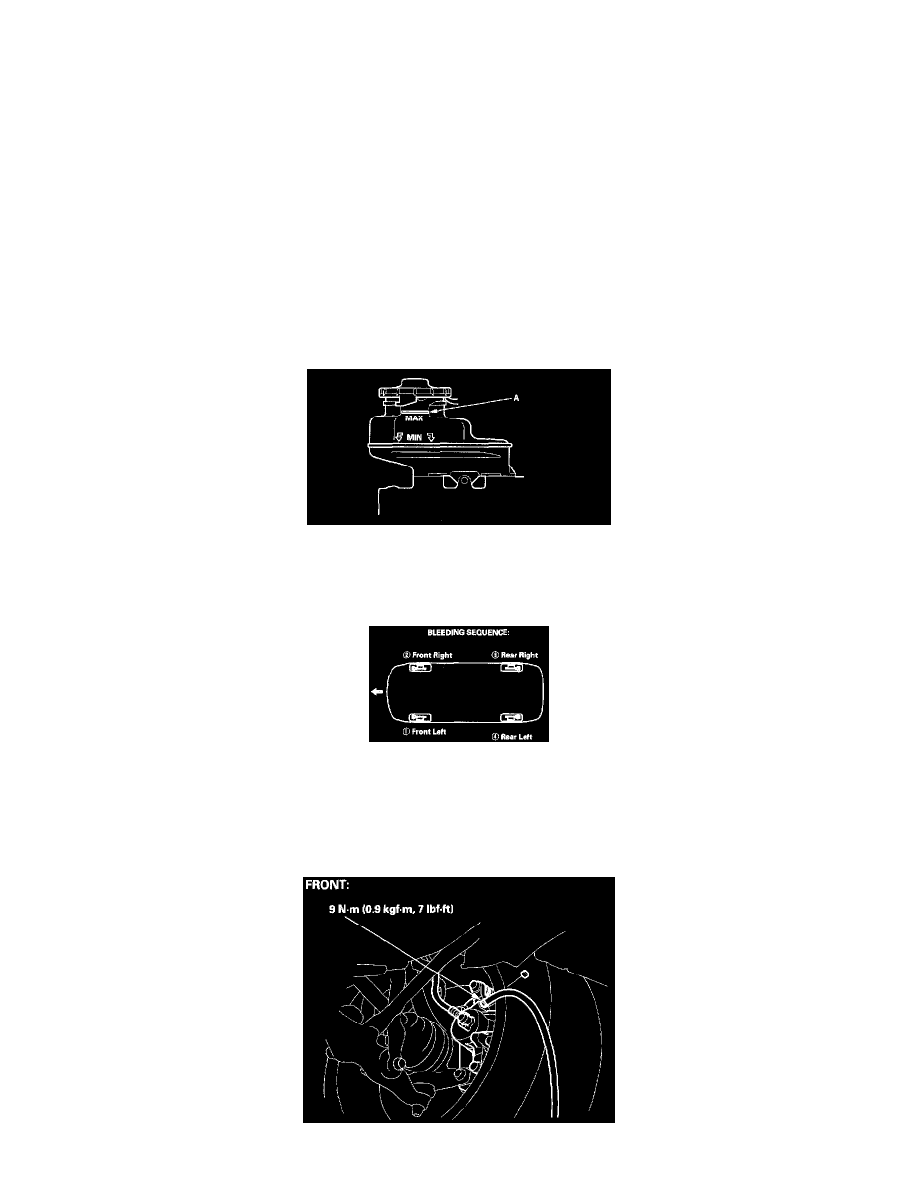
1. Make sure the brake fluid level in the reservoir is at the MAX (upper) level line (A).
2. Attach a length of clear drain tube to the bleed screw.
3. Have someone slowly pump the brake pedal several times, then apply steady pressure.
4. Loosen the left-front brake bleed screw to allow air to escape from the system. Then tighten the bleed screw securely.
5. Repeat the procedure for each wheel in the sequence shown until air bubbles no longer appear in the fluid coming out of the drain tube.
6. Refill the master cylinder reservoir to the MAX (upper) level line.
Pressure Bleeding
1. Install the appropriate power probe pressure bleeder adapter onto the master cylinder.
2. Use the bleeding sequence below, and follow the bleeding instructions that come with your pressure bleeder.
