
CL TYPE S V6-3.2L SOHC (2001)
Evaporator Core: Service and Repair
Evaporator Removal and Installation
1. Make sure you have the anti-theft code for the radio, then write down the frequencies for the radio's preset buttons.
2. Disconnect the negative cable from the battery.
3. Remove the under-hood fuse/relay box, but do not disconnect the connectors.
4. Recover the refrigerant with a recovery/recycling/charging station.
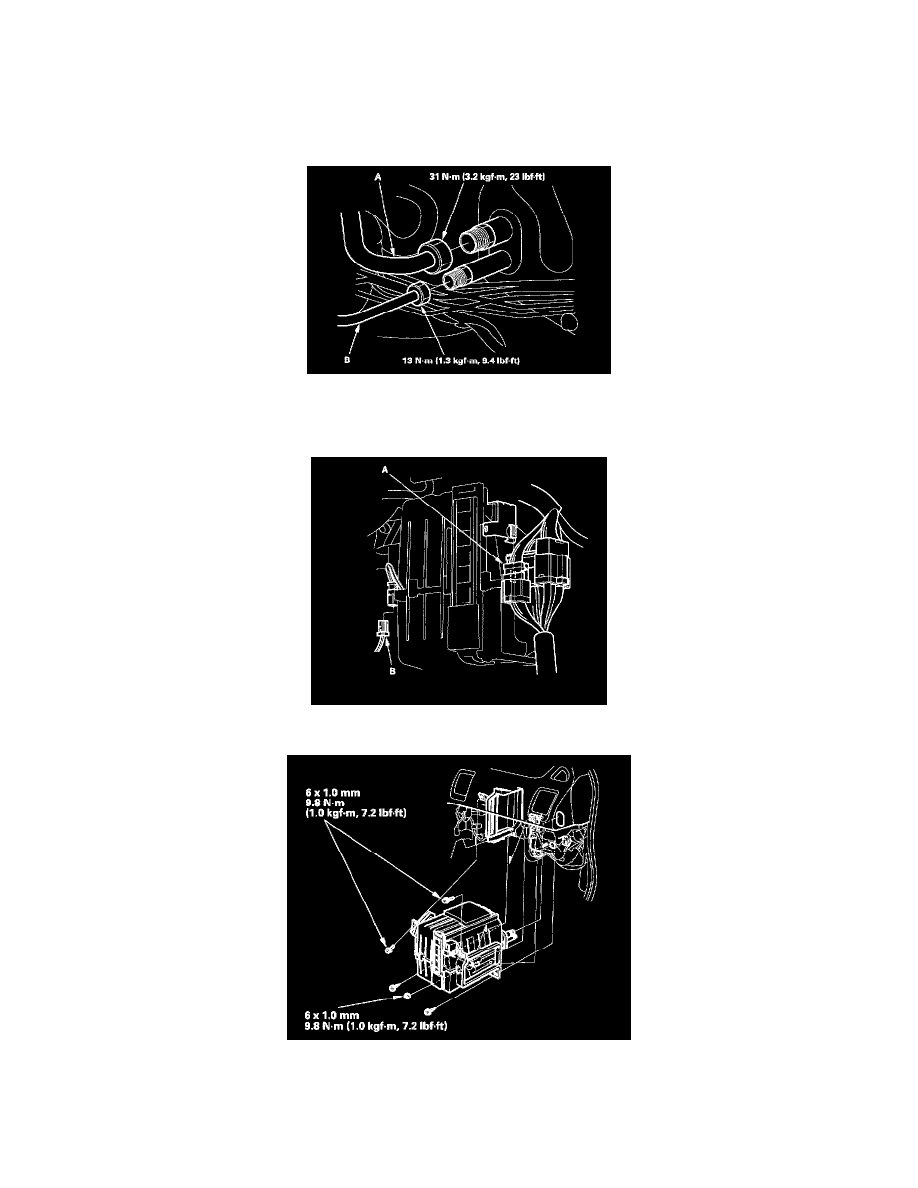
5. Disconnect the suction line (A) and the receiver line (B) from the evaporator. Plug or cap the lines immediately after disconnecting them to avoid
moisture and dust contamination.
6. Remove the glove box and the glove box cover.
7. Remove the wire harness connectors (A) from the evaporator. Disconnect the connector (B) from the evaporator temperature sensor.
8. Remove the self-tapping screws, the mounting nut, the mounting bolts and the evaporator.
9. Install in the reverse order of removal, and note these items.
-
If you're installing a new evaporator, add refrigerant oil (DENSO ND-OIL 8)
-
Replace the O-rings with new ones at each fitting, and apply a thin coat of refrigerant oil before installing them. Be sure to use the right
O-rings for HFC-134a (R-134a) to avoid leakage.