
CL TYPE S V6-3.2L SOHC (2001)
-
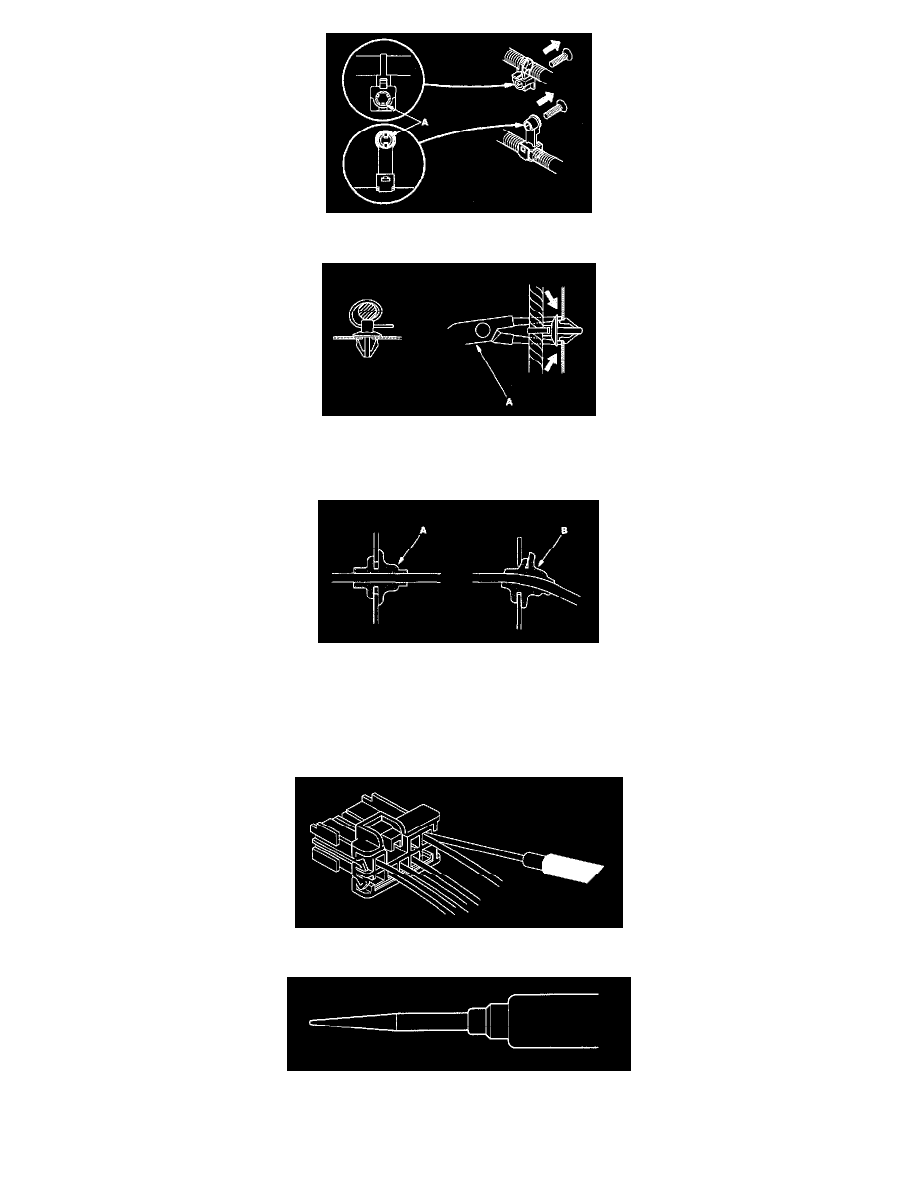
Remove clips carefully; don't damage their locks (A).
-
Slip pliers (A) under the clip base and through the hole at an angle, then squeeze the expansion tabs to release the clip.
-
After installing harness clips, make sure the harness doesn't interfere with any moving parts.
-
Keep wire harnesses away from exhaust pipes and other hot parts, from sharp edges of brackets and holes, and from exposed screws and bolts.
-
Seat grommets in their grooves properly (A). Do not leave grommets distorted (B).
Testing and Repairs
-
Do not use wires or harnesses with broken insulation. Replace them or repair them by wrapping the break with electrical tape.
-
After installing parts, make sure that no wires are pinched under them.
-
When using electrical test equipment, follow the manufacturer's instructions and those described.
-
If possible, insert the probe of the tester from the wire side (except waterproof connector).
-
Use a probe with a tapered tip.
-
Refer to the instructions in the Honda Terminal Kit for identification and replacement of connector terminals.