
CL TYPE S V6-3.2L SOHC (2001)
Alternator: Testing and Inspection
Alternator and Regulator Circuit Test
Charging Circuit Troubleshooting
Alternator and Regulator Circuit Test
1. Be sure the battery is sufficiently charged.
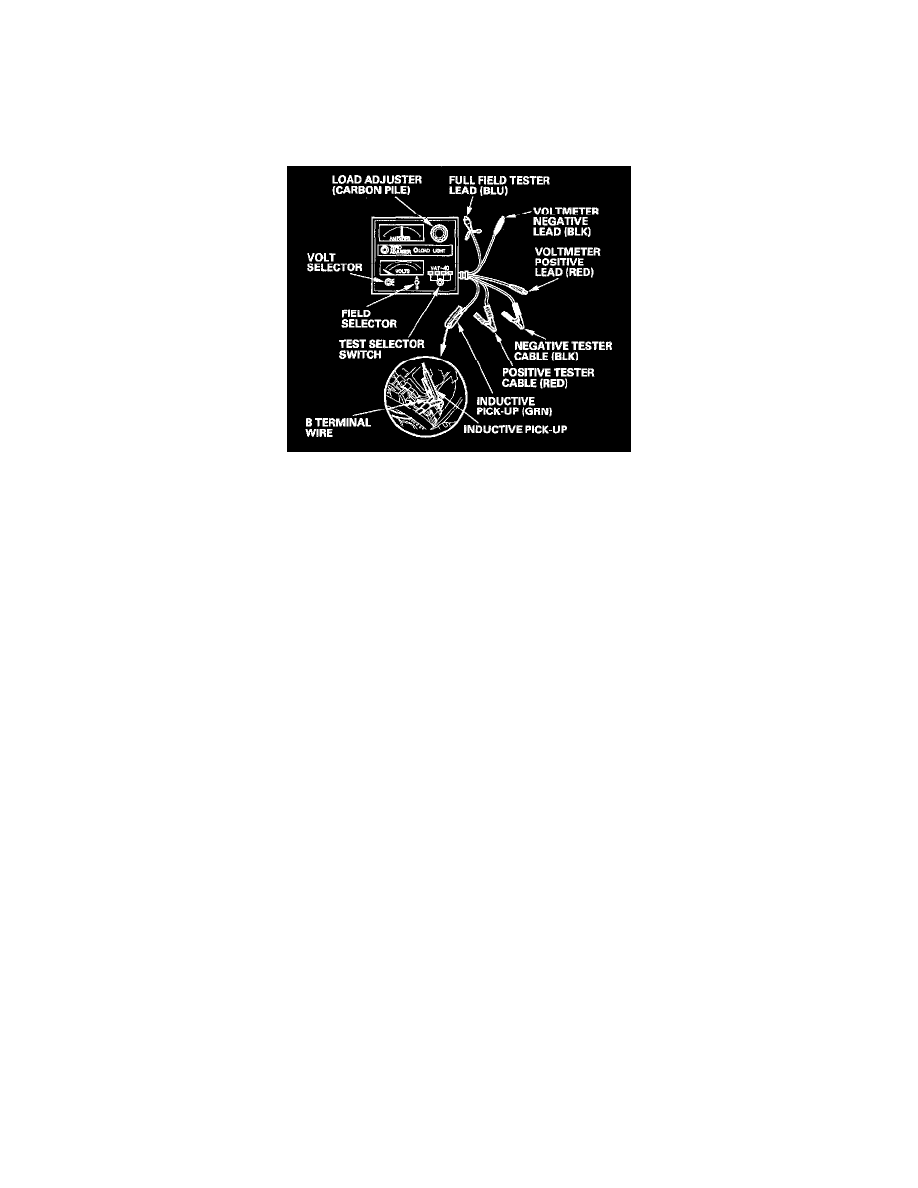
2. Connect a VAT-40 (or equivalent tester), and turn the selector switch to position 1 (starting).
3. Shift to Park or Neutral, and start the engine. Hold the engine at 3,000 rpm, with no load until the radiator fan comes on, then let it idle.
4. Raise the engine speed to 2,000 rpm, and hold it there.
Is there voltage over 15.1 V?
YES - Replace the voltage regulator.
NO - Go to step 5.
5. Release the accelerator pedal, and let the engine idle.
6. Make sure all accessories are turned off. Turn the selector switch to position 2 (charging).
7. Remove the inductive pick-up, and zero the ammeter.
8. Place the inductive pick-up over the B terminal wire of the alternator so that the arrow points away from the alternator.
9. Raise the engine speed to 2,000 rpm, and hold it there.
Is there voltage less than 13.5 V?
YES - Test and repair the alternator components.
NO - Go to step 10.
10. Apply a load with the VAT-40 until the battery voltage drops to between 12 - 13.5 V.
Is the amperage 75 A or more?
YES - The charging system is OK.
NO - Go to step 11.