
CL TYPE S V6-3.2L SOHC (2001)
3.
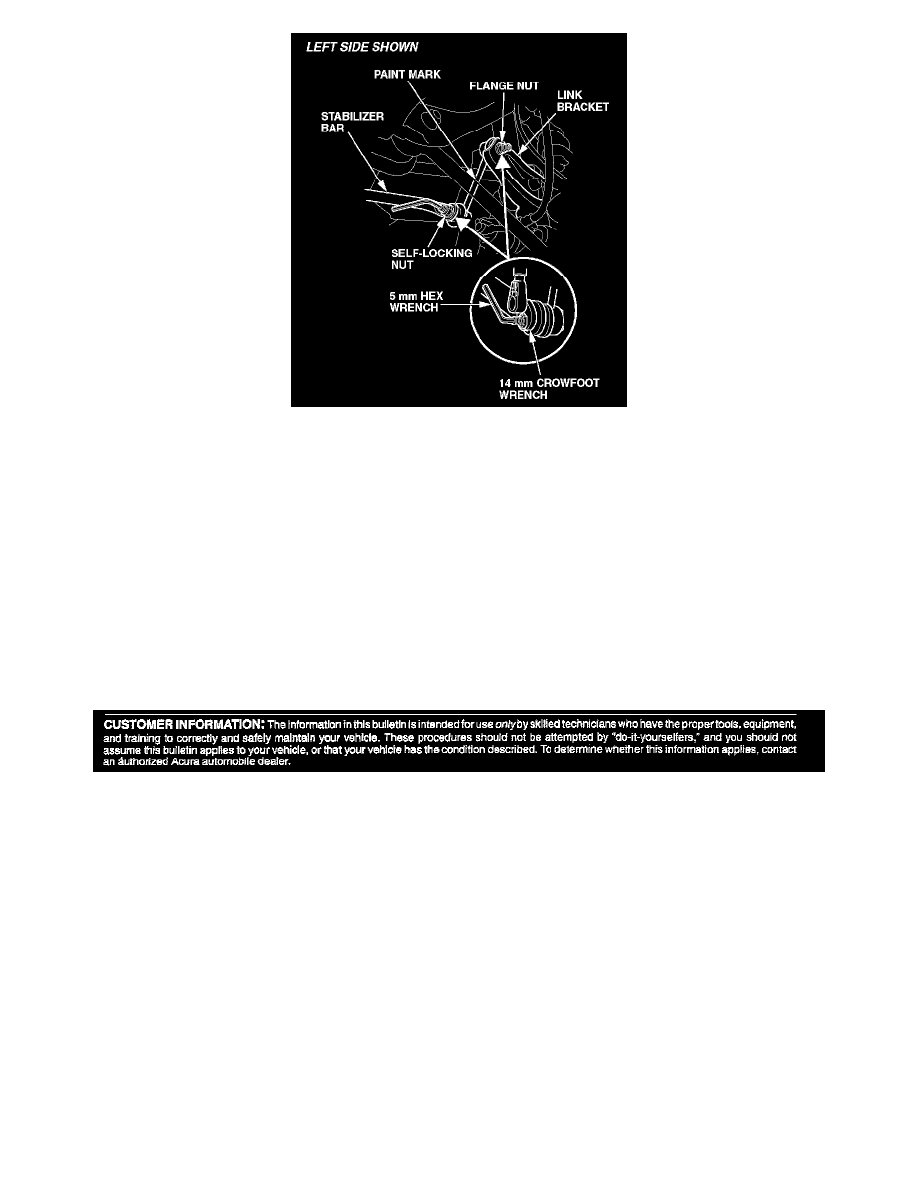
Install the new stabilizer links on the stabilizer bar and the stabilizer link brackets.
NOTE:
On the old stabilizer links, the left link has a white paint mark, and the right link has a yellow mark. On the new links, the link with the red
mark goes on the left side, and the link with the blue mark goes on the right side.
4.
Install the flange nuts at the link brackets (on the top of the link) and the new self-locking nuts on the links at the stabilizer bar (on the bottom of
the link).
^
While using a 5 mm hex wrench to hold the joint pins, torque the self-locking nuts to 38 N.m (28 lb-ft).
^
While using a 5 mm hex wrench to hold the joint pins, torque the flange nuts to 39 N.m (29 lb-ft).
5.
Lower the vehicle on the hoist, and drive it for 5 minutes.
6.
Raise the vehicle on the hoist, and retorque the self-locking nuts and the flange nuts to the specifications shown in step 4.
Disclaimer