
Integra L4-1590cc 1.6L DOHC FI (1987)
8.
Observe amperage and voltage output and compare to specifications, Fig. 2. If voltage remains above 13.5 volts, apply a greater electrical load
to lower voltage. If voltage remains above 16 volts, stop engine and replace voltage regulator.
9.
Turn off all electrical loads and check output voltage at 1500 RPM. If voltage indication is still 13.9-15.1 volts, the alternator and regulator are
operating normally. If charge warning lamp remains lit, refer to ``Charge Warning Lamp Test.''
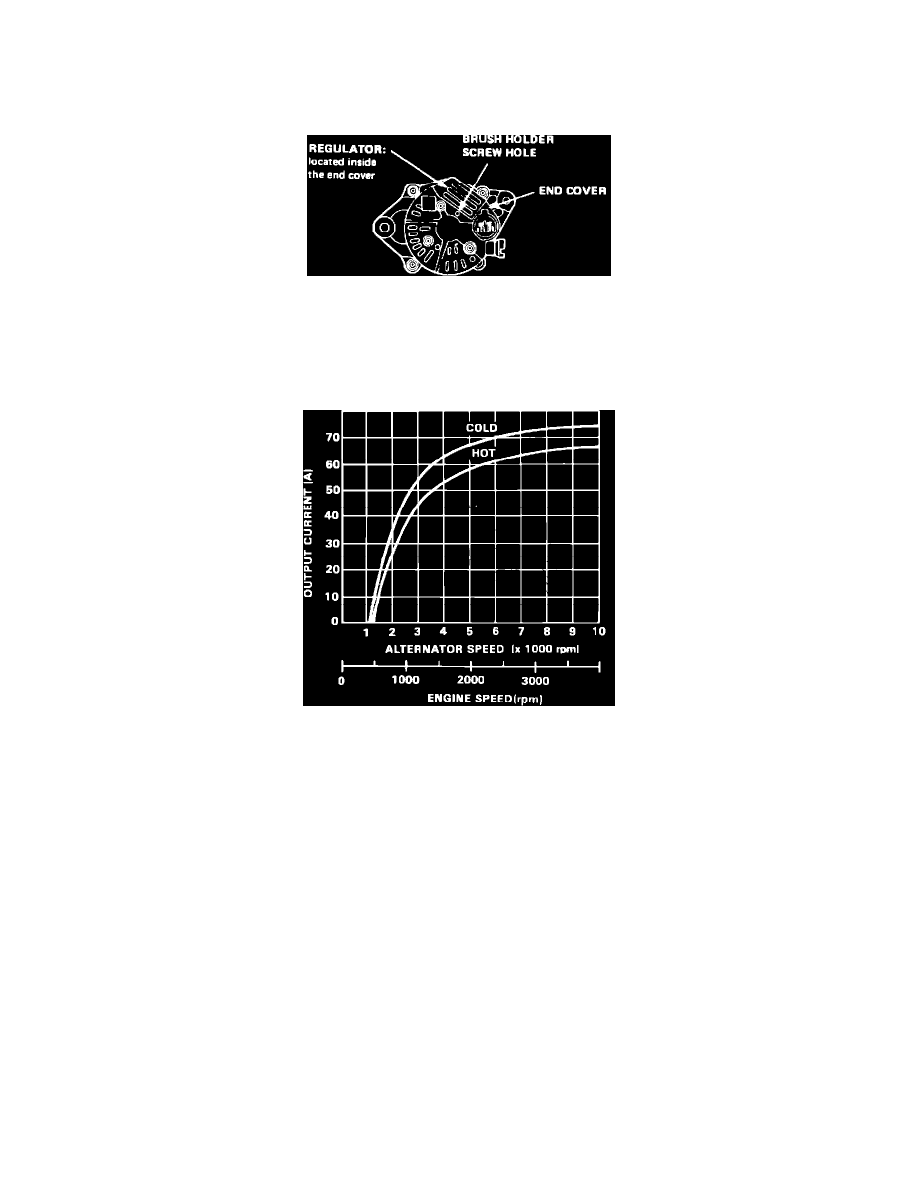
Fig. 4 Grounding brush holder screw to test alternator output. 1986-87
10.
Insert a screwdriver into brush holder screw hole in alternator and cover, Fig. 4.
11.
While contacting the brush screw, ground screwdriver against cover and note amperage reading at various speeds. Ground screwdriver for as
short a time as possible. Do not allow system voltage to exceed 16 volts, as electrical system components may be damaged.
Fig. 2 Alternator test specifications. 1986-87 Integra
12.
Compare current output with specifications, Fig. 2, noting the following:
a. If output is not within specifications and, on Integra models, battery voltage is available at alternator black/yellow wire terminal, alternator is
defective.
b. If output is within specifications and, on Integra models, battery voltage is available at alternator black/yellow wire terminal, voltage
regulator is defective.