
Integra L4-1590cc 1.6L DOHC FI (1987)
Control Arm: Service and Repair
Removal
1.
Remove torsion bar and torque bar as described under ``Torsion Bar, Replace.''
2.
Remove lower control arm to radius arm attaching nuts and bolts.
3.
Remove power steering pump bracket and, on models equipped with cruise control, the cruise control actuator.
4.
If replacing left side control arm, proceed as follows:
a. Remove alternator adjusting bolt and push alternator up against engine block.
b. Lift engine and position engine mount spacer into mount to raise oil pan clear of control arm.
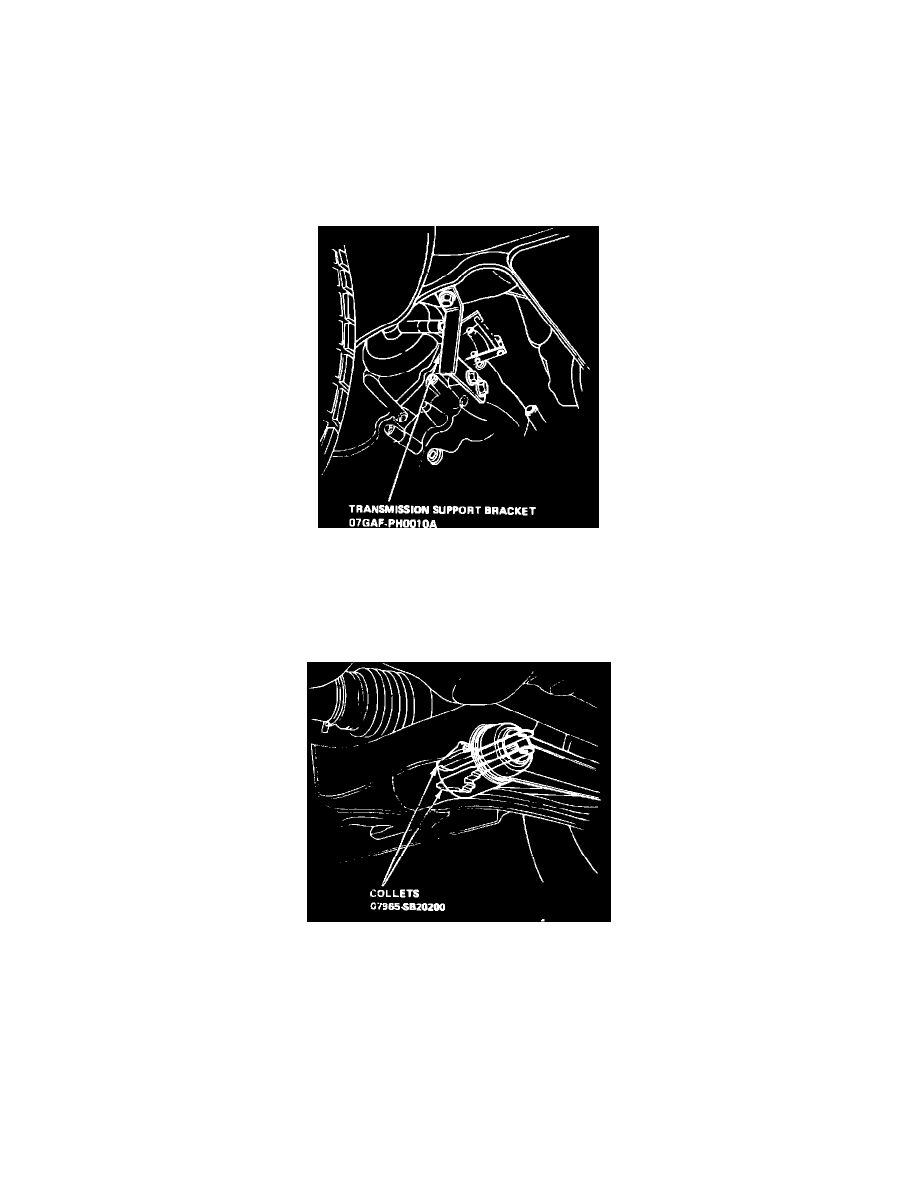
Fig. 10 Lifting transaxle to allow lower control arm replacement. Integra
5.
If replacing right side control arm on models equipped with automatic transaxle, proceed as follows:
a. Remove battery and battery tray.
b. Raise transaxle slightly and remove transaxle mount.
c. Install transaxle support bracket, Fig. 10, to provide clearance for control arm removal.
Fig. 11 Lower control arm collet tool installation. Integra
6.
Insert collets into lower control arm 180° apart, Fig. 11.