Integra LS Coupe L4-1834cc 1.8L DOHC MFI (1997)

NOTE: Be careful not to drop the rollers when separating them from the inboard joint.
4. Mark the rollers and spider to identify the locations of rollers on the spider, then remove the rollers.
5. Remove the circlip.
6. Mark the spider and driveshaft to identify the position of the spider on the shaft.
7. Remove bearing remover the spider using a commercially-available
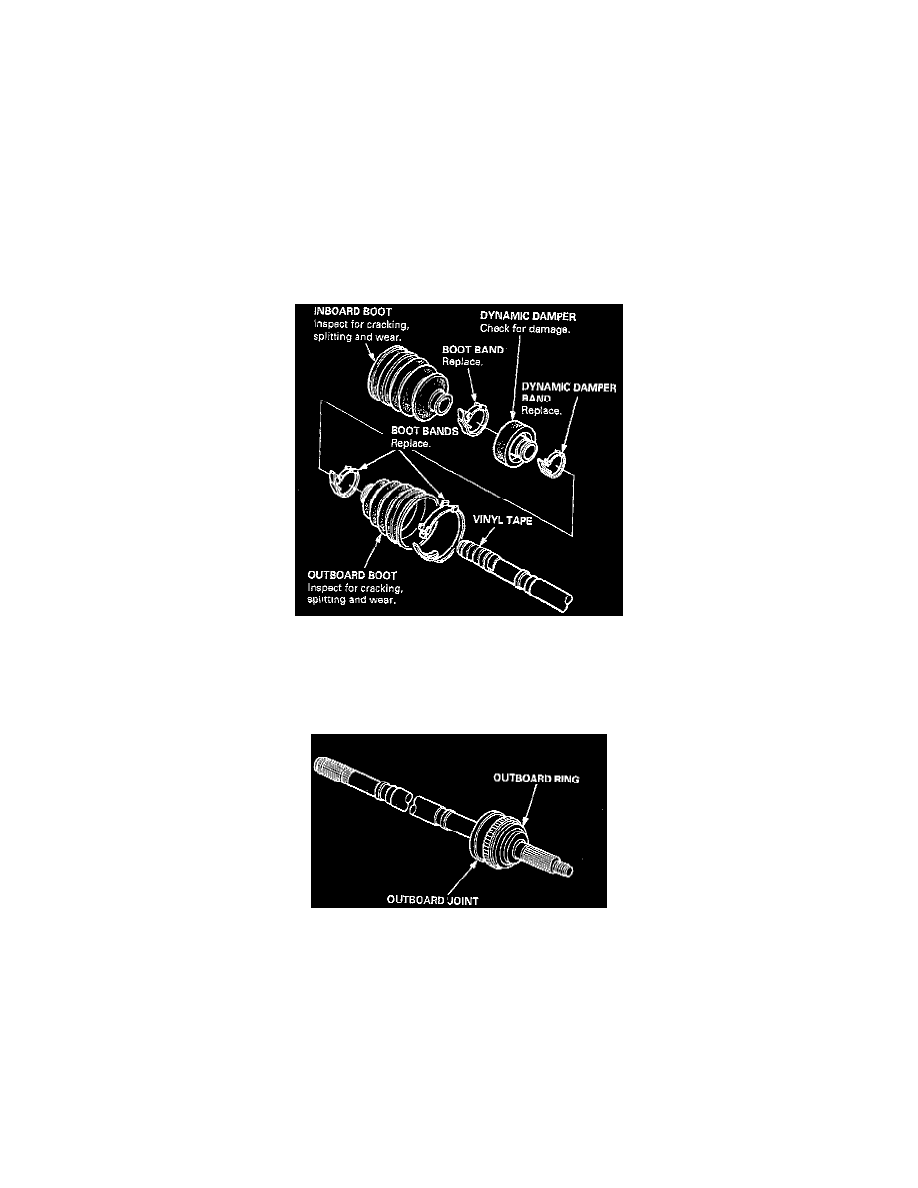
8. Wrap the splines on the driveshaft with vinyl tape to prevent damage to the boots and dynamic damper.
9. Remove the boot band and inboard boot.
CAUTION: Take care not to damage the boot.
10. Remove the dynamic damper band and dynamic damper.
CAUTION: Take care not to damage the dynamic damper.
11. Remove the boot bands and outboard boot, then remove the vinyl tape.
CAUTION: Take care not to damage the boot.
12. Inspect the outboard joint for faulty movement and wear. If any roughness or excess play is felt, replace the outboard joint.
13. Check the outboard ring for damage.
