
Legend Coupe V6-3206cc 3.2L SOHC FI (1991)
A/C Signal: Testing and Inspection
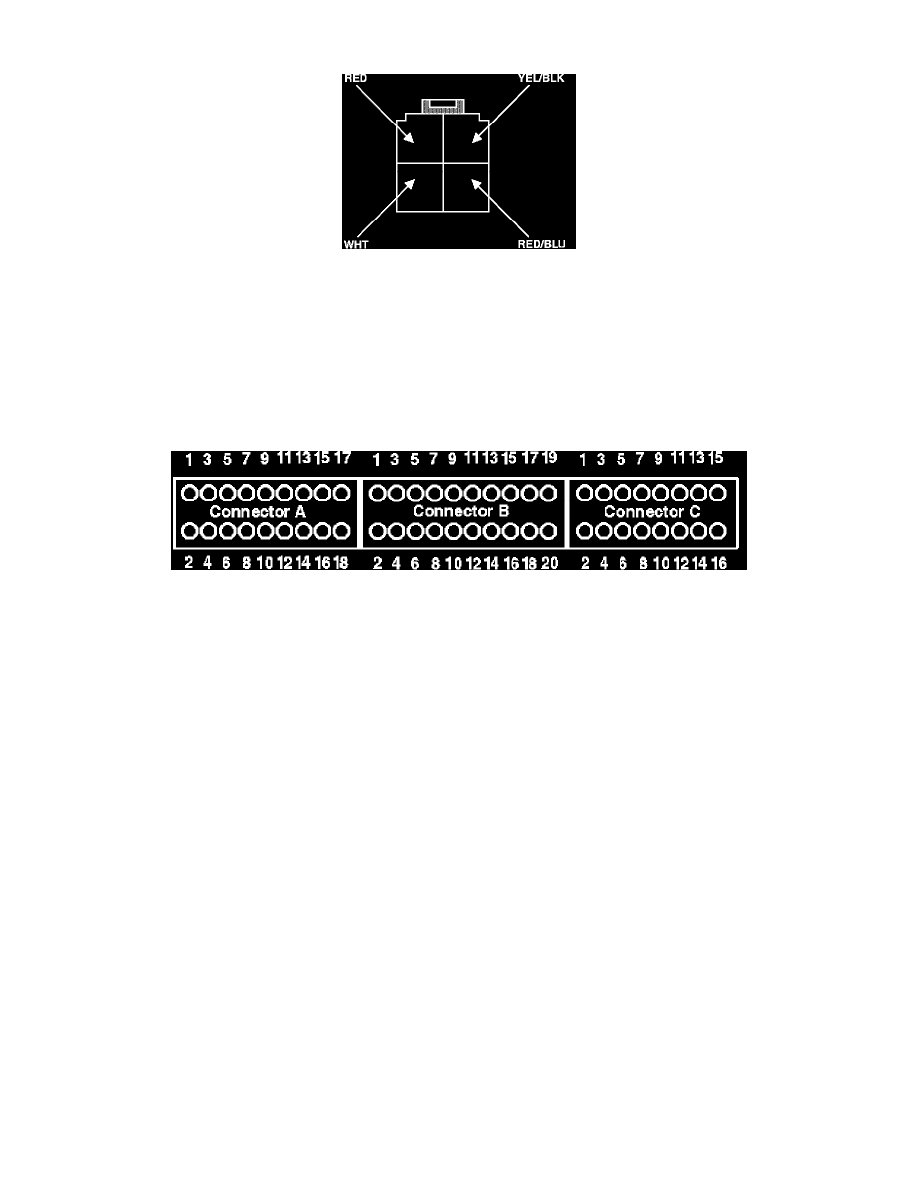
A/C Relay Harness Connector Identification
1.
Turn ignition off.
2.
Remove compressor clutch relay, (located in the left front corner of the engine compartment), and disconnect from harness.
3.
Turn ignition on and check for voltage at YEL/BLK wire.
Battery voltage, proceed to step 5.
No battery voltage, proceed to next step.
4.
Check fuse #3 in underdash fuse box. If fuse is OK repair open YEL/BLK wire between compressor relay and fuse box. Continue.
Electronic Control Unit Pin And Connector Identification
5.
With ignition off, install test harness between ECU and harness connector. If test harness is not available, carefully backprobe wires at ECU
connector.
6.
Reconnect compressor relay.
7.
Turn ignition on.
8.
Using a test wire jump ECU terminal C3 to ground.
Compressor clutch cycles one time proceed to step 10.
Compressor clutch doesn't cycle, proceed to next step.
9.
Check for open BLU/RED wire between ECU terminal A15 and compressor clutch relay. If wire checks OK, refer to AIR CONDITIONING
CLUTCH RELAY. End of test.
10.
Using a test wire jump ECU terminal B8 to ground.
Compressor clutch cycles one time proceed to next step.
Compressor clutch doesn't cycle, replace electronic control unit. End of test.
11.
Electronic control unit circuit functioning properly. If A/C still does not engage, refer to Powertrain Management/Diagrams for additional
testing procedures.