
Legend Coupe V6-3206cc 3.2L SOHC FI (1991)
2. Confirm that the special tool is functioning properly by following the check procedure on the label of the tool box, or the "Deployment Tool:
Check Procedure" at the end of this article.
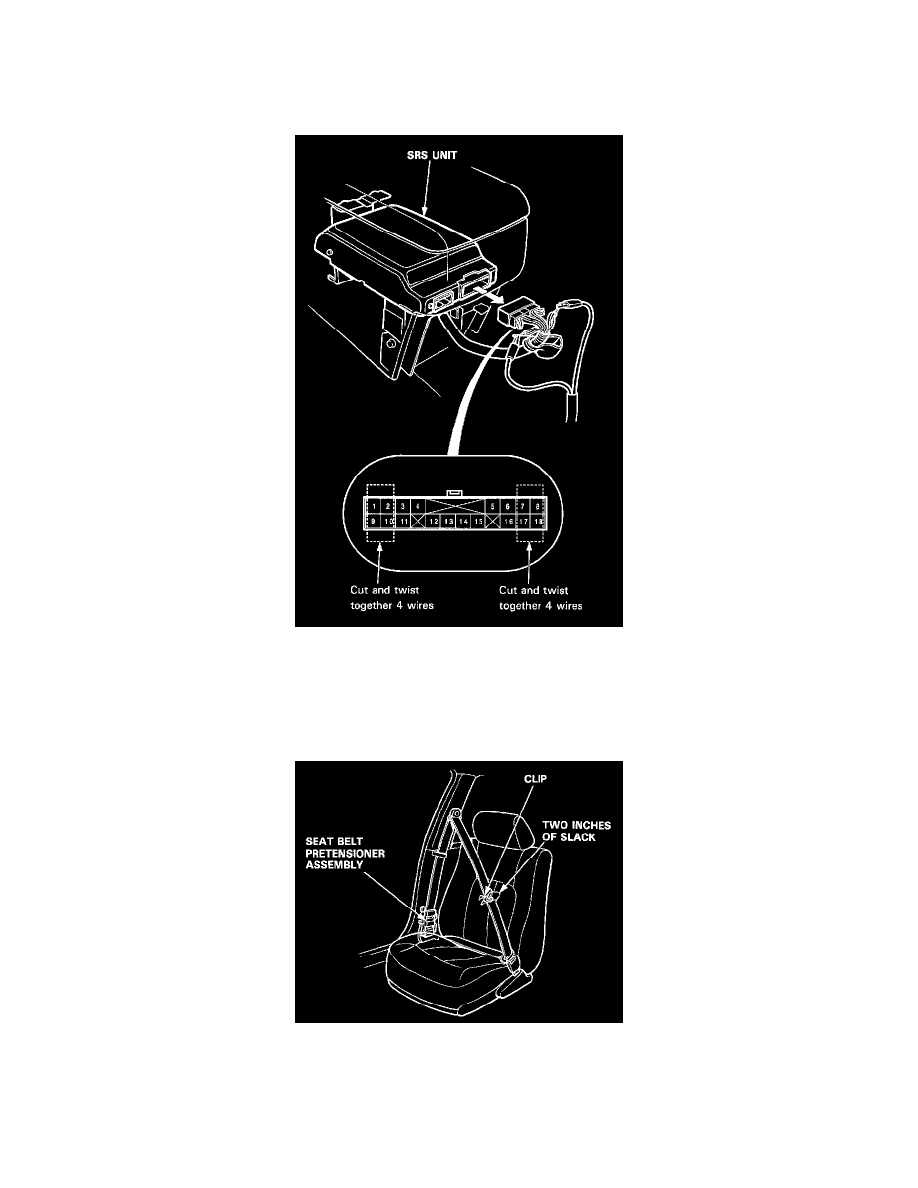
3. Disconnect the SRS main harness 18-P connector from the SRS unit.
4. Cut 8 wires at the SRS main harness connector, 4 on each side as shown. Strip the ends of the wires, then twist them together to make each set of 4
wires into one.
5. Connect the alligator clips of the deployment tool to the ends of the twisted wires.
6. Buckle the seat belt, then pull out about two inches of slack, make a loop with it, and hold the loop in place with a clip as shown.
7. Repeat step 6 on the other front belt.
8. Connect a 12 volt battery to the tool:
-
If the green light on the tool goes on, an igniter circuit is defective.
Go to Damaged Airbag or Pretensioner Special Procedure.
-
If the red light on the tool goes on, the system is ready.