
MDX V6-3.7L (2007)
To properly document each warranty paint repair claim, four to five photos must be taken, as described below:
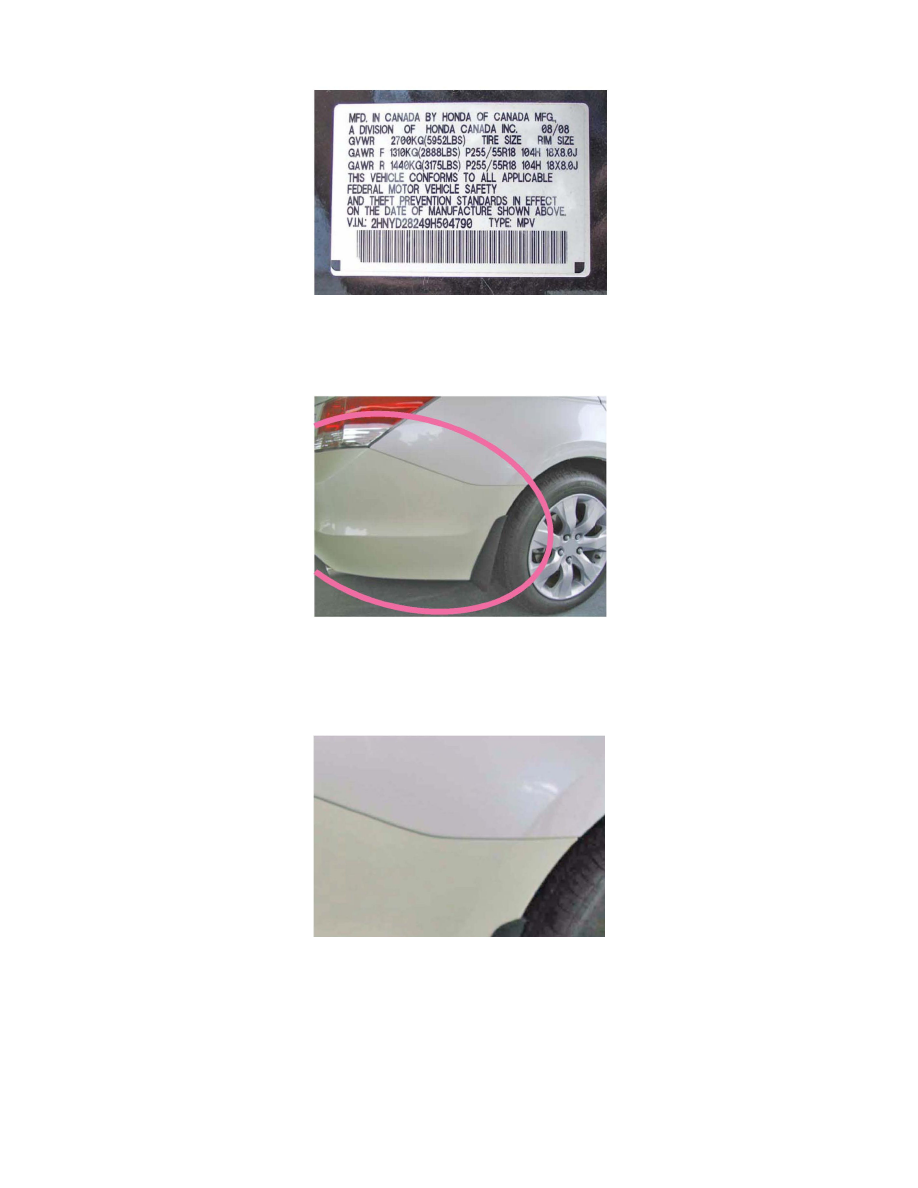
Photo One: Take a readable, in-focus shot of the vehicle's barcoded VIN sticker on the driver's side doorjamb.
Note:
If you shoot this using your camera's flash, make sure the flash's reflection does not reduce the VIN sticker's readability.
Photo Two: Take an orientation shot of the entire paint defect area, with the lens zoomed out wide enough to show the defect's location in relation to
other body parts, such as door handles, windshield, headlights, bumper, side windows, wheel, etc.
Photos Three and Four: Take the third shot closer to the defect and from a different angle, to add more detail to the warranty repair claim. Then, if
needed to further support the claim, take a fourth shot from another angle to make sure that the defect and/or its full extent are completely documented.
Photo Five: Take the last required shot as a sharply focused macro close-up, about 4 inches (100 mm) from the defect, showing exactly what the paint
defect is. For example, if the defect is a mismatch in color, take a macro close-up of the mismatched panel and the correct color body panel together in
the same shot.
Note:
To achieve a clear, close-up photo at this distance, you may have to manually focus the camera.
UNACCEPTABLE PAINT DEFECT PHOTO EXAMPLES