
MDX V6-3.7L (2007)
2.
Turn the ignition switch to LOCK (0).
*3.
Connect an Acura Diagnostic Battery Station (GR8-1100PA) to the battery, and select Power Supply from the Options menu. Follow the prompts
on the screen to start the power supply mode. If the battery station indicates that the battery must be charged before reprogramming, select YES to
charge the battery. Restart the power supply mode when the battery is fully charged.
Do not use a battery charger or the charging mode on the battery station when updating the AcuraLink control unit.*
[NOTICE]
If the battery dies during the updating procedure, the AcuraLink control unit will be permanently damaged.
At the workstation: Setting up the GNA600
4.
If not already done, load the latest HDS software onto the iN workstation.
NOTE:
^
If the latest version is not loaded and you try to update a control unit, the software may indicate that the unit already has the latest sofiware,
even though it does not.
^
For information on installing the HDS software to your iN workstation, refer to Installation Instructions for HDS PC Software in the Tool
Information menu under SEARCH BY PUBLICATION on ISIS.
*5.
Make sure the 256 MB PCMCIA memory card or the PCMCIA to CF adapter with the CF memory card is in the PCMCIA slot under the clear
plastic cover on the GNA600 unit.*
6.
From the Windows Start menu on your iN workstation, go to the Programs folder and select CM Update, and then select AcuraLink Update.
Follow the on-screen instructions. The on-screen instructions are summarized in the following steps.
7.
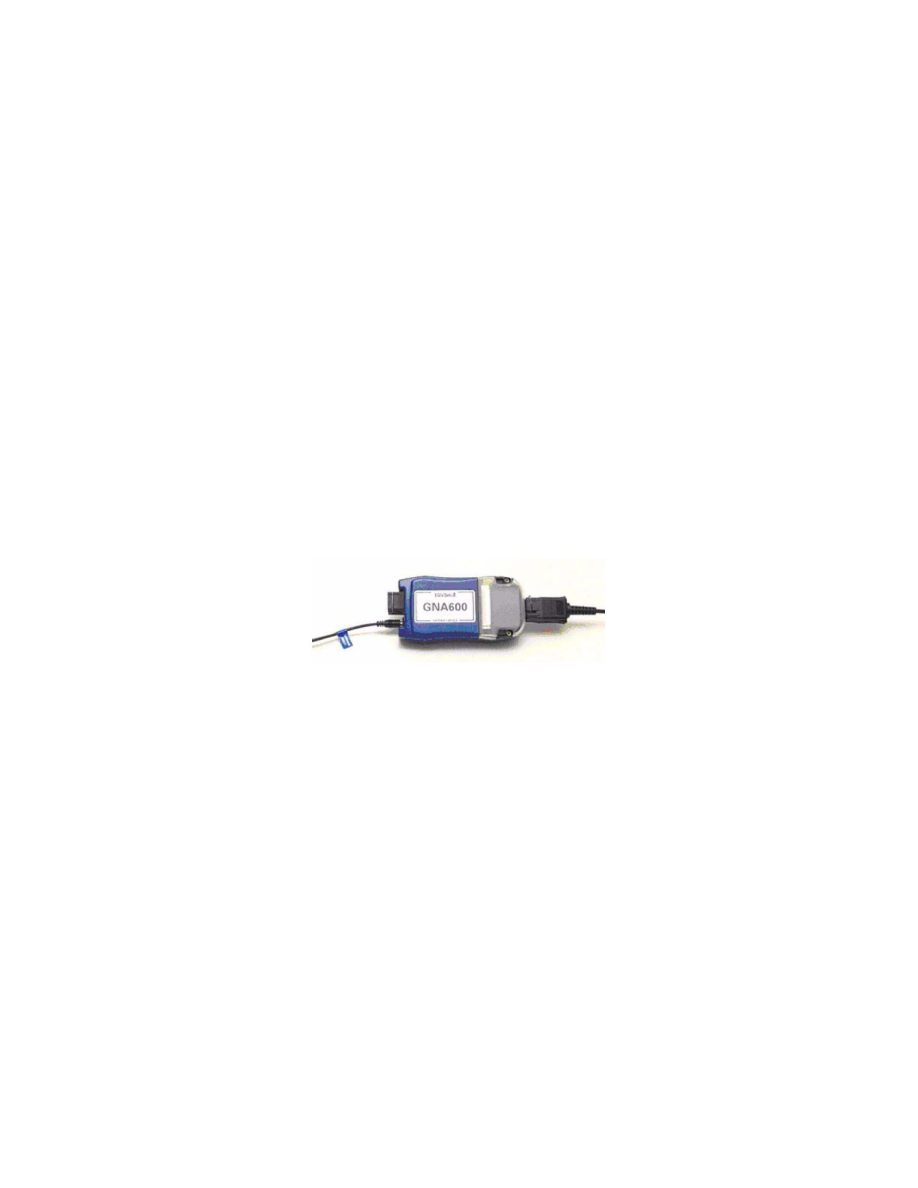
Connect the GNA600 USB PC interface cable to the workstation and to the GNA600.
*8.
Connect the GNA600 unit to the power supply unit, and connect the power supply unit to an electrical outlet. The GNA600 starts a self-check, and
after about 30 seconds, the LEDs on the GNA6OO flash green and yellow. This indicates the GNA600 is ready to capture the current program ID
on the vehicle.*
9.
Disconnect the GNA600 from the USB PC interface cable and the power supply.
At the vehicle: Capturing the current program I.D.
10.
Make sure the ignition switch is turned to LOCK (0), or the vehicle ignition is in the OFF mode. Locate and disconnect the AcuraLink 5P
connector.
NOTE:
The AcuraLink update software shows the connector location on the workstation screen.
11.
Connect the blue No.1 connector of the AcuraLink reprogramming cable to the 5P connector (with male terminals) in the vehicle.