MDX V6-3.7L (2007)

4. Remove the inlet joint and O-ring.
5. Loosen the flow control valve cap with a hex wrench, and remove it and the O-ring, the flow control valve and spring.
6. Remove the pump cover and pump cover seal.
7. Remove the outer side plate, cam ring, rotor, vanes, side plate and O-rings.
8. Remove the snap ring, then remove the subvalve from the pump housing.
9. Remove the snap ring, then remove the pump driveshaft by tapping the shaft end with a plastic hammer.
10. Remove the pump seal from the pump housing.
Inspection
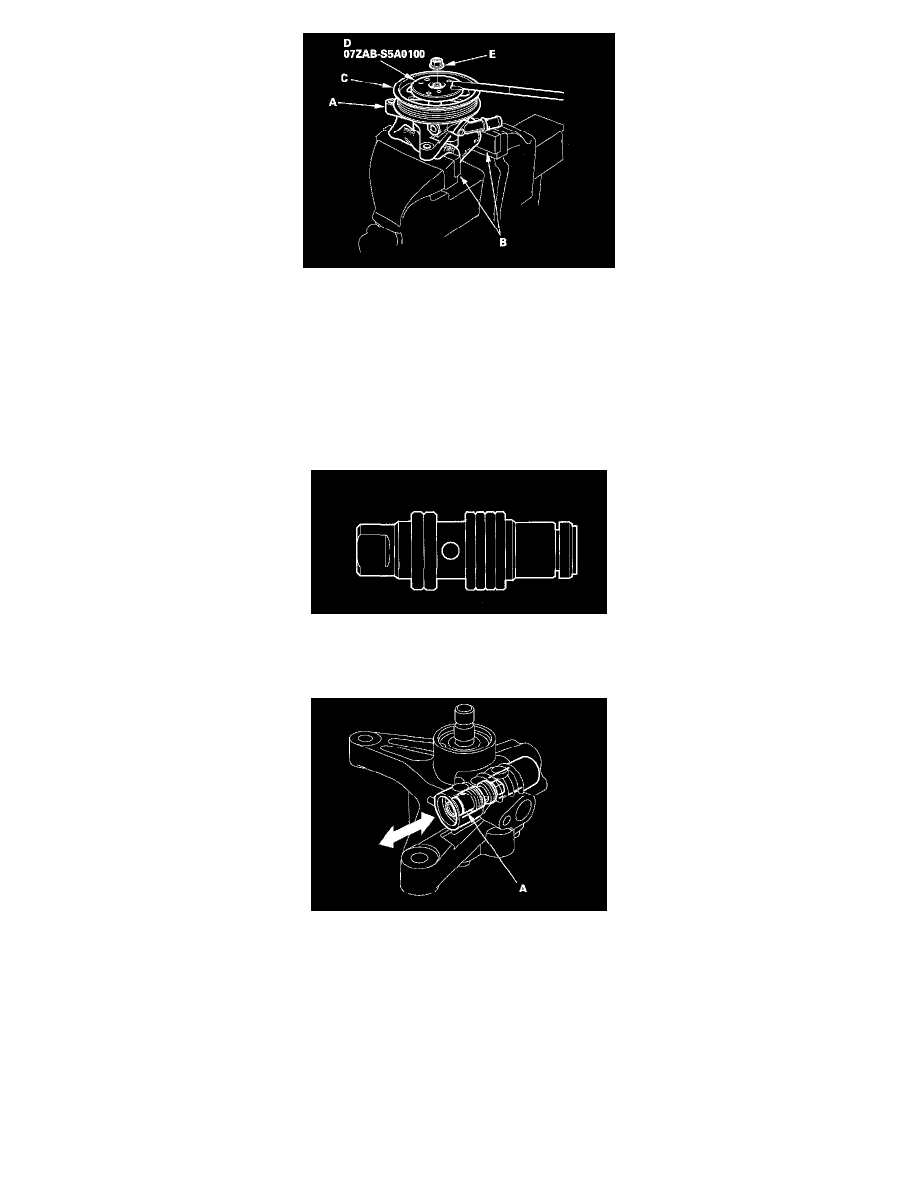
11. Check the flow control valve for wear, burrs, and other damage to the edges of the grooves in the valve.
12. Inspect the bore of the flow control valve on the pump housing for scratches and wear.
13. Slip the flow control valve back in the pump housing, and check that it moves in and out smoothly. If OK, go to step 14; if not, replace the pump
as an assembly. The flow control valve (A) is not available separately.
14. Attach a hose (A) to the end of the flow control valve (B) as shown. Then submerge the flow control valve in a container of power steering fluid or
solvent (C) and blow in the hose.
^
If air bubbles leak through the valve at less than 98 kPa (1.0 kgf/cm2, 14.2 psi) replace the pump as an assembly. The flow control valve is
not available separately.
^
If the flow control valve is OK, set it aside for reassembly later.
