
MDX V6-3.7L (2007)
Back Window Glass: Service and Repair
Rear Window Replacement
NOTE:
-
Put on gloves to protect your hands.
-
Wear eye protection when removing the glass with piano wire.
-
Use seat covers to avoid damaging any surfaces.
-
Do not damage the rear window defogger grid lines and terminals.
1. Remove these items:
-
Tailgate spoiler trim.
-
Tailgate lower trim panel
-
Rear window wiper motor
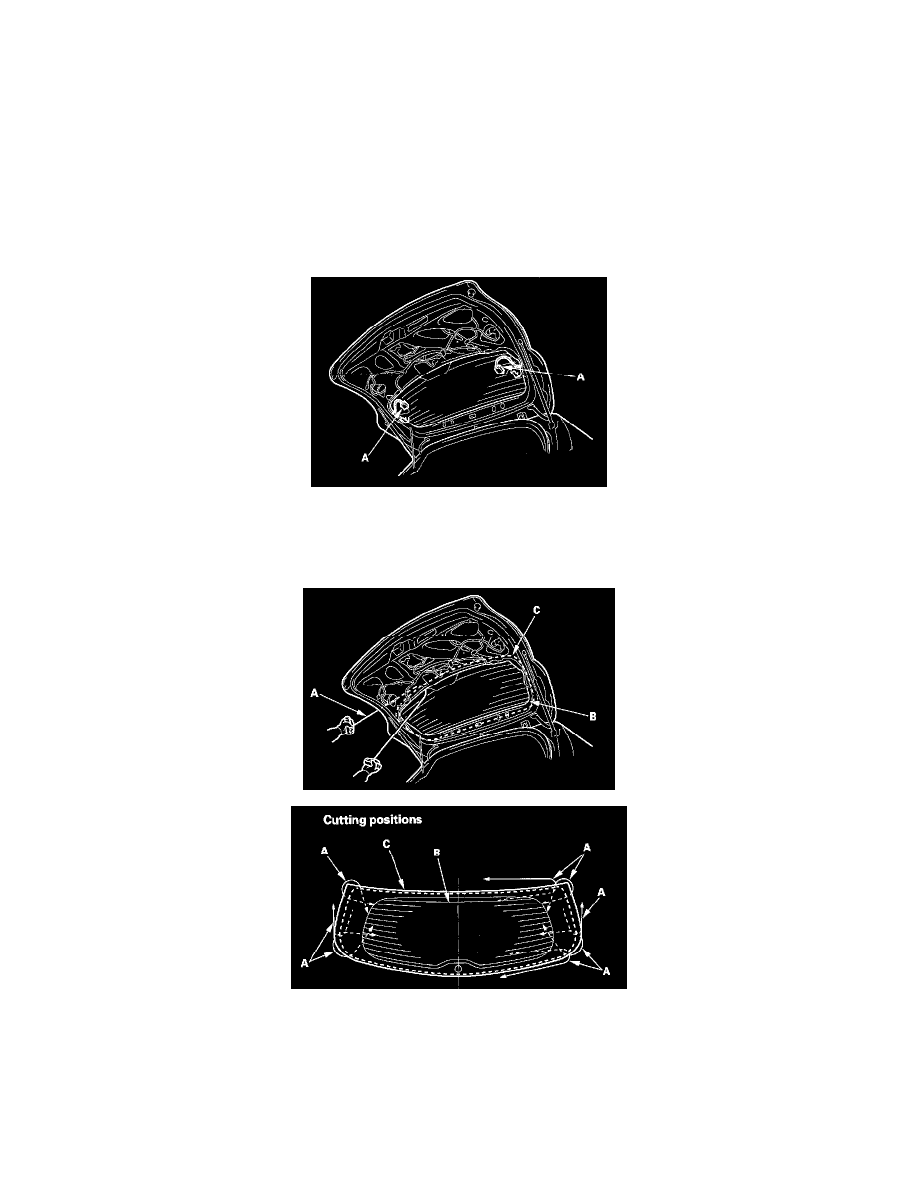
2. Disconnect the rear window defogger connectors (A).
3. If the old rear window will be reinstalled, make alignment marks across the glass and body with a grease pencil.
4. Apply protective tape along the inside and outside edges of the tailgate. Using an awl, make a hole through the adhesive from inside the vehicle at
the corner portion of the rear window. Push the piano wire through the hole, and wrap each end around a piece of wood.
5. With a helper on the outside, pull the piano wire (A) back and forth in a sawing motion. Hold the piano wire as close to the rear window (B) as
possible to prevent damage to the tailgate, and carefully cut through the adhesive (C) around the entire rear window.
6. Carefully remove the rear window.
7. With a putty knife, scrape the old adhesive smooth to a thickness of about 2 mm (0.08 in.) on the bonding surface around the entire rear window
opening flange:
-
Do not scrape down to the painted surface of the body; damaged paint will interfere with proper bonding.
-
Remove the fasteners from the tailgate.