
MDX V6-3471cc 3.5L (2002)
Brake Pad: Service and Repair
Front
Replacement
CAUTION: Frequent inhalation of brake pad dust, regardless of material composition, could be hazardous to your health. Avoid breathing
dust particles. Never use an air hose or brush to clean brake assemblies. Use an OHSA-approved vacuum cleaner.
1. Raise the front of the vehicle, and make sure it is securely supported. Remove the front wheels.
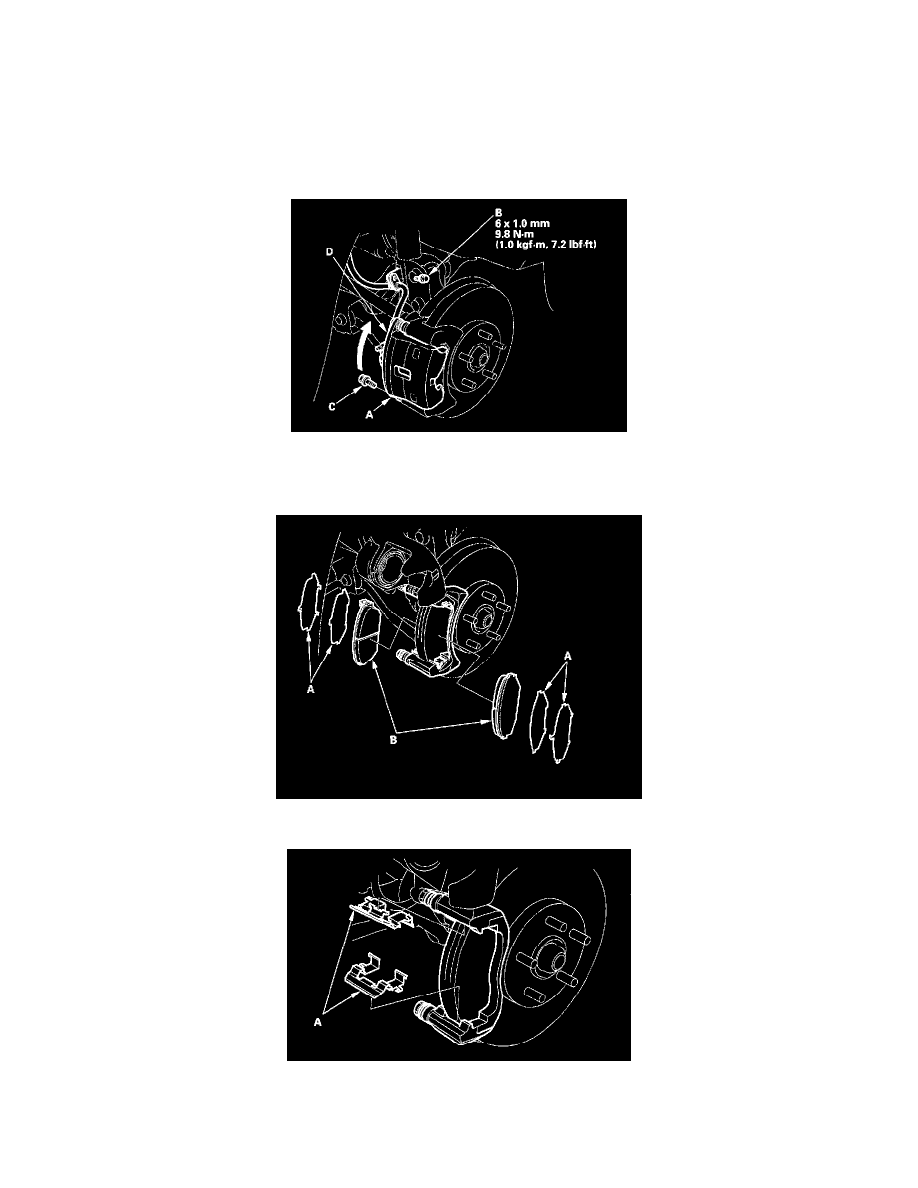
2. Remove the brake hose mounting bolt (B) from the knuckle.
3. Remove the flange bolt (C) while holding pin A with a wrench being careful not to damage the pin boot, and pivot the caliper (D) up out of the
way. Check the hose and pin boots for damage and deterioration.
4. Remove the pad shims (A) and pads (B).
5. Remove the pad retainers (A).
6. Clean the caliper thoroughly; remove any rust, and check for grooves and cracks.
7. Check the brake disc for damage and cracks.
8. Clean and install the pad retainers.