
NSX V6-3.0L DOHC (1991)
2.
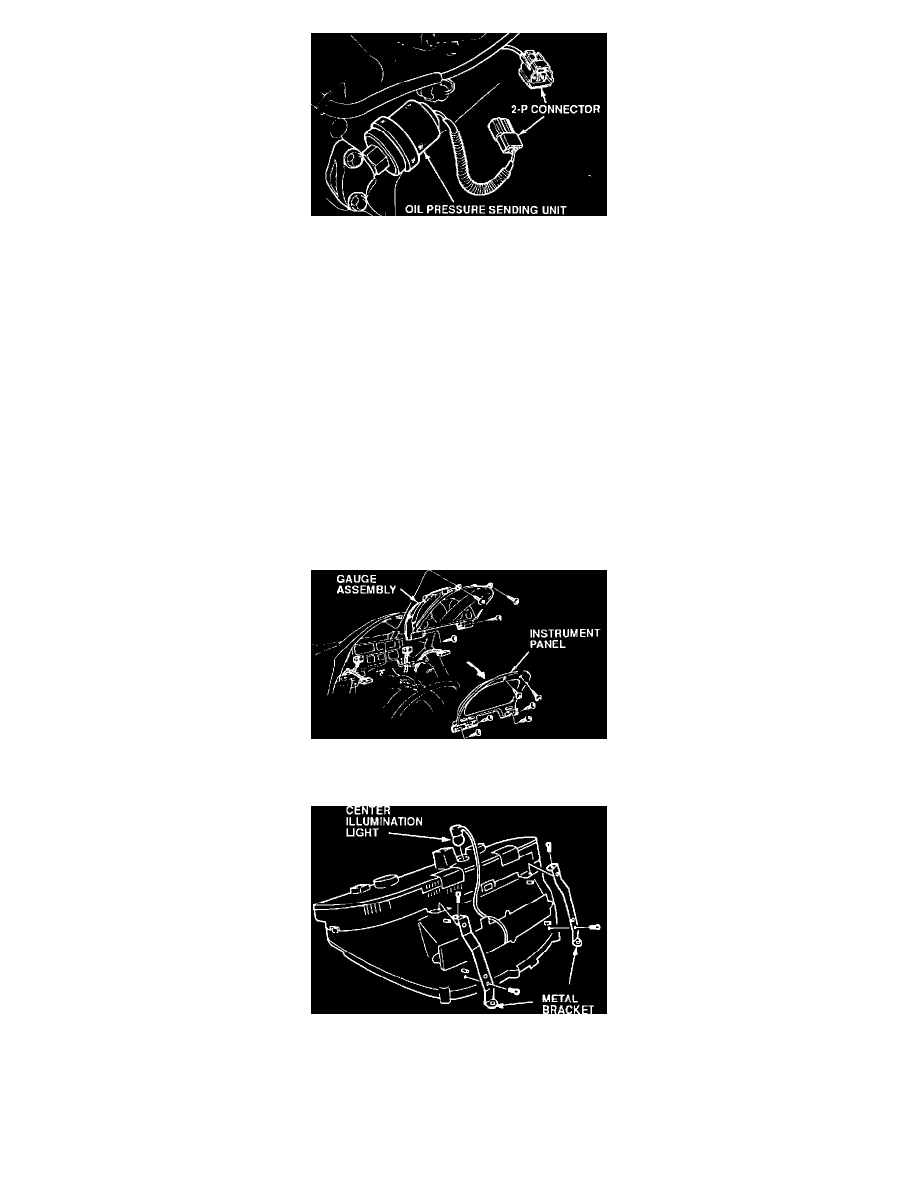
Disconnect the 2-P connector,then remove the old sending unit and O-ring.
3.
Install the new sending unit and O-ring listed in tbe PARTS INFORMATION.
NOTE:
The O-ring recess is in the oil sending unit mount. It may be necessary to hold the O-ring in place with a small amount of grease.
4.
Reinstall the expansion tank.
Temperature/Oil Pressure Gauge
1.
Refer to page 20-44 of the service manual for the procedure to remove the following items:
-
Dashboard Lower Panel (driver's side)
-
Knee Bolster Pad
-
Knee Bolster (stamped steel panel)
2.
Extend the steering wheel all the way out and remove the upper and lower steering column covers. Lift the steering column down after removing
the covers.
3.
Disconnect the connectors from the headlight retractor switch/dash brightness controller and the TCS switch. Remove the instrument panel.
4.
Remove the four screws holding the gauge assembly to the dashboard, then unplug the two connectors from the gauge assembly. Remove the
gauge assembly by sliding it to the right of the steering wheel.
5.
Remove the two metal brackets from the top of the gauge assembly, then remove the center illumination light socket.