
RDX L4-2.3L Turbo (2008)
Trunk / Liftgate Interior Trim Panel: Service and Repair
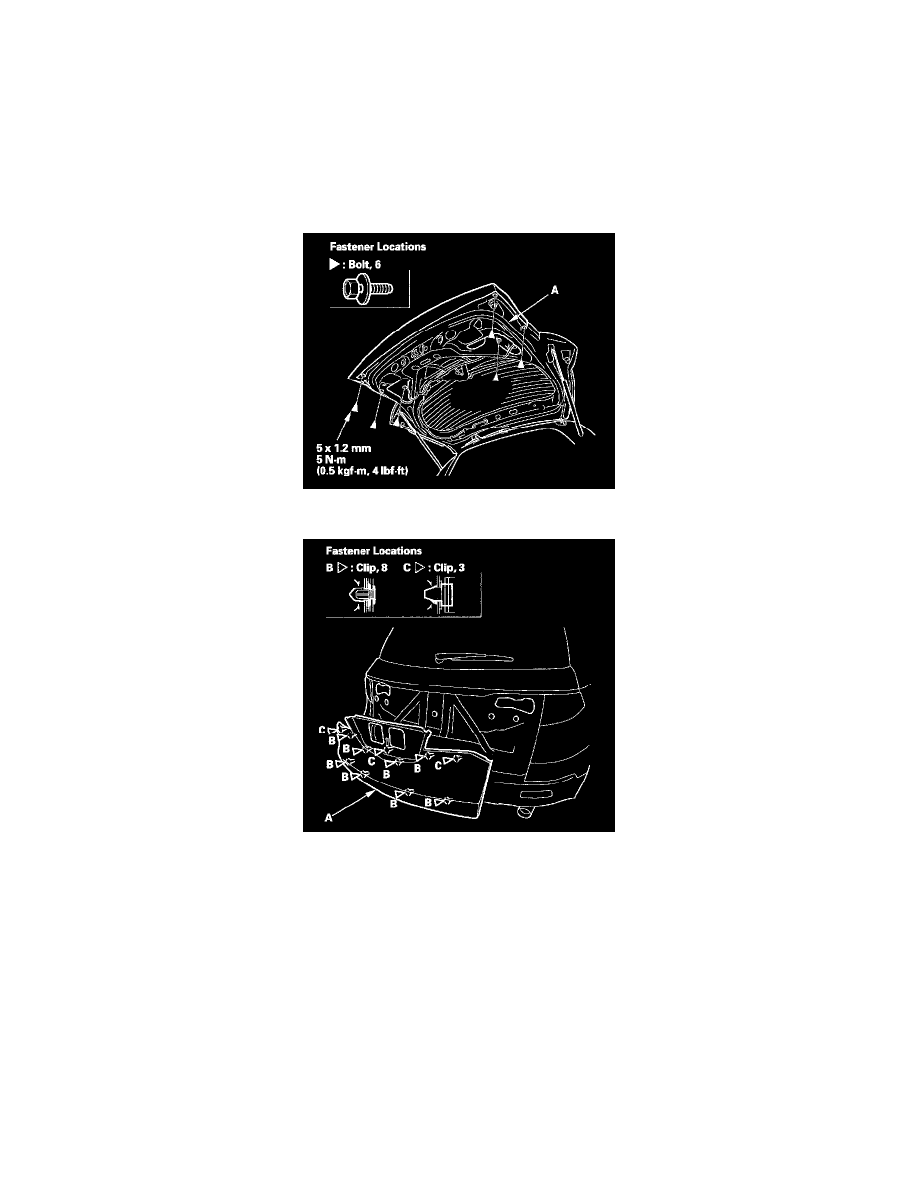
Tailgate Lower Trim
Tailgate Lower Trim Replacement
NOTE:
-
Put on gloves to protect your hands.
-
Take care not to scratch the tailgate.
1. Remove the tailgate lower trim panel.
2. Remove the taillights and lid taillights.
3. Remove the bolts securing the tailgate lower trim (A).
4. Pull out along the upper and lower edges on the tailgate lower trim (A) to release the clips (B, C), then remove the tailgate lower trim from the
tailgate.
5. Install the trim in the reverse order of removal, and note these items:
-
Check if the clips are damaged or stress-whitened, and if necessary, replace them with new ones.
-
Push the clips portions into place securely.