
RDX L4-2.3L Turbo (2008)
Variable Valve Timing Actuator: Service and Repair
VTC Oil Control Solenoid Valve Removal/Test/Installation
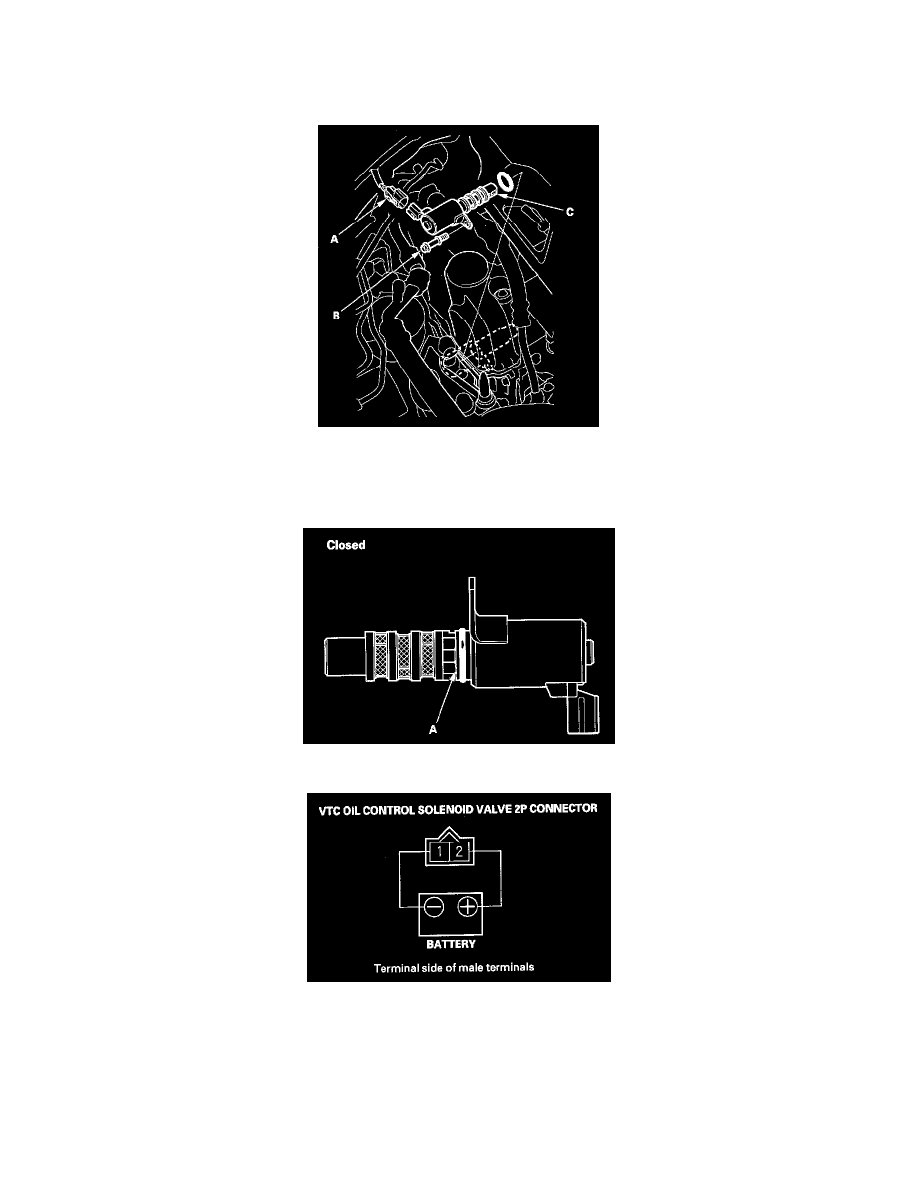
1. Disconnect the VTC oil control solenoid valve 2P connector (A).
2. Remove the bolt (B) and the VTC oil control solenoid valve (C).
3. Check the VTC oil control solenoid valve strainer for clogging. If the strainer is clogged, replace the VTC oil control solenoid valve.
4. Note the amount of valve opening by observing the position of the piston shoulder (A) through the valve retard drain port. If you see the shoulder
of the piston, the valve is open and must be replaced.
5. Connect the battery positive terminal to VTC oil control solenoid valve 2P connector terminal No. 2.
6. Connect the battery negative terminal to VTC oil control solenoid valve 2P connector terminal No. 1. Appearance of inner valve (A) in the port
should be at least 0.05 in. (1.2 mm). If the inner valve does not open, replace it; then go to step 7.