
RDX L4-2.3L Turbo (2008)
Rocker Arm Assembly: Removal and Replacement
Rocker Arm Assembly Installation
Rocker Arm Assembly Installation
1. Reassemble the rocker arm assembly.
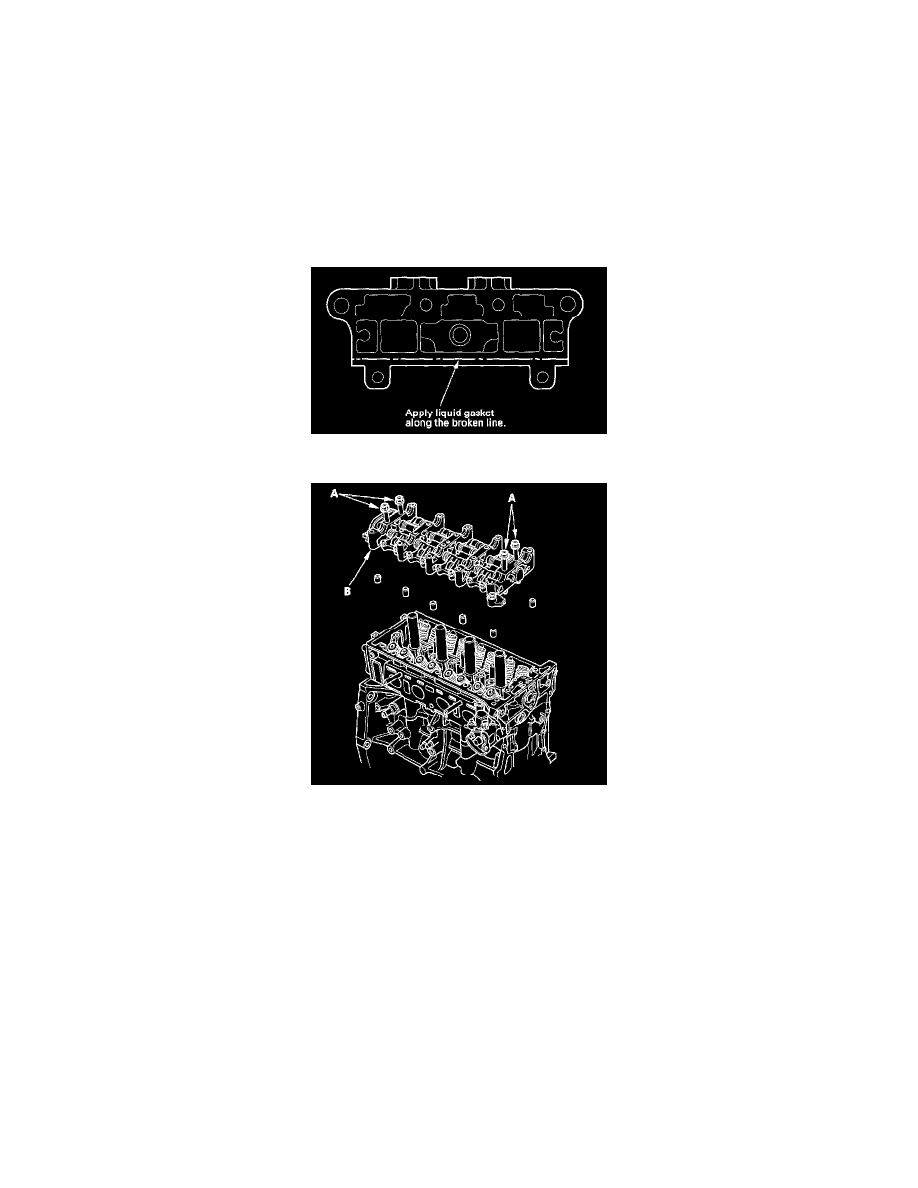
2. Clean and dry the No. 5 rocker shaft holder mating surface.
3. Apply liquid gasket, P/N 08717-0004, 08718-0001, 087180003, or 08718-0009, evenly to the cylinder head mating surface of the No. 5 rocker
shaft holder. Install the component within 5 minutes of applying the liquid gasket.
NOTE:
^
If you apply liquid gasket P/N 08718-0012, the component must be install within 4 minutes.
^
If too much time has passed after applying the liquid gasket, remove the old liquid gasket and residue, then reapply new liquid gasket.
4. Insert the bolts (A) into the rocker shaft holder, then install the rocker arm assembly (B) on the cylinder head.
5. Remove the bolts from the rocker shaft holder.
6. Make sure the punch marks on the variable valve timing control (VTC) actuator and exhaust camshaft sprocket are facing up, then set the
camshafts (A) in the holder.