RDX L4-2.3L Turbo (2008)

Fuel Pressure Release: Service and Repair
Fuel Pressure Relieving
NOTE:
-
Before doing this procedure, make sure the engine is cold.
-
Before disconnecting fuel lines or hoses, relieve pressure from the system by disabling the fuel pump and then disconnecting the fuel tube/quick
connect fitting in the engine compartment.
With the HDS
1. Make sure you have the anti-theft codes for the audio system and the navigation system (if equipped).
2. Turn the ignition switch OFF.
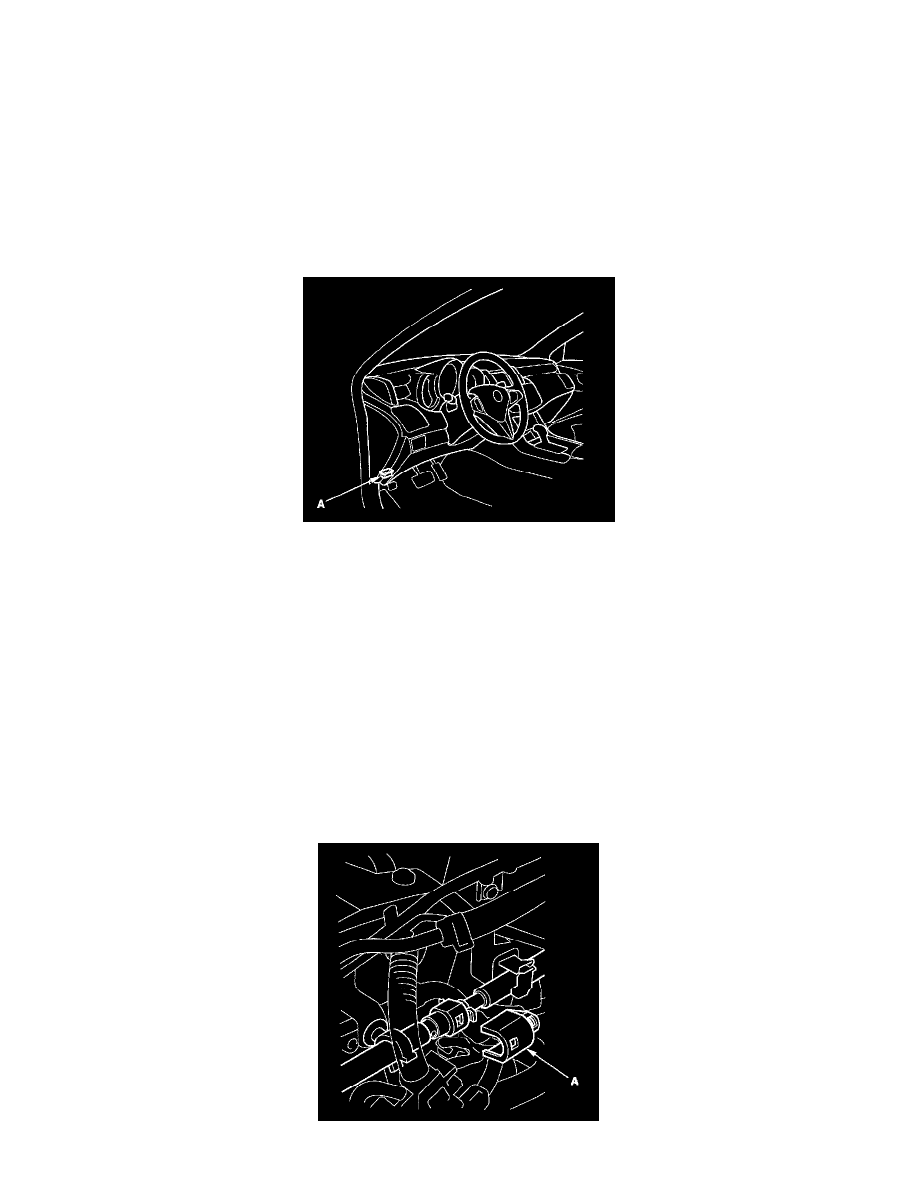
3. Connect the HDS to the data link connector (DLC) (A) located under the driver's side of the dashboard.
4. Turn the ignition switch ON (II).
5. Make sure the HDS communicates with the PCM and other vehicle systems. If it doesn't, go to the DLC circuit troubleshooting. See: Computers
and Control Systems/Testing and Inspection/Component Tests and General Diagnostics/DLC Circuit Troubleshooting
6. Turn the ignition switch OFF.
7. Remove the fuel fill cap to relieve the pressure in the fuel tank.
8. Turn the ignition switch ON (II).
9. From the INSPECTION MENU of the HDS, select Fuel Pump OFF, then start the engine, and let it idle until it stalls.
10. Turn the ignition switch OFF.
NOTE:
-
Do not allow the engine to idle above 1,000 rpm or the PCM will continue to operate the fuel pump.
-
A DTC or a Temporary DTC may be set during this procedure. Check for DTCs, and clear them as needed.
11. Turn the ignition switch OFF.
12. Disconnect the negative cable from the battery.
13. Remove the charge air cooler cover and intake air duct (air flow tube).
14. Remove the quick-connect fitting cover (A).
