
RDX L4-2.3L Turbo (2008)
NOTE: During installation, install new mounting bolts.
8. Install the lower arm in the reverse order of removal, and note these items:
^
First install all the components, and lightly tighten the bolts and nuts, then raise the suspension to load it with the vehicle's weight before fully
tightening to the specified torque values.
^
Before installing the wheel, clean the mating surface of the brake disc and the inside of the wheel.
^
Check the wheel alignment, and adjust it if necessary.
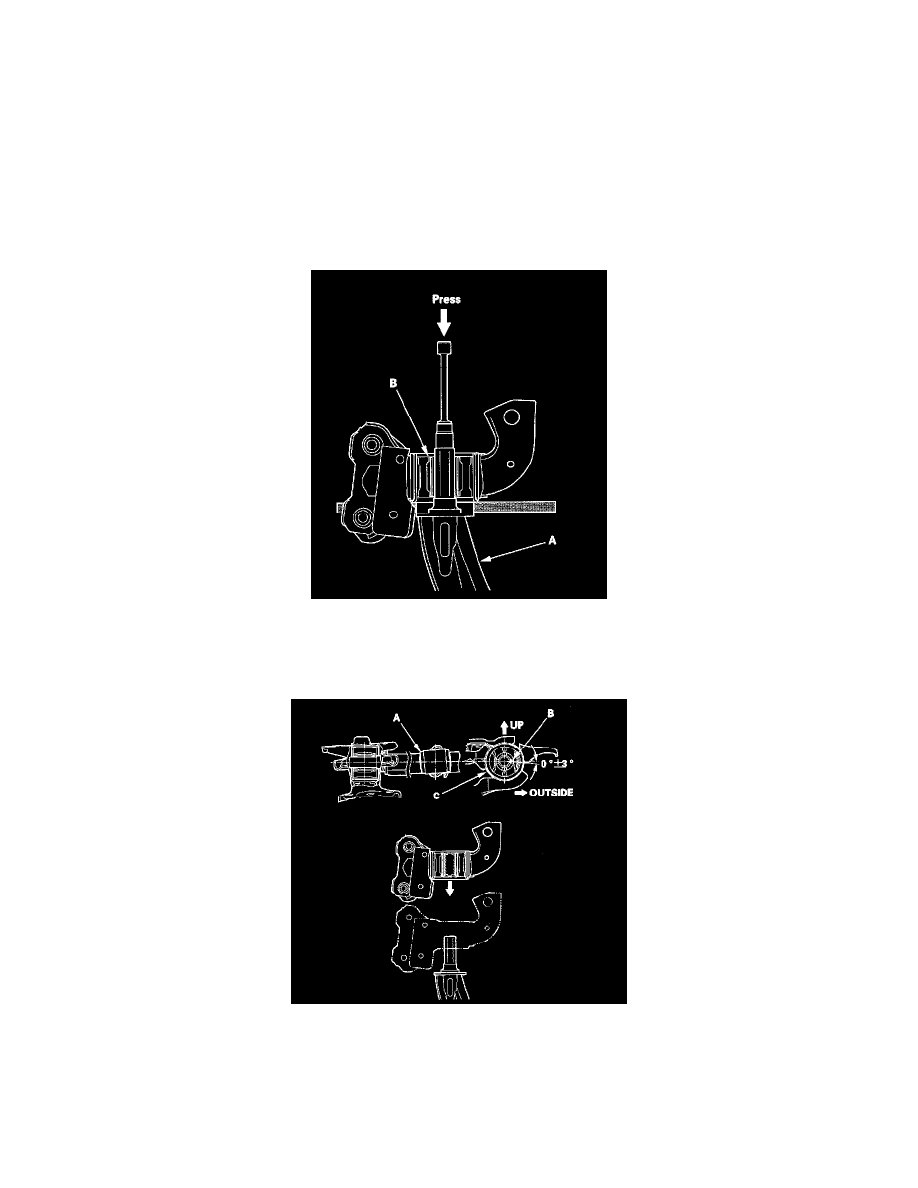
Bushing Replacement
1. Press out the lower arm (A) with the suitable socket wrench and a hydraulic press, and remove the lower arm from the bushing (B).
2. Apply a mild solution of soap and water to the new bushing surface.
3. Align the angle of the lower arm (A) and the tab portion (B) of the bushing (C). Press in the bushing by hand first.
NOTE: The installed bushing's tab portion points upward and downward to the installed lower arm.
4. Press in the bushing with a suitable socket wrench and a hydraulic press.
5. Adjust the distance between the top of the lower arm and the bushing surface to the dimension shown.