
RDX AWD L4-2.3L Turbo (2010)
Variable Valve Timing Actuator: Testing and Inspection
VTC Oil Control Solenoid Valve Removal/Test/Installation
VTC Oil Control Solenoid Valve Removal/Test/Installation
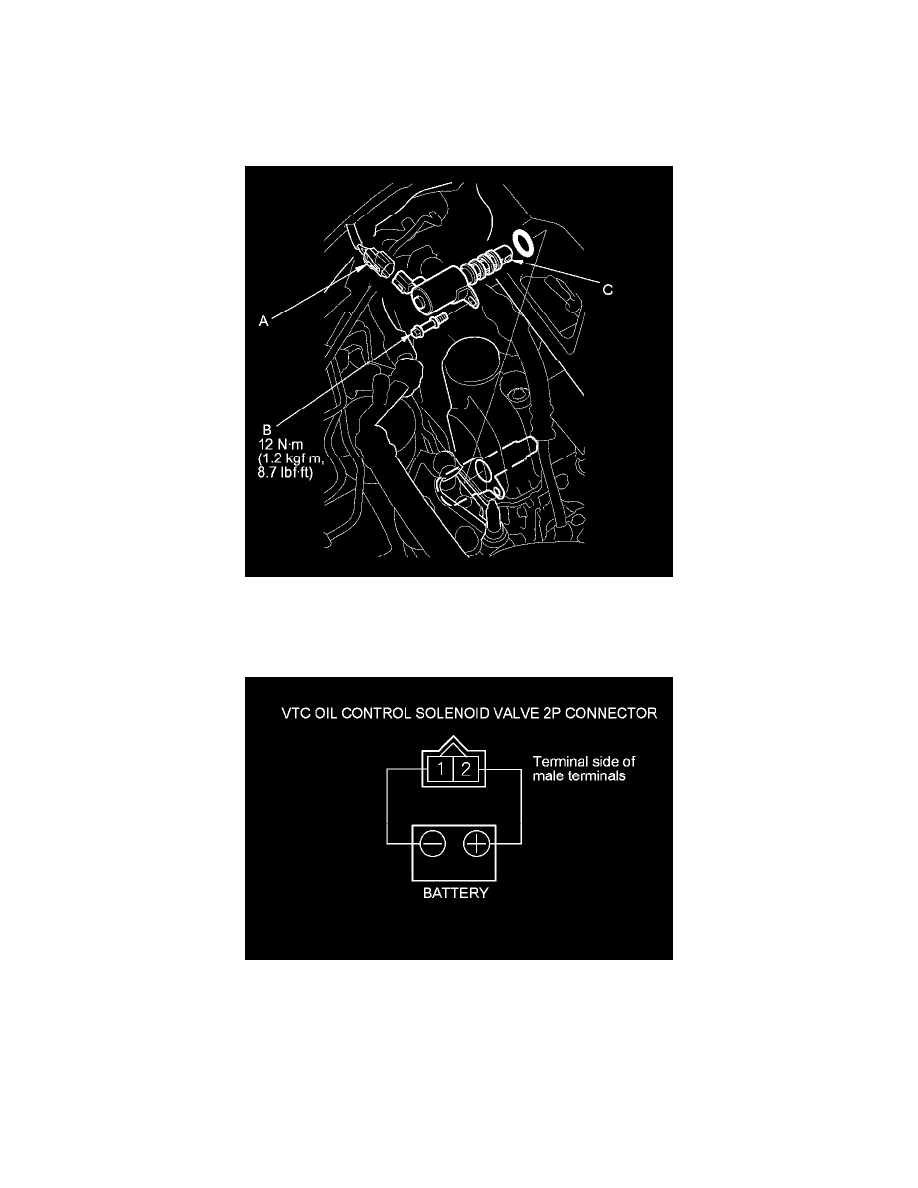
1. Disconnect the VTC oil control solenoid valve 2P connector (A).
2. Remove the bolt (B) and the VTC oil control solenoid valve (C).
3. Connect VTC oil control solenoid valve 2P connector terminal No. 2 to the battery positive terminal with a jumper wire. Connect VTC oil control
solenoid valve 2P connector terminal No. 1 to the battery negative terminal with a jumper wire.
4. Measure the clearance of the valve. The clearance should be at least 0.05 in (1.2 mm).
-
If the clearance is as specified, the valve is OK, reinstall it with a new O-ring.
-
If the clearance is not as specified, install a new valve and O-ring.
NOTE:
-
Before you install the valve, make sure its mating surface to the cylinder head is clean and dry.