
RDX AWD L4-2.3L Turbo (2010)
15. Apply new engine oil to the threads of the VTC actuator and the exhaust camshaft sprocket mounting bolts, then loosely install them.
16. Remove the wire tie while keeping light tension on the cam chain.
17. Slide the intake and exhaust camshafts in at an angle to allow the cam chain to slip over the VTC actuator's teeth and the exhaust sprocket's teeth.
18. Line up the marks made in step 3 for each cam.
19. Apply new engine oil to the camshaft journals and lobes on both cams, and reinstall the five camshaft holders and cam chain guide B in place.
20. Tighten the camshaft holder bolts to the specified torque See: Cylinder Head Assembly/Service and Repair/Overhaul/Rocker Arm Assembly
Installation.
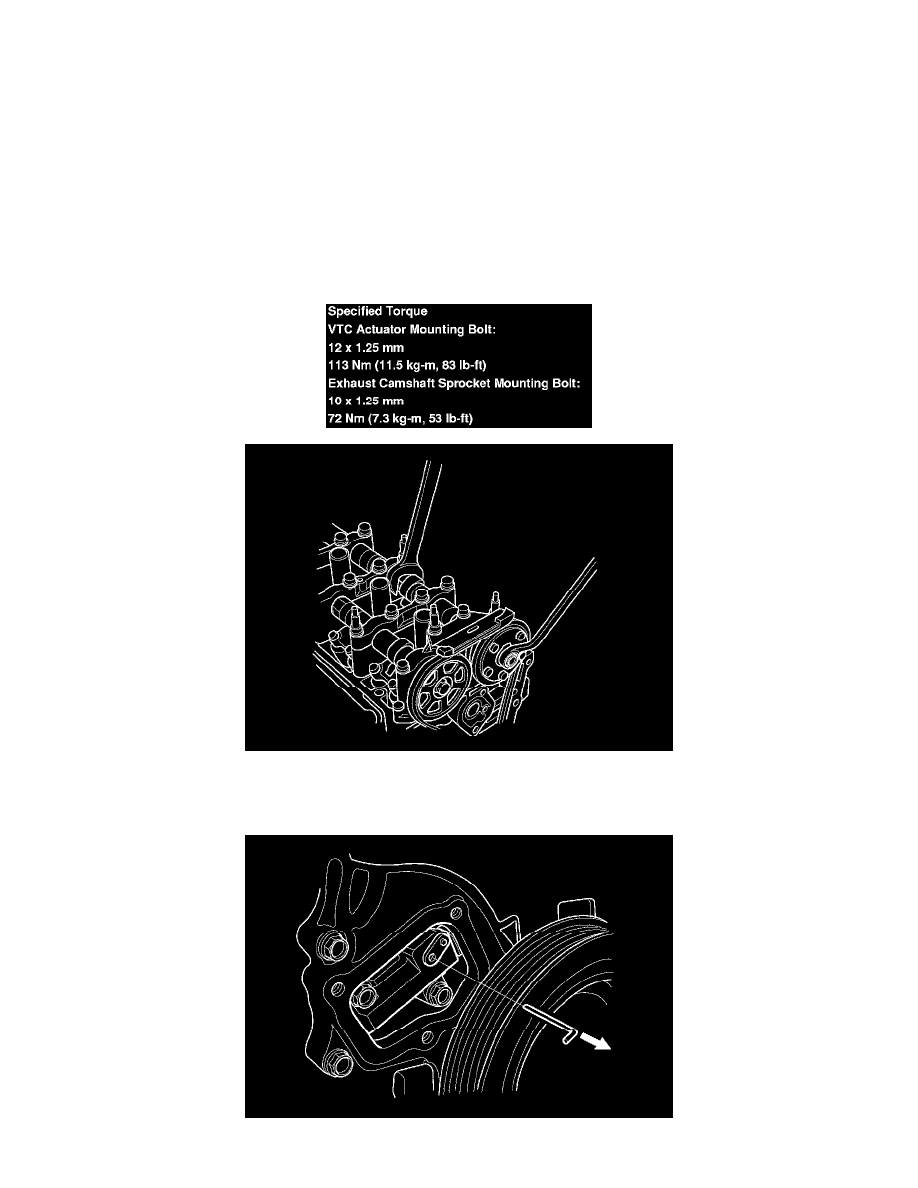
21. Hold the camshaft with an open-end wrench, then tighten the bolts.
22. Hold the camshaft, and turn the VTC actuator clockwise until you hear it click. Make sure to lock the VTC actuator by turning it.
23. Remove the 1.2 mm (3/64 in) diameter pin or lock pin from the cam chain auto-tensioner.